Product Showcase
Product Showcase

We will now go to the stage where we will assemble the kit in preparation for installation. For starters, we'll attach the fans toward the radiator with four screws per fan, keeping in mind that the Corsair sticker should be facing downwards in your PC case.
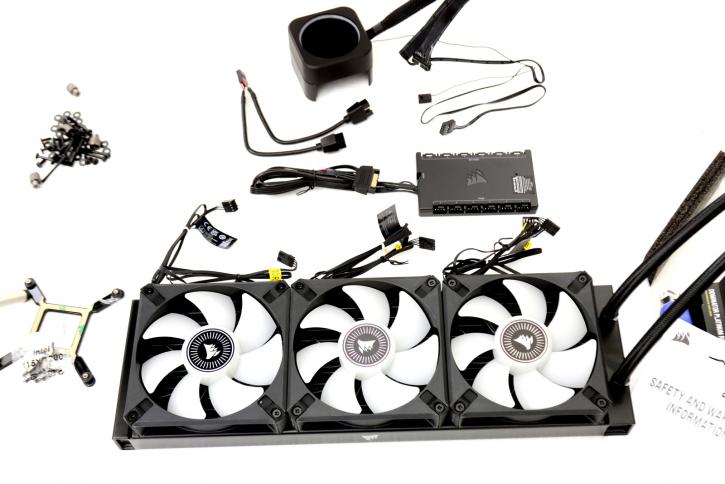
Once done, you need to decide where you'll be positioning your radiator and how the tubing and wiring will be managed. The fans have connectors that need to be connected to the included HUB—the same for the RGB connectors, leading to the HUB. The included commander is crucial here because it now provides much nicer cable routing as you can tuck the commander (communication and power HUB) away.
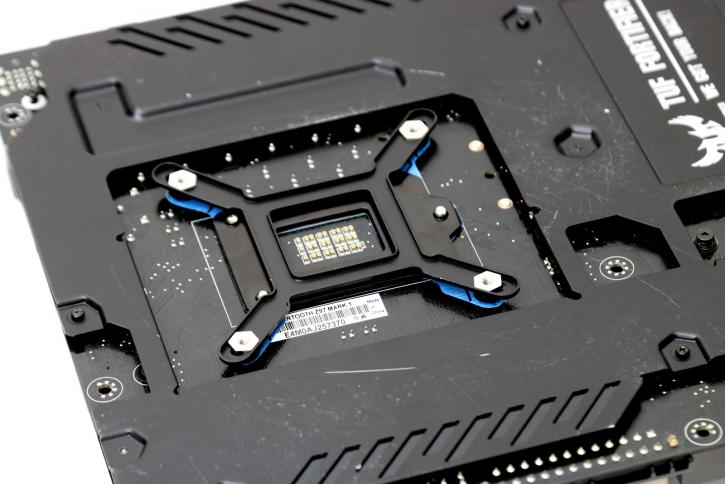
Installing the cooler is straightforward, albeit the motherboard must be removed from the chassis unless you have a chassis that has a mainboard cutout for CPU cooling built into the chassis design. You must now prepare the backplate by shifting the nuts into position so that they are aligned with the holes in the backplate. In order to achieve the best results, you must position the backplate exactly as shown above; this is the only correct manner. By the way, it's a recently designed bracket that's both durable and incredibly simple to install.

You should have previously inserted your CPU; you do not need to apply thermal paste because the kit includes thermal paste that has been applied on the cooling block. After the backplate has been installed, we will proceed to install the four standoff screws, as shown in the illustration above. The next step is to attach the mounting bracket to the top of the pump and tighten everything together with the screws provided.
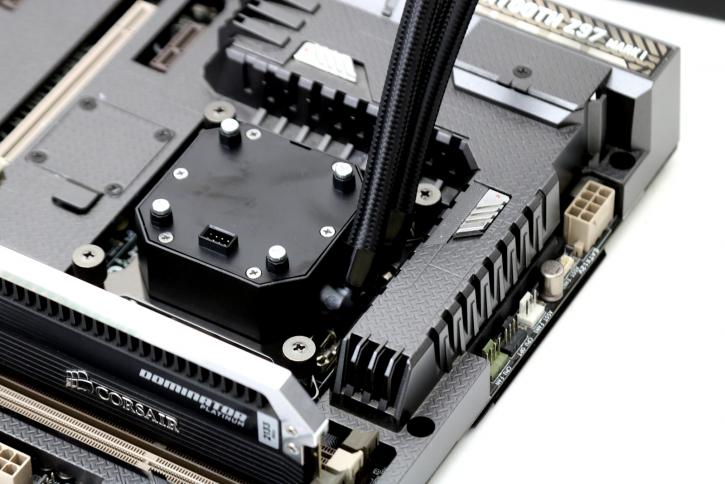
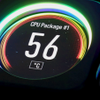
Once we seat the cooler in the position, it aligns up with four standoff screws. With the help of a screwdriver, we can secure four thumbscrews. Turn them tight until they can go no further. Once seated, you can now connect the cables. Don't forget; you need to connect the Commander USB cable towards a USB block on your motherboard. Once the motherboard is out, this all is like 10 minutes work maximum; we positioned the cooler and are ready for the first test run.
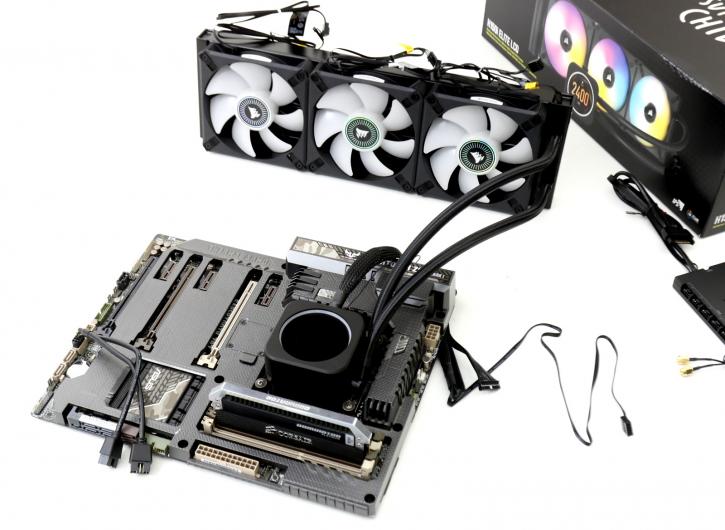
So here we can see that happening. Basically, one flat cable wire leads towards the Commander unit from the CPU block, which you plug in. All FAN PWM and RGB cables you hook in here as well. Then one SATA cable powers it up. The advantage is that you can now tuck away the HUB and cables out of eyesight. That and you can control up to six RGB and/or FANs with the unit as well. One caveat, you now have two USB cables you need to connect, Corsair includes a UDB connector splitter so you can tie them towards just one USB motherboard port.
