Product Gallery
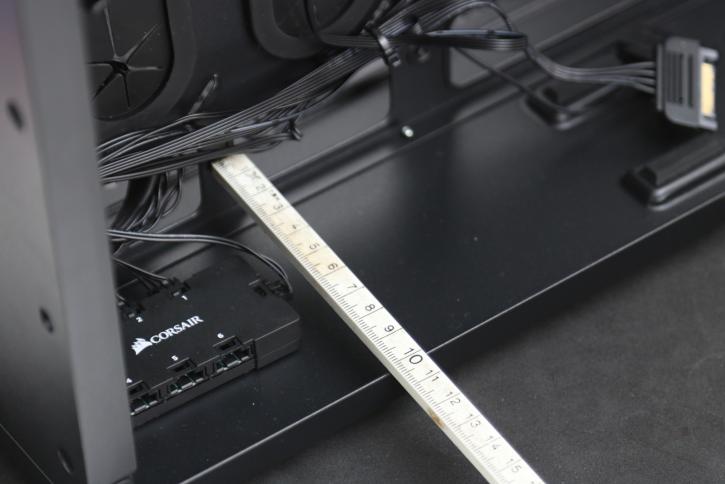
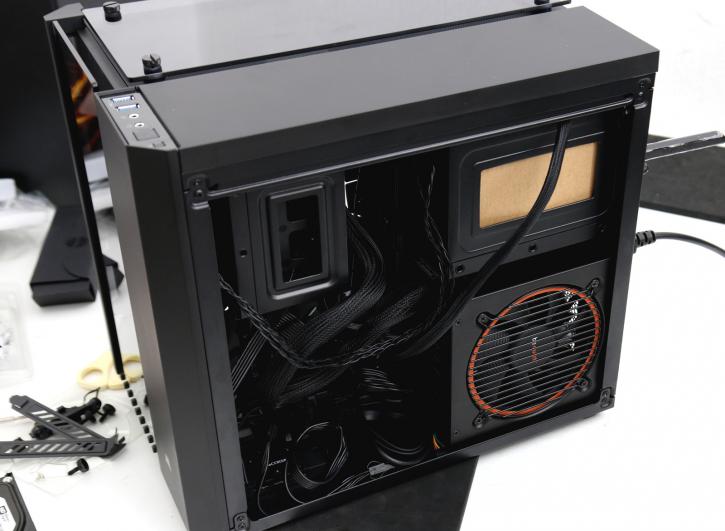
I'd nearly forget about it, as well ... it isn't an issue. Cable routing that is. Plenty of space, the nice grommet (rubberized) holes, and behind the PSU compartment, you have like 10cm of space.
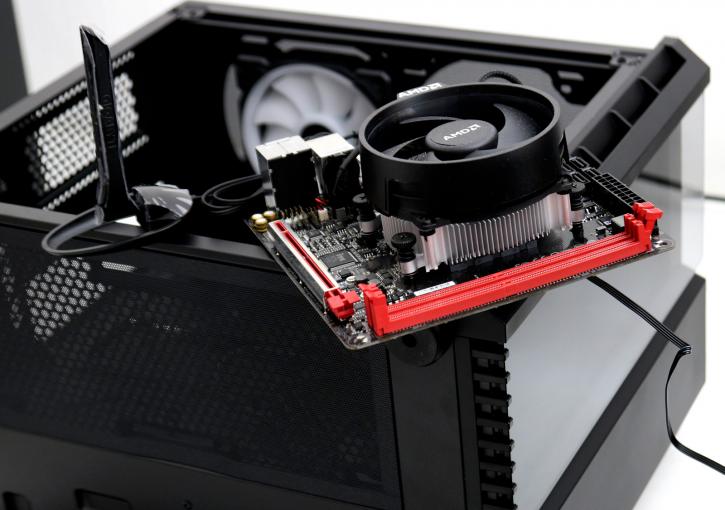
So it's time to put some components inside the, what now slowly is becoming a, PC. We insert an AMD based Micro ATX motherboard, obviously, you can go with Micro ATX yourself as well.
As you can see this cute little motherboard packs everything you need from WIFI to 7.1 channel sound and heck you can even mount a high-end graphics card on there. There is a very decent amount of space available as you can see. Also using a heat-pipe CPU cooler would not be an issue, however, up to 150mm is the maximum.
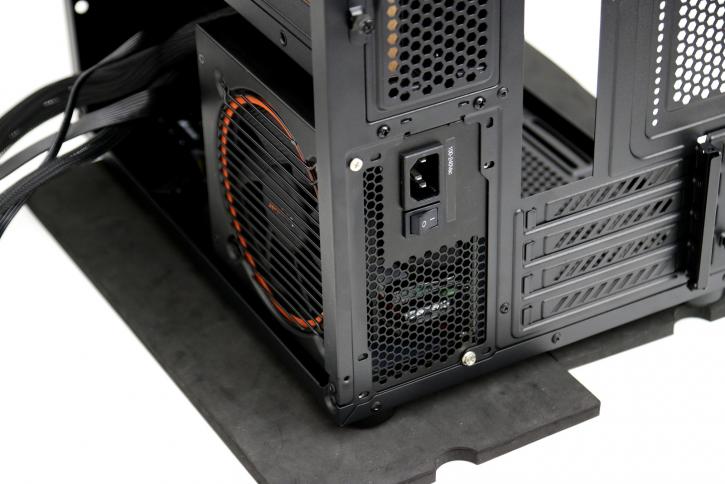
At the opposing side we inserted the power supply and deliberately used too many cables . As you can see you can easily tuck away the cables, after which they are nicely hidden behind the right side panel.
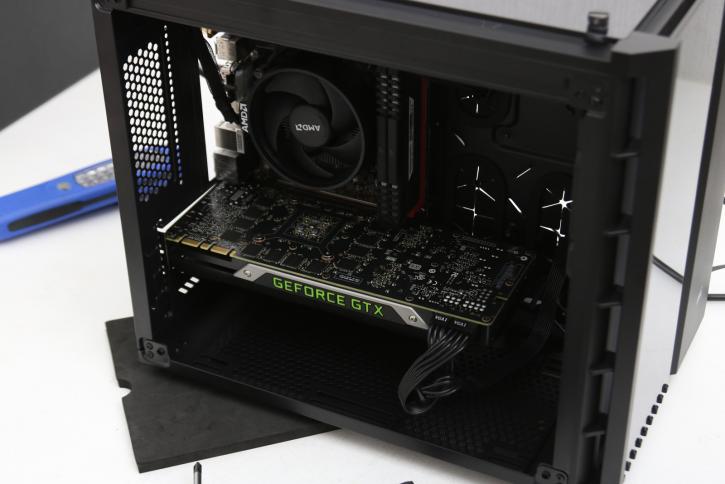
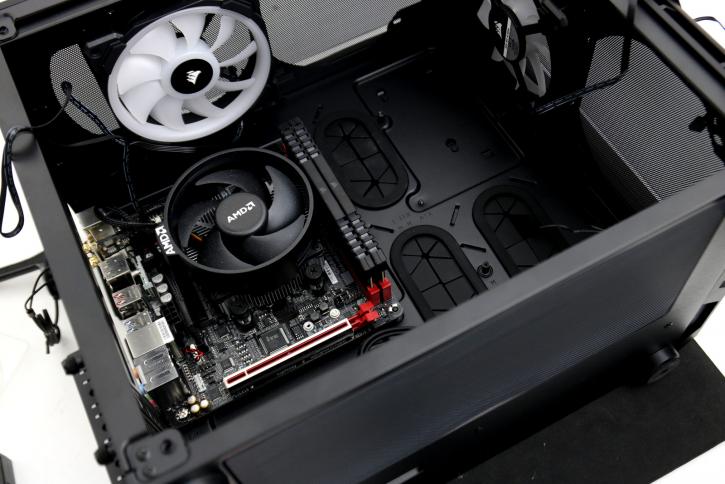
She's shaping up nicely, here I just added a (older) Titan X graphics cards, as you can see, there just is plenty of space everywhere. You could easily mount a 280 rad in the front or top, and with Mini ITX, even the bottom.
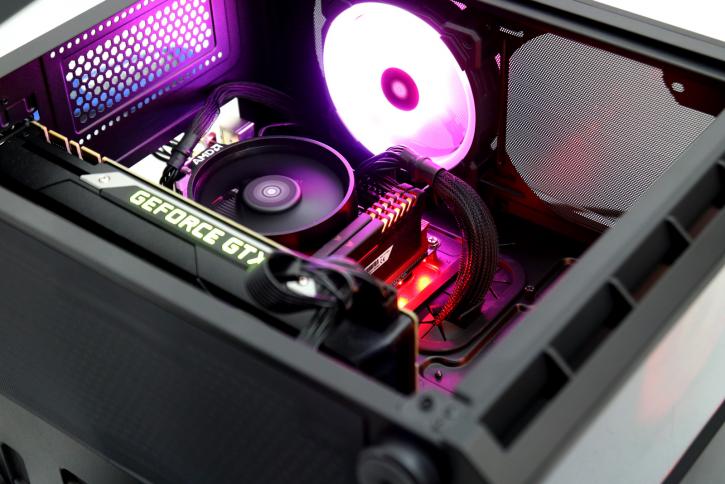
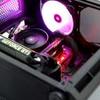
A quick test to see if she is working, and yes Sir, the RGB fans immediately kick in. You need to PWM control them over the motherboard, the RGB part is managed through the Commander Pro controller that is fed by SATA power connectors, and also needs one USB wire connected towards your motherboard in order to work with the iCUE unified software.
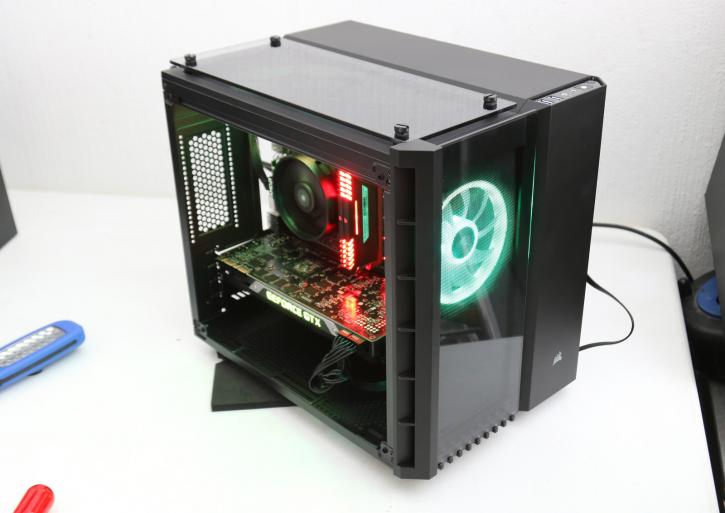
Once I zoom out a little, you can get a better idea of how small the 280X really is, it's been a pleasure to install really. Something I cannot say for a lot of other chassis we've tested. It all just works and fits well.
So, here an example of what you do with all cables, simply tuck them away, as you cannot see them through any of the glass panels. Good stuff. BTYw should you not need your HDD cage, you can remove it as well, bringing even more room for cabling or whatever you want to hide away.
