Product Installation
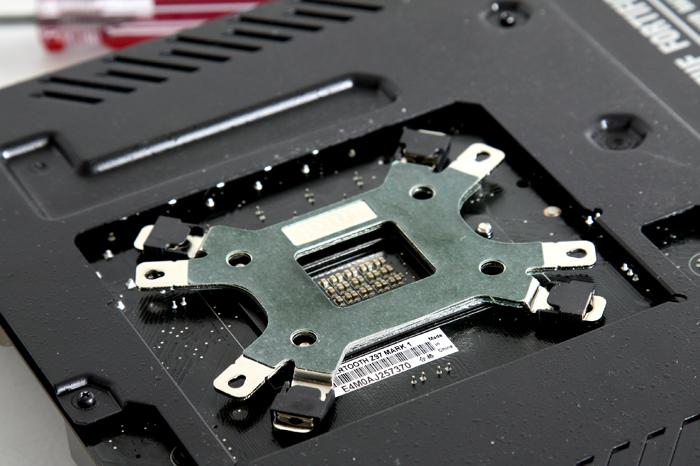
Mounting the cooler is a reltively easy thing to do, though the motherboard needs to come out of the chassis unless you have a chassis with a mainboard cutout for CPU cooling. Now you first prepare the backplate, nuts need to be aligned with the holes by shifting them into position.
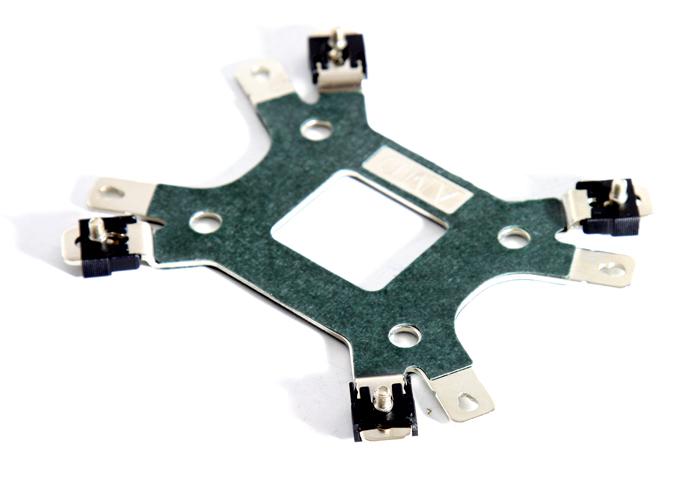
So basically this is the setup; backplate, then motherboard, then mount four standoff studs/nuts and then the cooling block. Let's do just that and let me show it with the help of some photos.
You should have already inserted your processor, applying thermal paste you can do with the supplied TIM. With the backplate in place we now install four standoff nuts on which we are going to mount the cooling block.
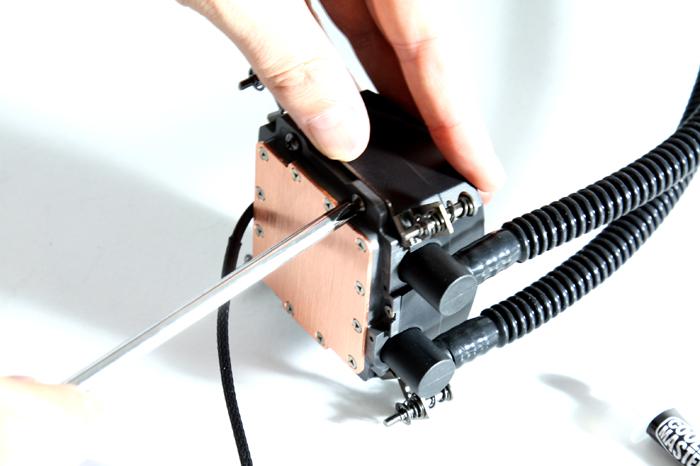
So on the cooling block we install two retention clips with, in total, four screws. The next step is to place the mounting bracket onto the top of the pump so we can screw stuff together tightly.

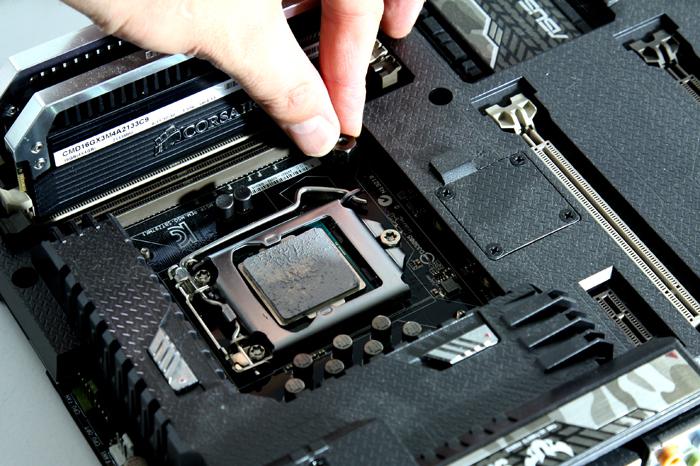
Once we seat the cooler in position it aligns with the four standoff studs. With the help of a screwdriver we can secure the four screws. Turn them tight until they can go no further. Once seated you can now connect the pump lead to a motherboard FAN header, make sure it will get enough power. Once the motherboard is out this all takes like 15 minutes work tops, we positioned the cooler and are ready for the first test run.
