Product Showcase
Product Showcase
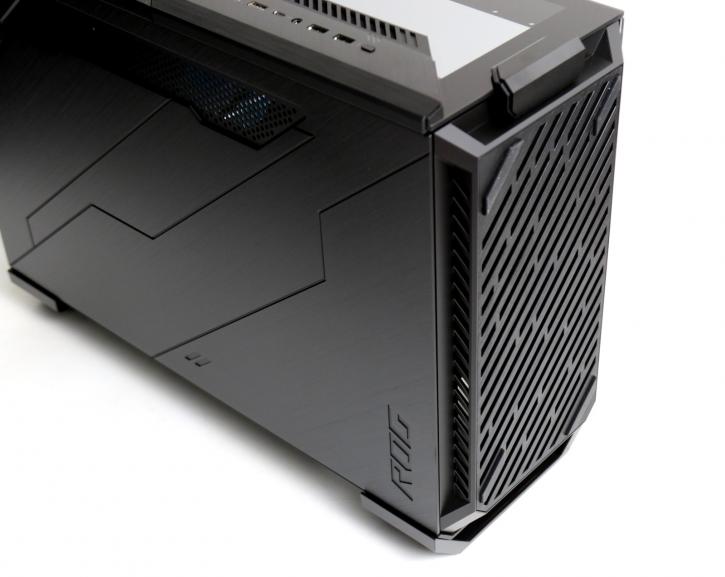
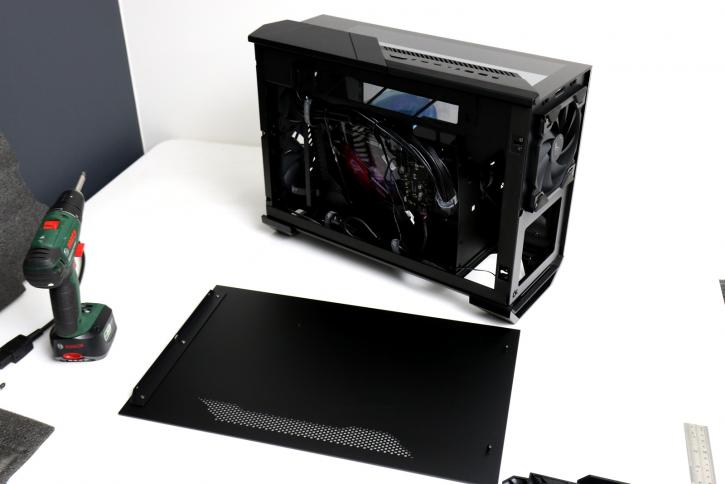
The front and rear panel can be removed pressing the top button and pulling it upwards you. It's attached and locked up there. You can now also somewhat clean the dust filter. BTW see the rubber pads on the mesh? These are rubber feet for then you place the chassis in portrait mode.
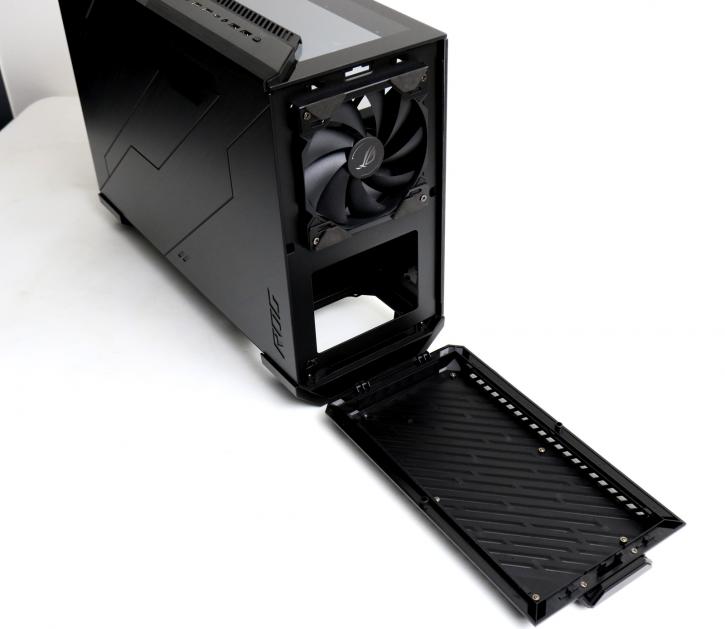
Once you have removed these panels (both) you're going to learn that the side panels have been secured with screws, two each. Once you remove them you get access to panel removal.
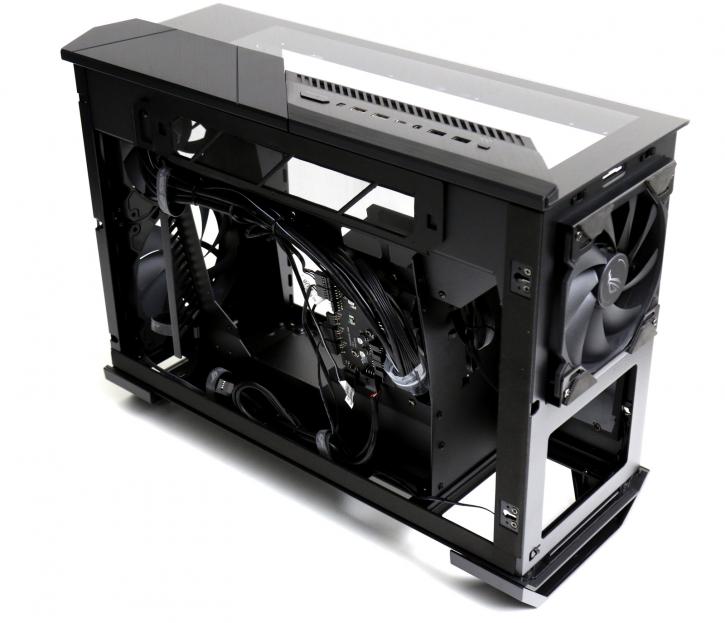
Once we pop the chassis on it's back we can see the bottom side, the case is resting on four rubber feet preventing resonating noises. The PSU will be located at the front side of the chassis, you can use a chassis chimney effect (moving air from bottom to top) in portrait position, and despite what you might expect, the graphics cards actually rests at the top of the front side depending yes, on position. That graphics card can be 320 mm and dual-slot. Mind you that CPU cooler height is only 130 mm so you're looking at a stock cooler, or LCS (240mm radiator on the bottom (or back of the case if oriented landscape),
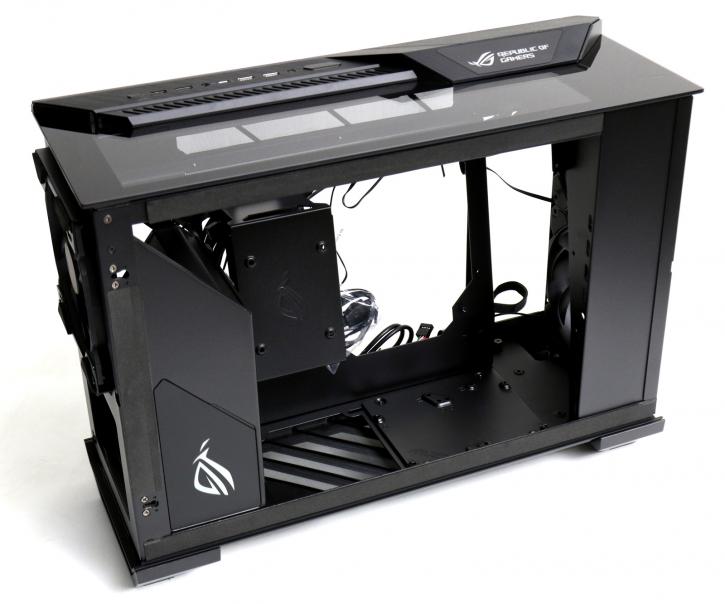
It is a bit hard to see but if you look at the motherboard tray you'll notice that it looks angled? Well, the motherboard’s mount tilts 11 degrees backward for more airflow ”around the CPU, graphics card. Internals then. The first impression, that's definitely not a lot of room to work in but it does offer surprisingly innovative features that allow you to install quite a bit. The ERA does accommodate one hard drive, however, it is capable of mounting 1x 3.5-inch and 2x 2.5-inch, or 4x 2.5-inch SSDs.