Product Installation
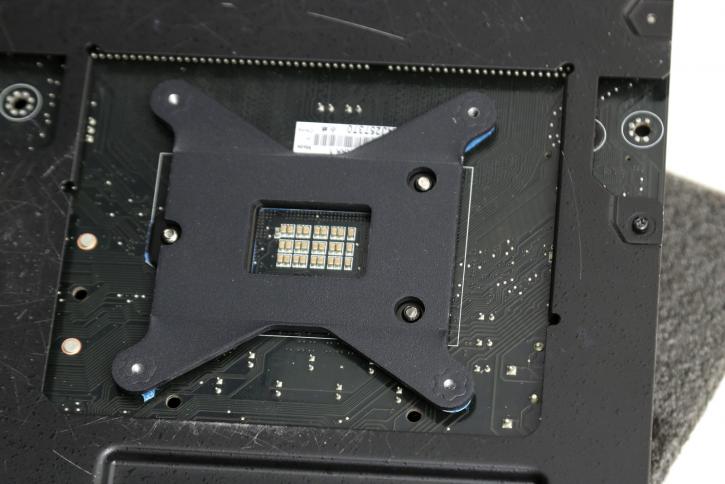
Mounting the cooler is a super easy thing to do, though the motherboard needs to come out of the chassis unless you have a chassis with a mainboard cutout for CPU cooling. Now you first prepare the backplate. We first apply the backplate which we then line up and install at the backside of the motherboard. Just push it through there. The backplate is a bit wobbly to install though as the retention pins do not pass very deep through the motherboard holes.
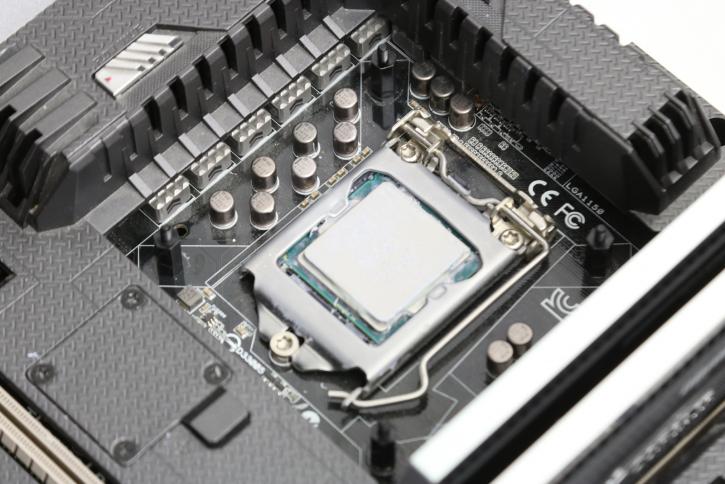
You can see the four holes surrounding the socket, here we insert four standoffs and then mount the CPU block. Mind you, prior to installing you' 'll need to mount two brackets to the CPU block with four screws.
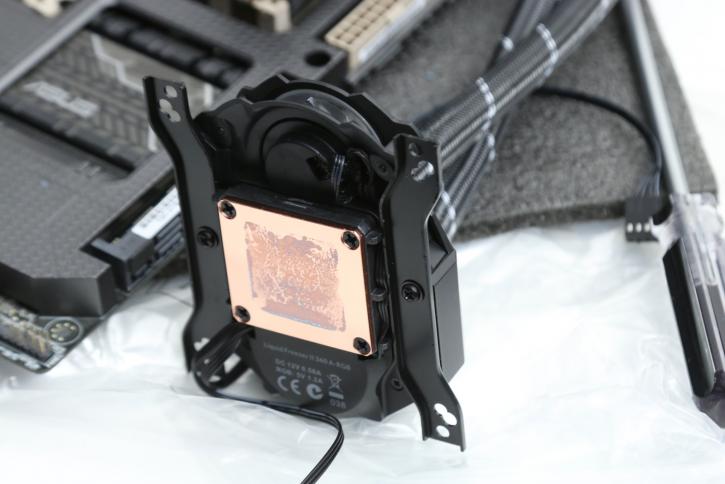
Above you can see the two retention mounts screwed shut. Also, I did a quick test to see if the CPU makes proper contact to the black, and as you can see that's really good.
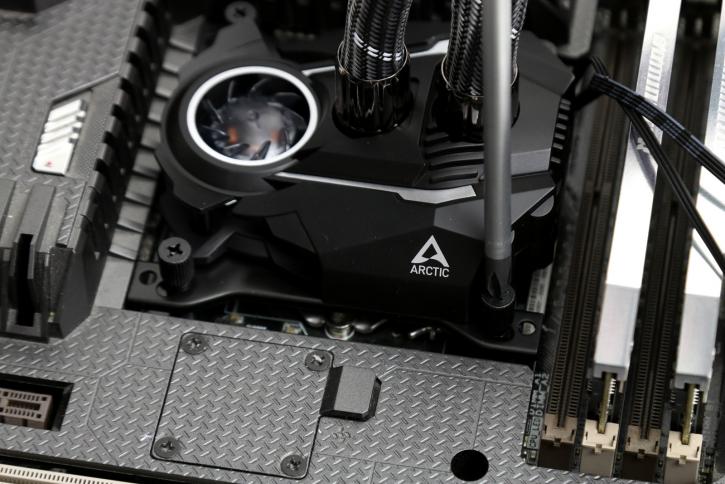
Once seated and secured with four mounting screws you can now connect the power lead to the motherboard CPU FAN header. For first installation please do select a normal CPU fan profile in the BIOS first, later on, you could tweak for silence or better performance of course. The fans are already bridged and connected, basically, you connect one FAN wire to the CPU FAN header, then connect aRGB to your motherboard or a controller, and you're done. All this is 15 minutes of work, we positioned the cooler and are ready for the first test run.
