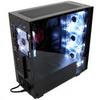
Product Showcase - Interior
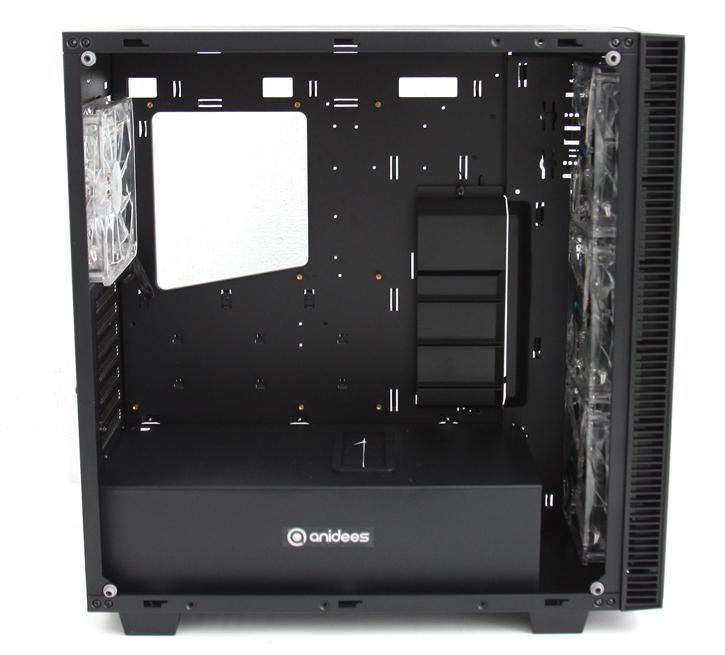
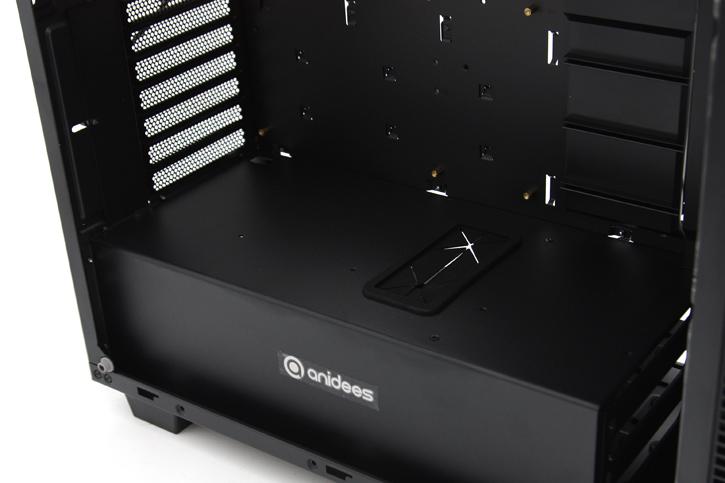
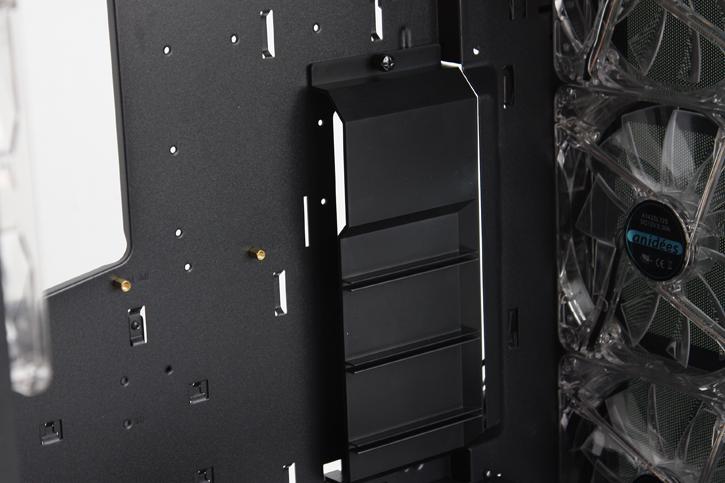
Once we strip away the side panels with four flat thumbscrews each, we can have a look at the interior. You will notice that the design is a bit different from what we are used to at that bottom compartment and see through design. You can install SSD/HDDs in a rear mounted cage with the cabling leading through the backside. As you can see from this side, this setup nicely hides the PSU and HDD trays. There is plenty enough space to access the motherboard and you can fit pretty big components. The chassis supports graphic cards up to 410 mm and for the CPU cooler up to 175mm in height.
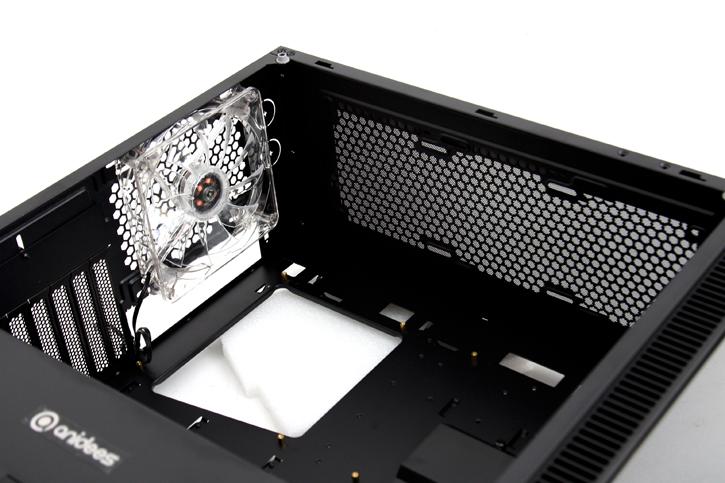
At the top you can see a rather sizable mesh behind the one 120 mm fan, this will be your primary exhaust alright. Airflow, while not bad is not very optimal either for this chassis. So on the left we spot that fan, obviously the rear exhaust fan. Cable routing is just not a problem with this chassis.
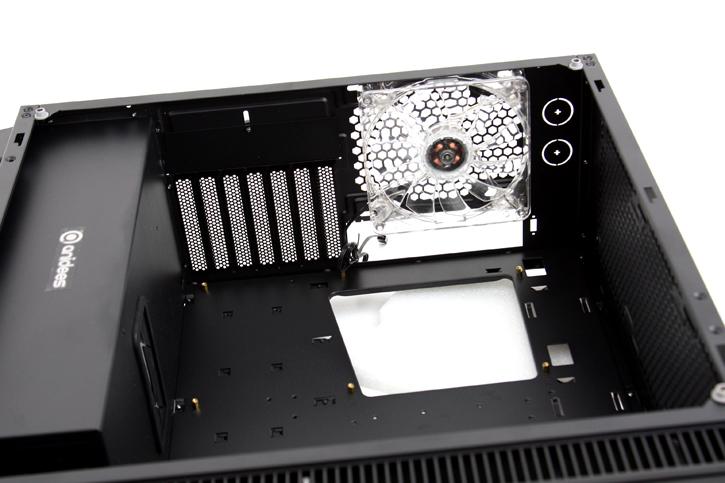
Located just under the rear fan we spot 7 PCI card slots and all the way at the bottom space for a PSU. There is a grommet hole with rubber inlay in there and a HUGE gaping holes so you can work properly at the backside on your motherboard to mount new cooling solutions.
Here the PSU compartment, it can be up-to 200 mm in length, I do advise to stick to 18cm maximum as you will have cabling and plugs leading out of the rear of that PSU + you want a little extra space to hide and tuck away cables in.
Inside the motherboard tray the holes have covers, the black panel you are looking at simply hides any cables leading to the motherboard giving is very clean looks. As simple as the idea is, I like this very much.
