Product Showcase
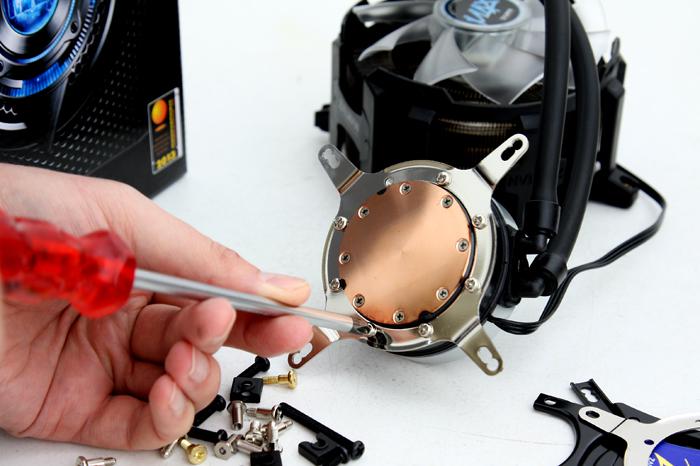
So here is the phase where we slowly start assembling a test setup. First we mount the intel retention clip on the water-block, eight screws and it's in place.

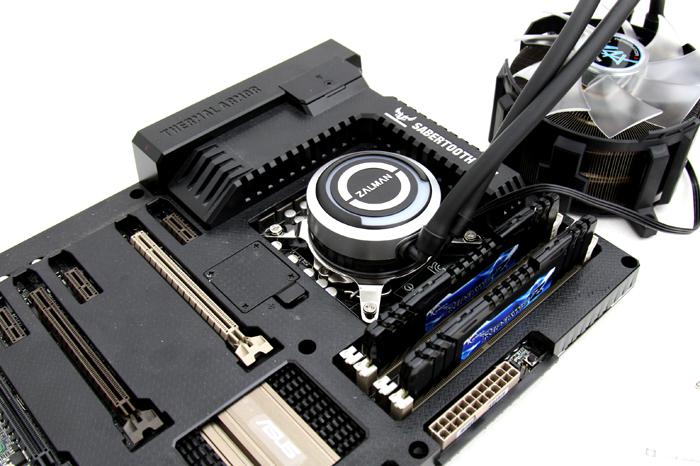
Typically you push the screws through your chassis, then the fans and then secure it all on the radiator. In the early stages you need to decide where you'll be positioning your radiator and how the tubing and wiring will be managed. As you can see, the fan is not ptotected. once that thing starts spinning at 2000 RPM, be careful to not place your fingers on there.
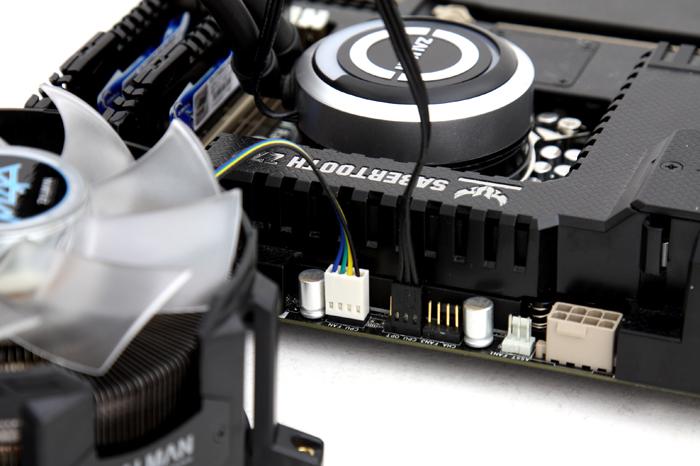
The pump you connect to an optional fan header and the FANs towards the CPU FAN header, that way you can regulate RPM in the BIOS. We recommend you to have the motherboard BIOS set at normal instead of quiet as these fans hardly can be heard under normal operation.
Basically this is the setup. But let me show you the actual installation a bit more in-depth.
