Page 11
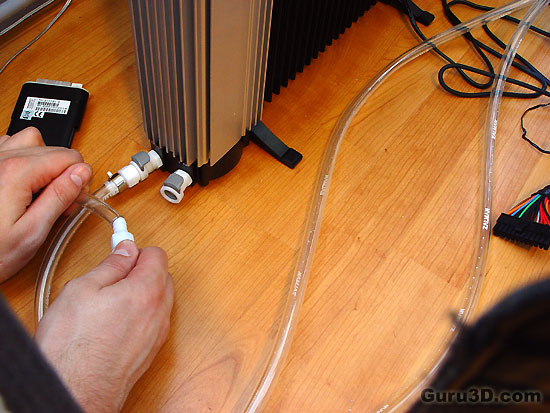
Here we install the easy to use quick-connects/couplings. Pretty cool and easy insert connects. They just do not leak and if you remove them from the reserator, well, they're closed, so no water will spill out of the reserator. We have an inflow and an outflow. Simply push them into the reserator and we are almost done here.
Since we now have completed the flow line and thus entire water circuitry, we are going to do a double-check to see if everything was fitted properly and that you have your flow-line optimised. Do not hook up your PC towards the rest of the peripherals or PSU. We'll test functionality of the reserator before we turn on the PC by using a bypass.
It's the anti-corrosion coolant additive. Seriously now, keep that away from kids unless you really really extremely badly dislike your kid.
The Algae anto-corrosion fluid (goop as I like to call it) prevents your pump from any (future) damage and also prevents algae growth. You will need one to two liters of distilled water to fill up the reservoir though.
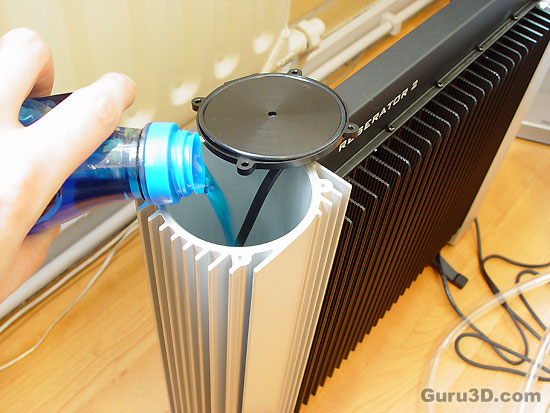
Now grab distilled water and fill up the rest of the Reserator up-to like two-third. If you can't get a hold of distilled water then please do not use regular tap water, booze, nitro-glycerin or any other non-specified coolant. Regular water for example has a lot of calcium and bacteria in it. Give it a week and you have millions of new little friends waving at you from inside that tubing. Well they're not waving yet screaming and begging to get out, they're a bit dizzy from the continued roller-coaster ride.
If you do need to use regular water in it then bring it to the boil for a couple of minutes and let it cool down. Then use that water and most calcium will be gone and most bacteria dead from the heat.
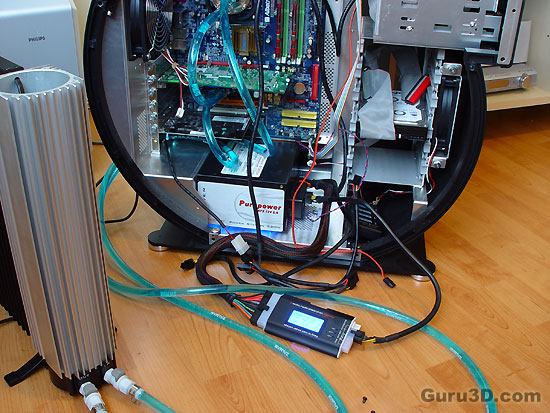
I have bypassed the PC from powering up by using this handy PSU tester. Basically the only thing connected towards the PSU is this device and the resonator. If you do not have such a device use the green supplied wire. Take the 20 or 24 pin ATX power connector from the PSU and hot-wire the Green wire with the black one next to it. That's power on.
Give it a minute and allow the coolant to be spread through the tubing. Monitor for air packets and turn the pump on and off a couple of times if you do not see flow. If there is proper flow then the flow control indicator will show movement from the flow-meter at the front of the device. You can also lift up the reserator a little as gravity will help you.
It literally took us like 5 minutes before there was constant and air-free flow. Check for leaks, double check and after a few minutes triple check. Once confident that all is secure you can turn on the PC. To date we have had no leakages whatsoever!
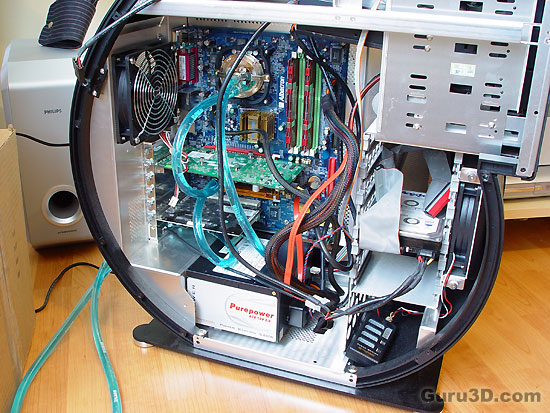
It's starting to look pretty already isn't it ? BTW in case you are interested, that's the 20th anniversary PC casing (PC777) from Lian-Li. Read our review here.
