Page 4 - The Photo Shoot #3
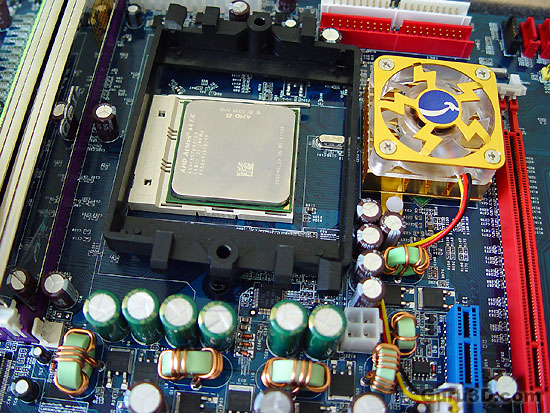
Yes, that's a thousand dollar processor right there, the AMD64 FX-57. If you are not using a new processor, please make sure you clean the top of the CPU, leave no residual thermal paste. Try a little nail polish remover (acetone), but be careful. As you can see I removed the two screws securing the Socket 939 retention clip.
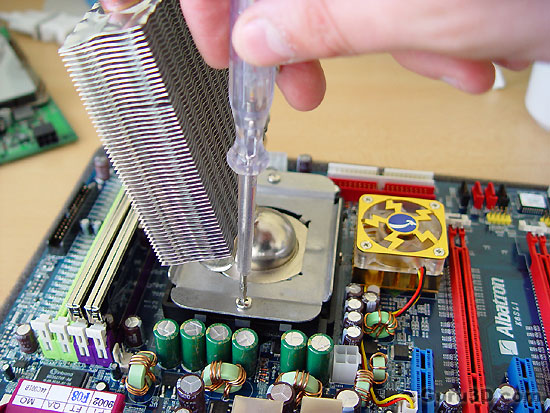
Vapochill Micro has three copper pipes running through cooling ribbons, the evaporator chamber that goes on top of the processor. The coolers 'chamber' is places under the provided metal shim. The metal ship is now placed on the top of CPU retention unit. Simply use the two screws that are always in that socket 939. You re-use the screws after you placed the cooling block on there, mount hem secure but be careful of course.
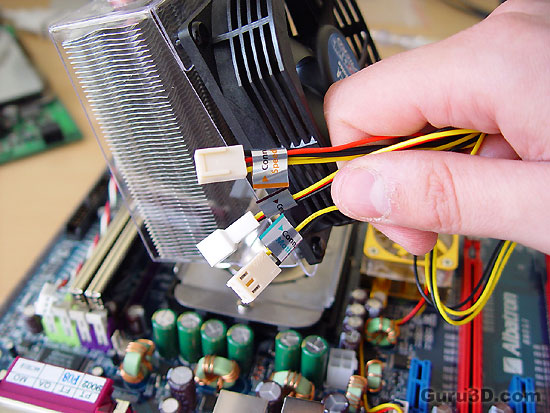
Now we attach the plastic cap after we mounted it with the ventilator and have a look at the wiring. Asetek has included a pass-through molex connector,and a splitter cable with one end going to your motherboard to measure the rpm, and the other powering the fan on the Vapochill Micro.
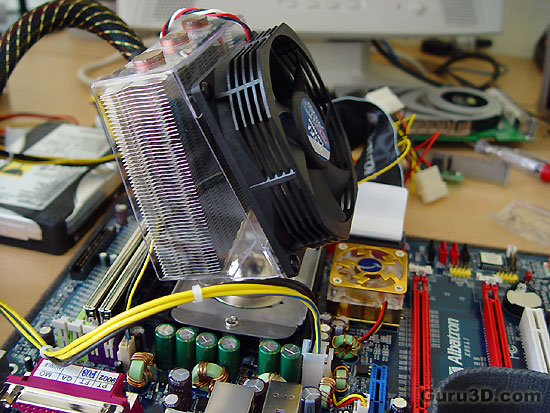
Look good at the photo, simply always position the fan in such a way that the gas in the chamber can rise upwards through the pipes. So remind this, in a vertical positioned PC the fan should always be pointed downwards to the ground.
Now then, let me say it out loud again... a 30 seconds installation? heh.
