The Exterior
The Exterior

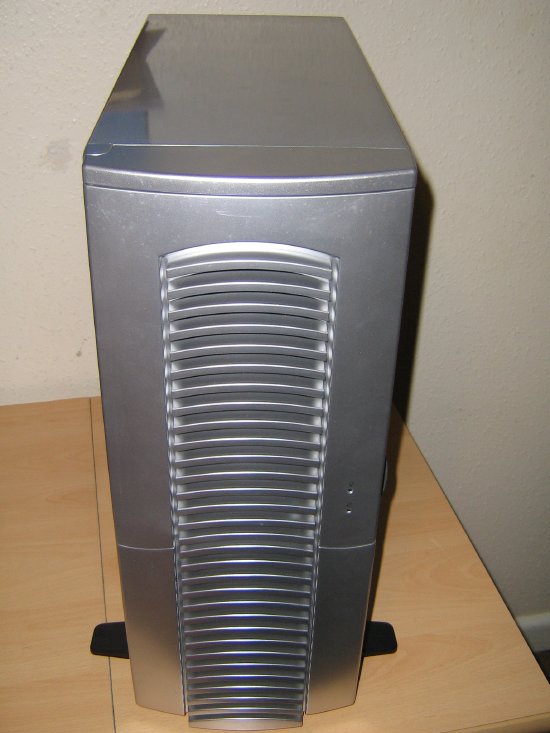
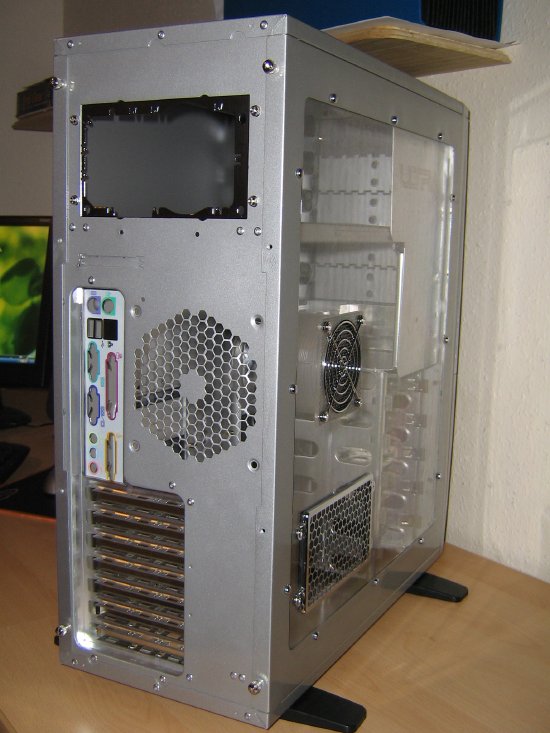
This shot should give you an idea of the size of the case. It's a little bigger than most mid-tower ATX cases and as such there is plenty of room to work on the inside.

Notice the grill and the side panel duct on the window there. I have a seperate picture of the duct later on, but in terms of the grill, it's a good idea and allows your video card to get some ventilation. What might've been an idea though, is to make it perhaps 80mm, or a particular fan size, so that the user could attach a case fan there blowing directly over the video card. This would mean the video card would be more adequately cooled than simply having a vent there. But that's just an idea.
Yep, definitely still resembles the old Chieftec Dragon. The feet protroding out the side will add stability, and can be hidden away under the case should you decide not to use them. To the right side of the case are the hard drive activity and power LEDs. Contrary to the specs, the case we received had a power LED that glowed a bright blue colour, and an HDD LED that glowed a faint green.
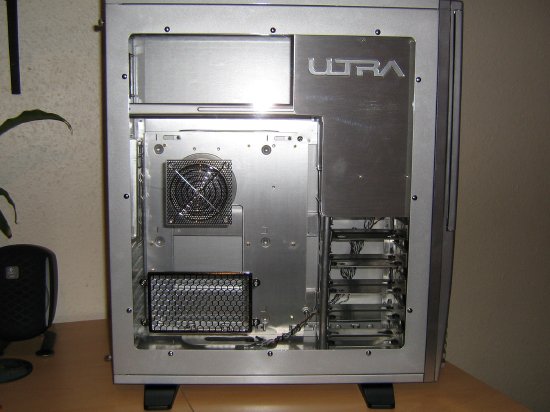
A shot from the side, just so you can see that space that's available in there. You might have notice the sheet of metal covering the drive bays to the top right of the case. This is a nice touch as it covers the bays and thus your wires. You may wonder, well, where do you put the screws in if that's in the way? The answer is that there are no screws, the 5.25" bays use a screwless drive rail method. That Ultra branded sheet can actually be removed, but I saw no need. What I would've liked to have seen is some tabs or indents in the window so that you've something to help lever the side panel from the case. Currently there is nothing particularly there to grip onto. Not a big problem, but it might help some people out.
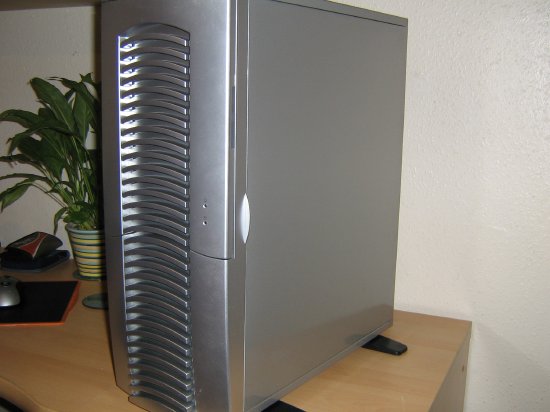
From this angle you can see where you open the front door but also the whole front bezel/fascia. The clip holding the bezel in place seemed a little weak to me and a couple of times it swing open when it shouldn't. I think it needed to be a more robust to hold the bezel in place better. This could be an isolated problem though, and isn't particularly serious.
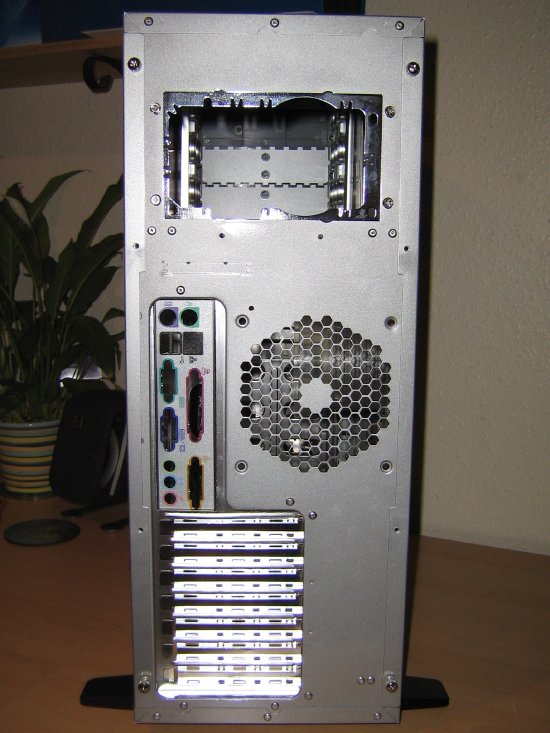
The rear of the case then. You've got a 120mm fan which unfortunately isn't screwless, but is held in place by those traditional self tapping screws. Neither screws nor fans were provided. Screws I can understand since there were no fans, but including no fans with the case has its plus and minus points. On the plus, it allows users to choose fans according to their desired noise levels/airflow requirements. On the minus side, it means that not everything is included with the case, so you can't install everything into it and off you go. Well, you could, but I personally will never use a case without case fans as that's asking for trouble, especially with high-end gaming systems.
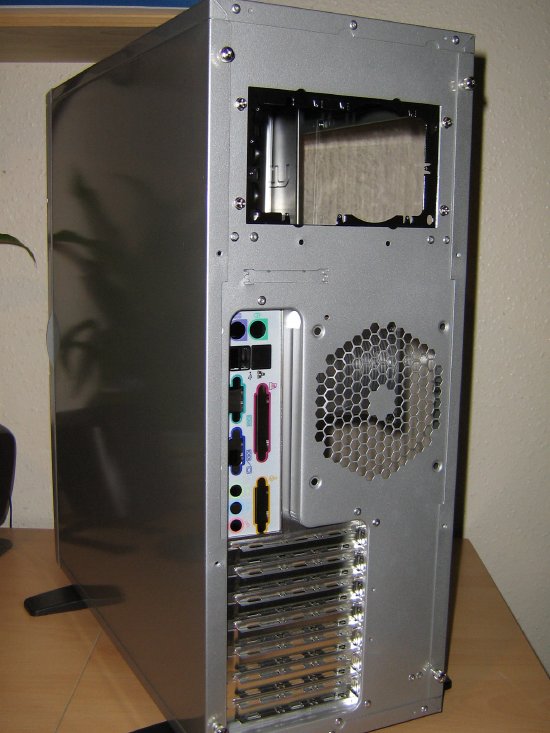
Plenty of room around the PSU area. Thumb screws are there to hold the side panels in place.
I've never really understood why case manufacturers include standard I/O shields with their products. 99% of the time they do not match up with the ports available on the users motherboard. Thus, needless to say you won't need this and it should be remove and replaced with the one supplied with your motherboard. The metal surrounding the I/O shield was actually quite weak and flexed a lot when inserting the motherboard I/O shield. It also didn't fit perfectly straight so I had a slight issue with the sound ports on the motherboard not fitting through as they should.
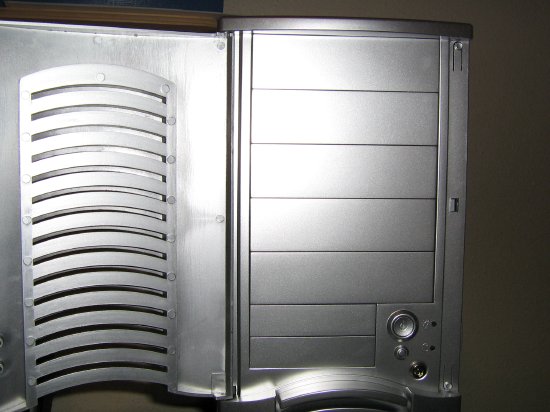
Opening the door reveals the five 5.25" bays, two 3.5" bays, power and reset buttons, power and HDD LEDs, and a lock to stop people opening the whole front bezel.
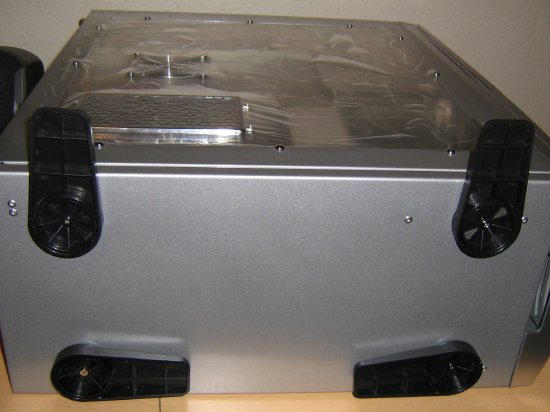
This is just a quick snap to show you the feet on the underside of the case and how they can be rotated. I use them protruding when the case is standing up and tuck them back in when I'm working on the case when it's laying on it's side.
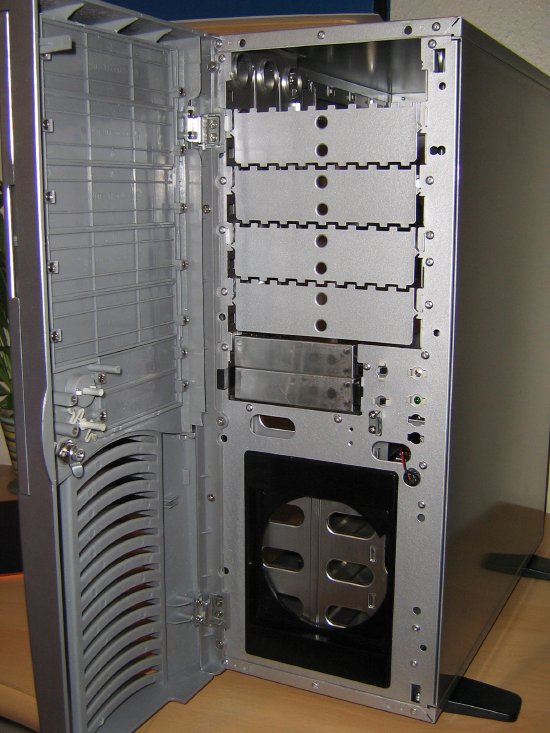
The whole front bezel opened. You'll need to open it to install your floppy/DVD drives/card readers etc, and also to install the front 120mm fan. The covers over the drives need to be removed as and when necessary. They are screwed in place. The 3.5" bays are quick release, and that black surround over the fan area needs to be removed so you can screw the fan onto it. There are four clips on the back of it, two on each side, to which access can be gained from the inside of the case. Once removed, I found that the holes in the bracket were too small for the self tapping screws that the fan took. They hadn't been drilled properly, so I had to redrill them a little bigger so the screws would actually fit and I could mount the fan.
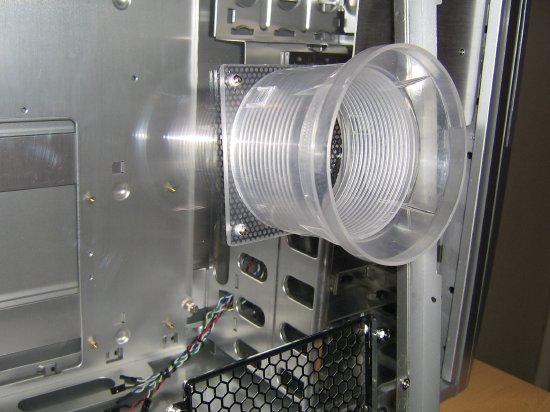
A close up of the duct. The problem with this duct is that it's very long. You would also need to attach a case fan to it as well, so that's another 25mm on top. If you've an aftermarket cooler which is even remotely tall, you won't be able to use this duct let alone a fan as well because there simply won't be room. I wasn't able to use it, but I did use the fan and filter on their own.
