NAS installation
NAS installation
So as explained, most NAS units can be setup remotely with a browser, however for the Thecus W4000+ you get a NAS with Windows Storage Server 2012 R2 Essentials. You will need to connect a mouse, keyboard and monitor towards your NAS unit.
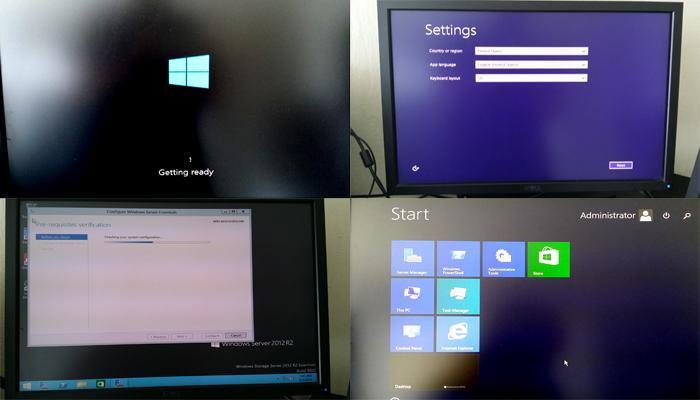
Once you connected them and connected the Ethernet jack you can power on the device. Above a couple of photos demonstrating what you guys all know from Windows installations.
Do not worry, everything is installed already for you on the embedded SSD, it's just ther final phases of the installation where you need to configure the administrator, keyboard layout and your Windows Storage Server 2012 R2 Essentials license key. Once done you will enter your desktop.
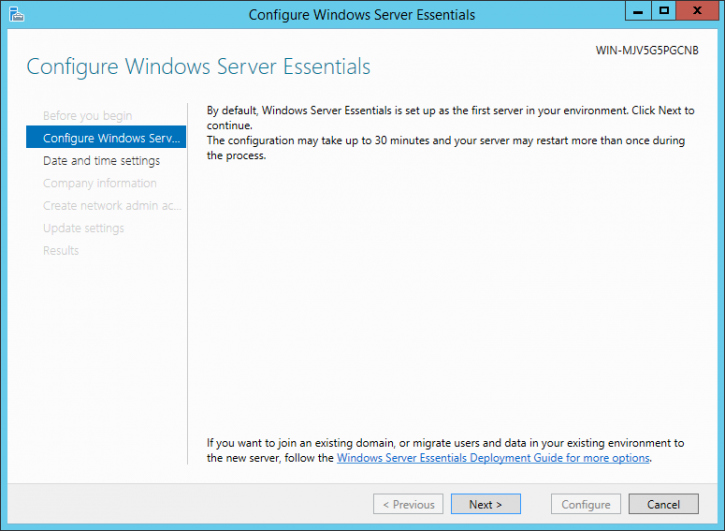
Since we are now in a windows environment, we can take screenshots. We a greeted by a new prompt though, this is Windows we'll need to setup some defaults, and then have Windows download all its OS and security updates. This can take a bit of time.
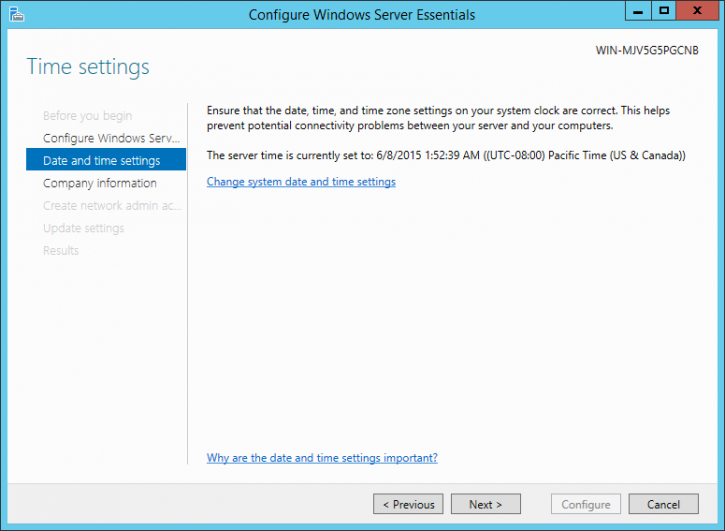
You will be taken through the basics like automated time updates and timezone configuration.
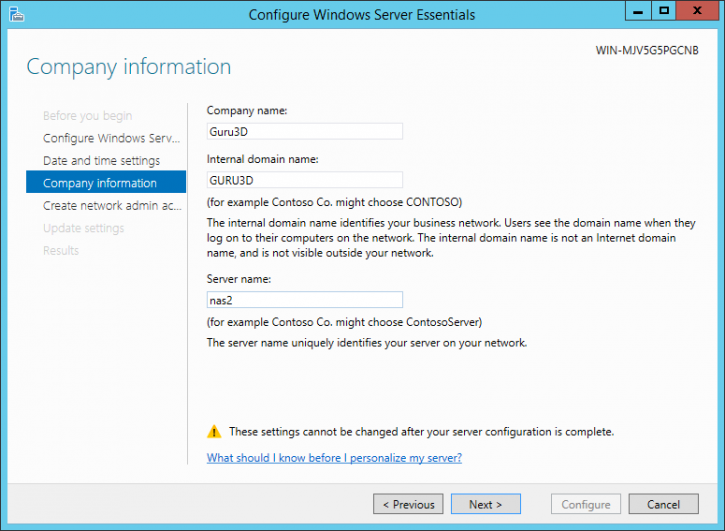
Then there's your internal domain name to enter and a server name, you are totally free to choose something up-to your preference of course.
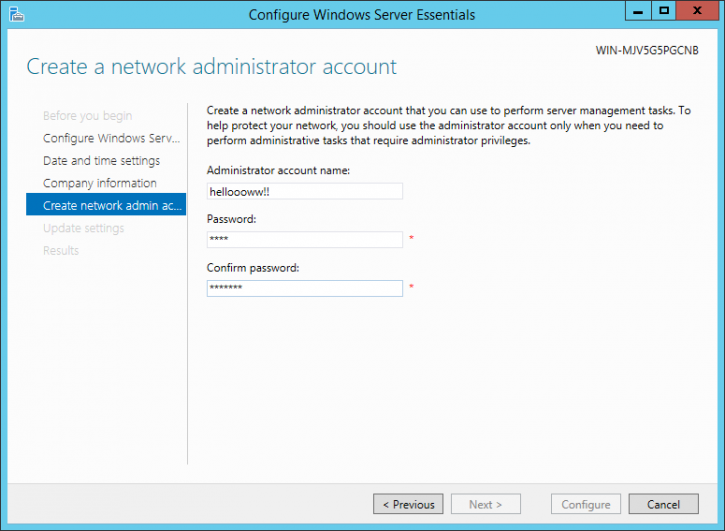
Also handy, enter a unique administrator account name and password.

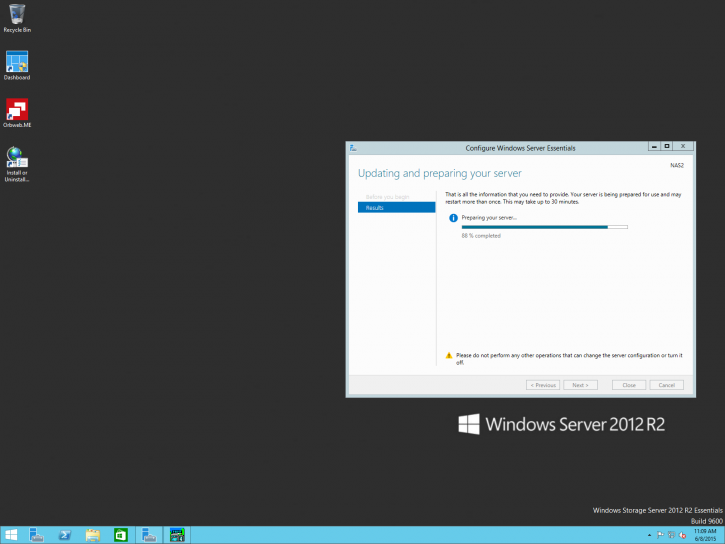
Then the final step for the OS installation is prepping and updating, this can take a while with a couple of reboots. BTW enable auto updates and keep your OS patched !
Once the final stage has been completed you'll see one more reboot and your system is ready to use. It's time to configure storage units and users. Above you can see the desktop environment you are working in.
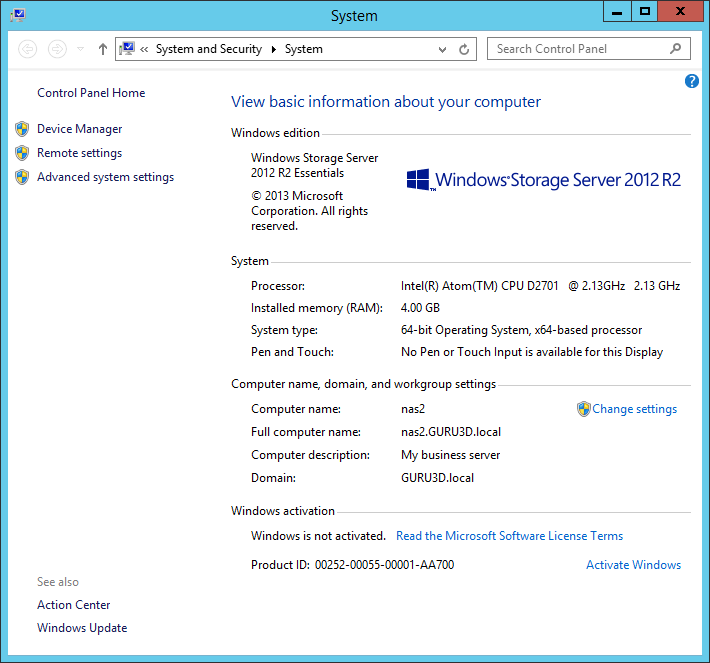
Yeah that's Windows alright !
