Software Installation
Software Installation
The first step is to connect NAS to the same network that your other devices are going to be on. For the purpose of this review, the unit is connected to the TP-Link Mesh System (Deco M3).
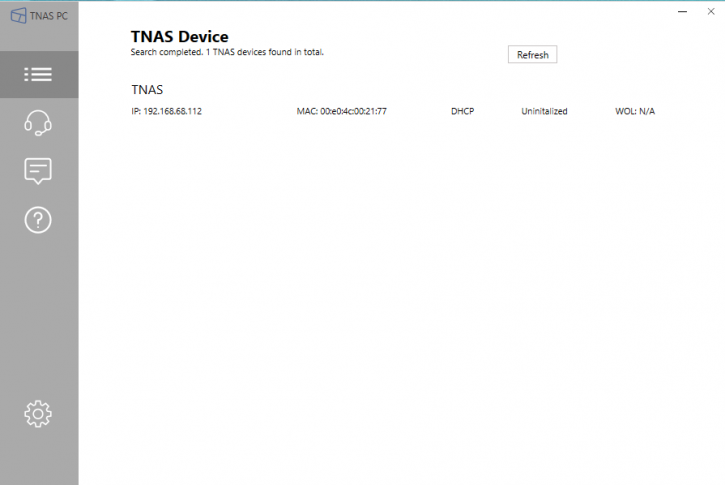
When the app is launched, the software will immediately begin searching for active NAS devices on the same network. After that, the setup is relatively straightforward and is done almost entirely through the TNAS and TOS software. The F5-221 supports hot-swapping of hard drives. If a user forgets to install a drive after powering the device on, they can simply run 're-check' from within the TNAS software.
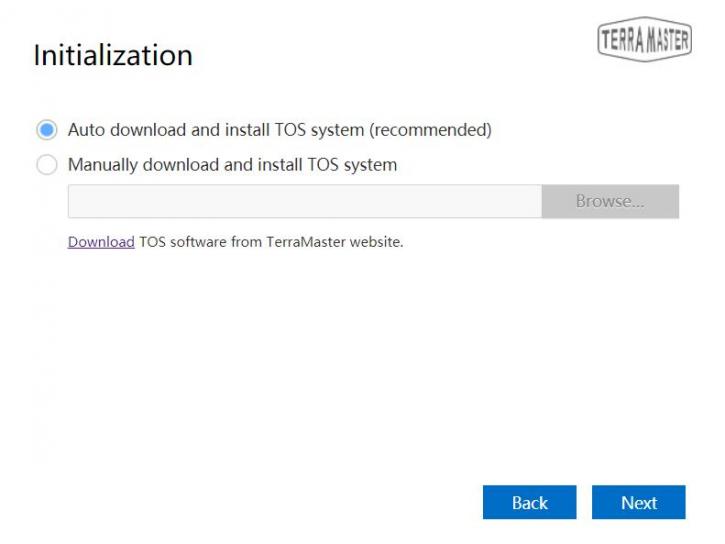
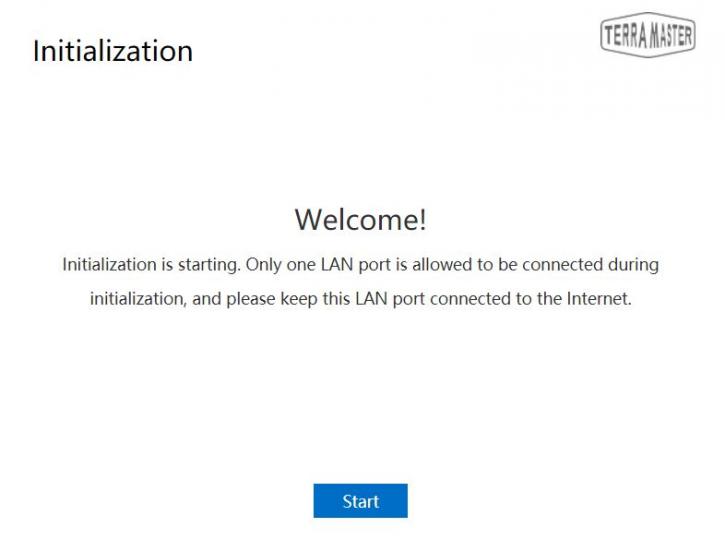
Installation of TOS is now underway and can be done either using the automatic detection method (I did that) or manually, using a package available on Terra Master's website.
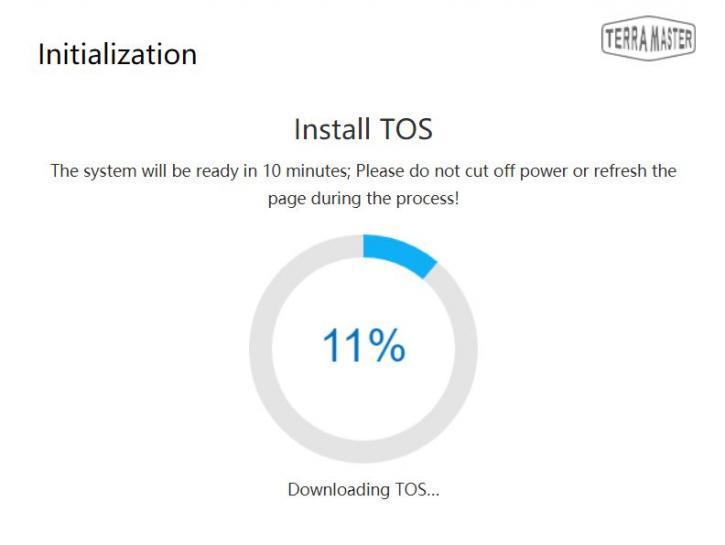
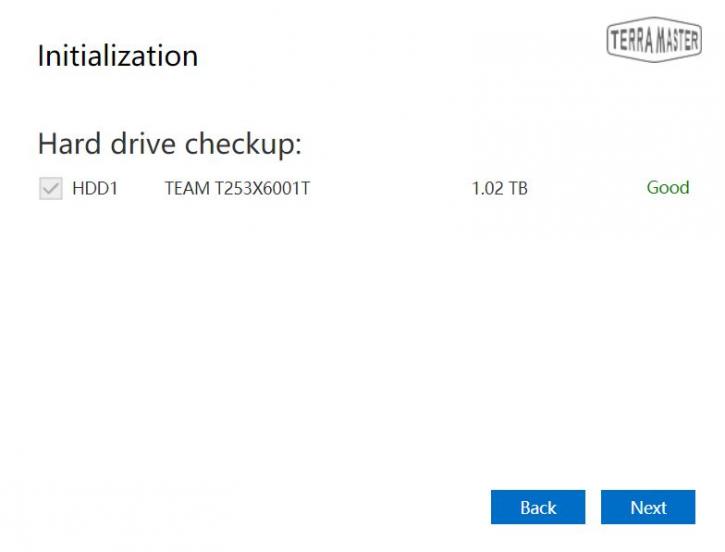
After that, the TNAS will automatically restart, and the setup will proceed to the next step. The setup process was a breeze until that point.
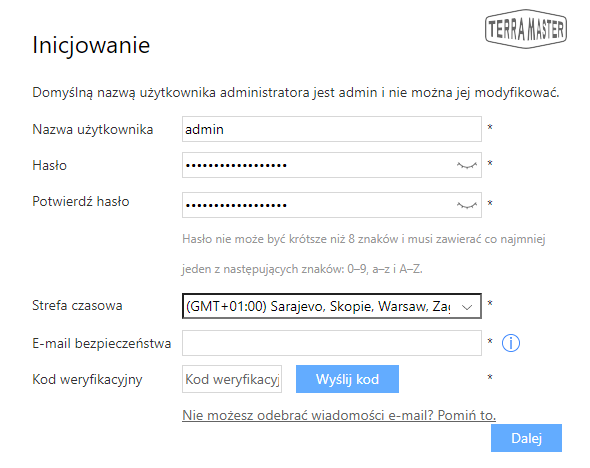
Some basic settings for the NAS/TNAS are required here, including a password, device name, and time zone. Administrator settings are next, with an e-mail address required to receive a code at, so that proceed and finish off the rest of the administrator setup. Sorry for the polish language used here, but in fact, there was no choice for that stage (as it most probably detects the user/windows settings).
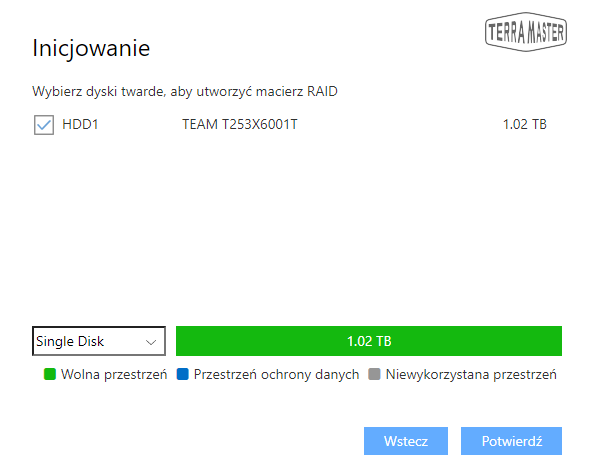
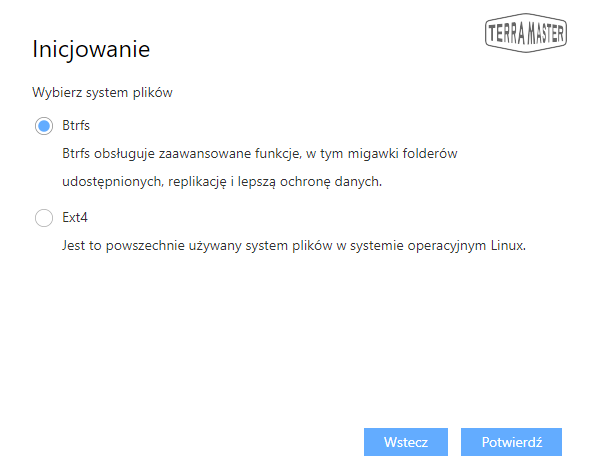
Then you can choose to set up a RAID and the file system. After this, the NAS is all set and good to go. So that’s it for this page.
