Product Gallery
Product Gallery
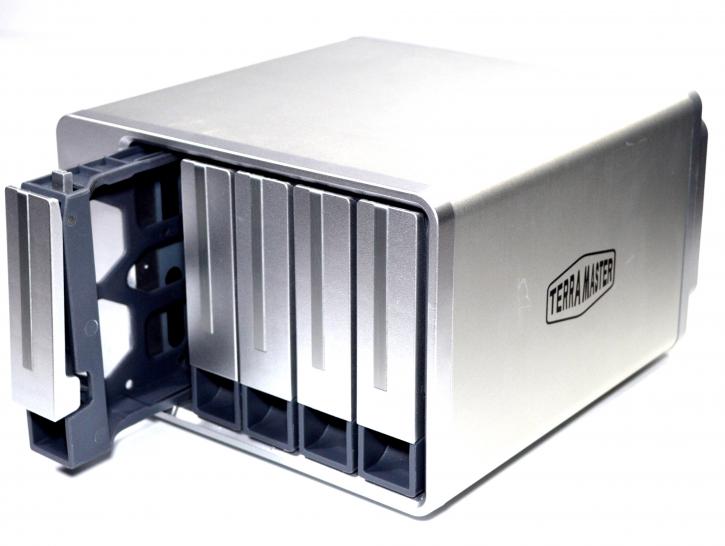
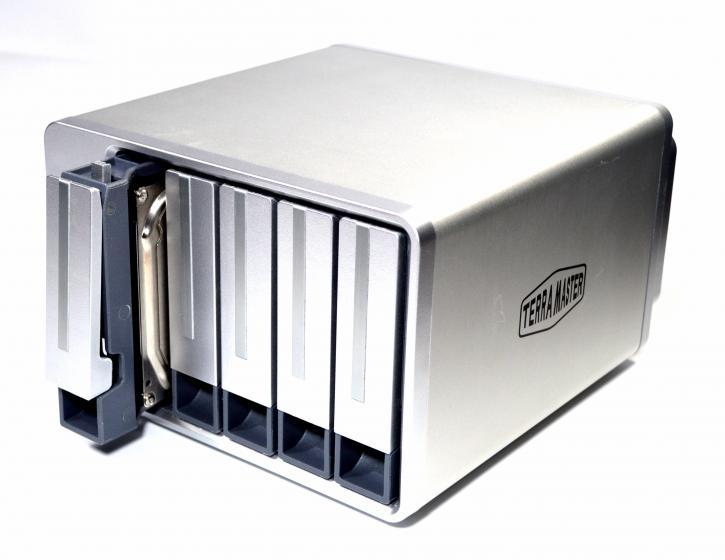
The unit as a whole does look good and sleek, even for a home setup. There’s no way to change settings on the front panel, but you can do that in the web-based GUI.
As for drive installation, each tray pulls out of the NAS via a catch.
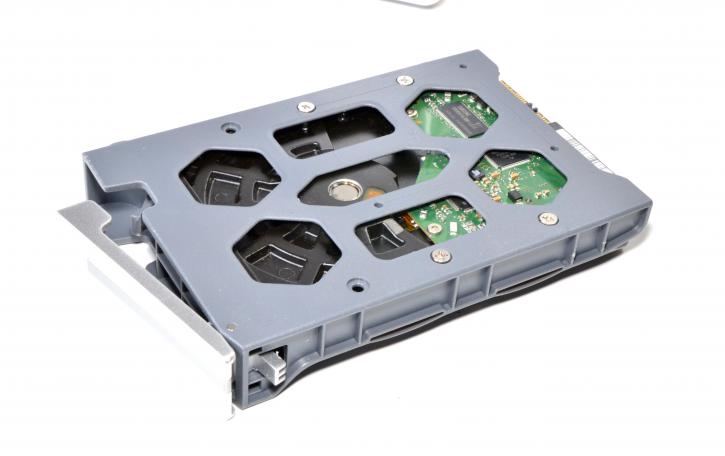
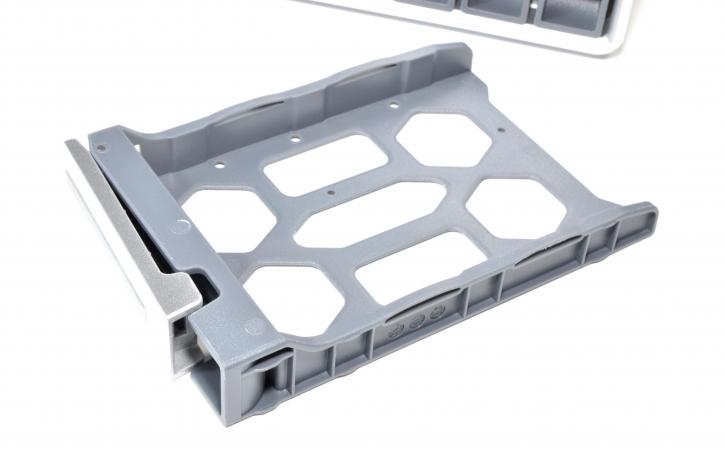
You insert the HDD/SSD into the tray, flip it over, and then secure the drive in the tray using the provided screws. It would be good to have the toolless solution here, but that’s not the case.
After securing the drive, you need to slide it back into the case until it hits the endpoint. Then you can push the latch down, and that’s it.
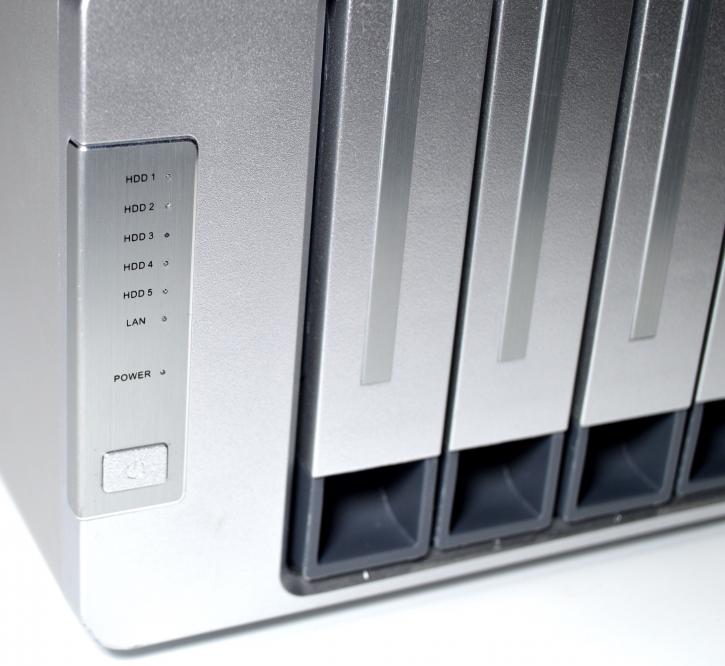
After powering on, the NAS initializes each disk, and you will see a solid green light when it’s ready. If something is wrong, then you’ll see a solid red LED. Detailed information is available in a web-based GUI.

Here, you can see both fan units (80 mm ones). Will they do their job as they should? We’ll find out later in the review.
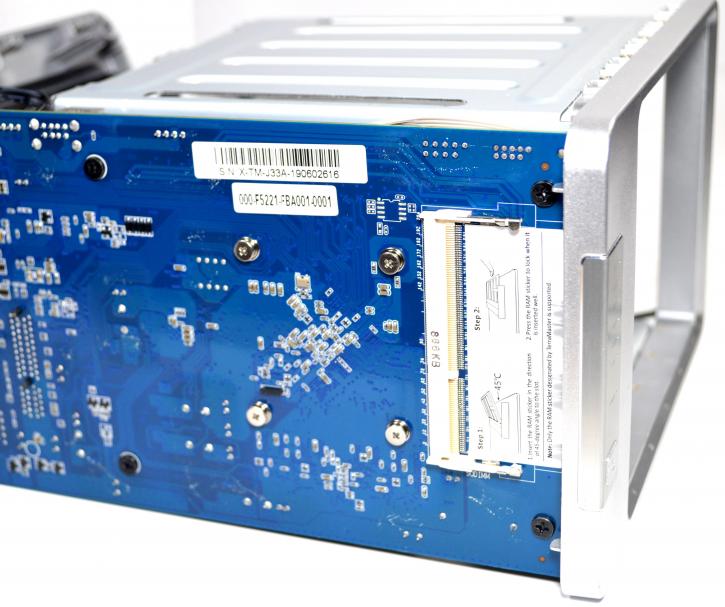
There's also a slot to expand the memory from 2 to a maximum of 6 GB.
