NAS Settings & Storage Manager
In the last set of screenshots before we move onto the benchmarks (which is a slightly shorter segment than you may be used to, as I will explain), we will quickly cover the F4-220's general settings and storage management options.
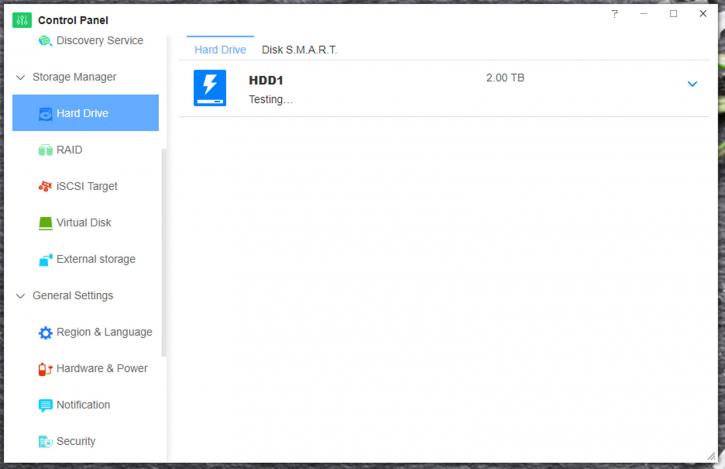
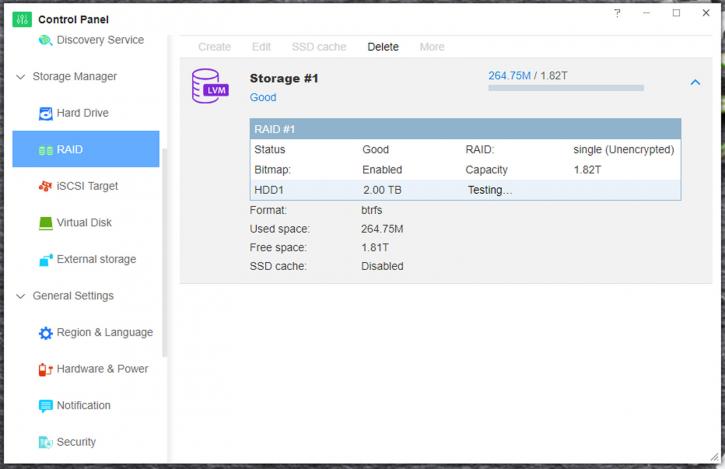
First up, storage management. Right off the bat we have a fairly comprehensive 'drive health' segment, that includes S.M.A.R.T disk checking, bad block scanning, and even detailed SMART info that I am only used to seeing on dedicated disk benchmark/scan software. Pretty nice. Next, there is a RAID segment, but somewhat useless to us as this reviewer only has one drive. That said, it will still list whatever drives you have, even if they are just being used in their own right. The option to create further RAIDs is here, naturally.
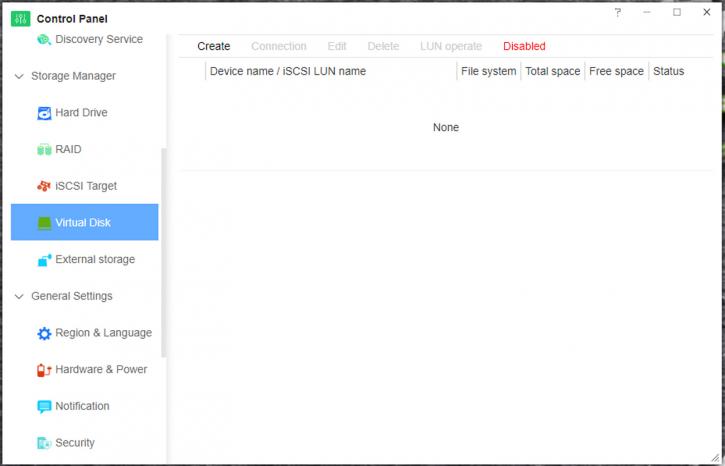
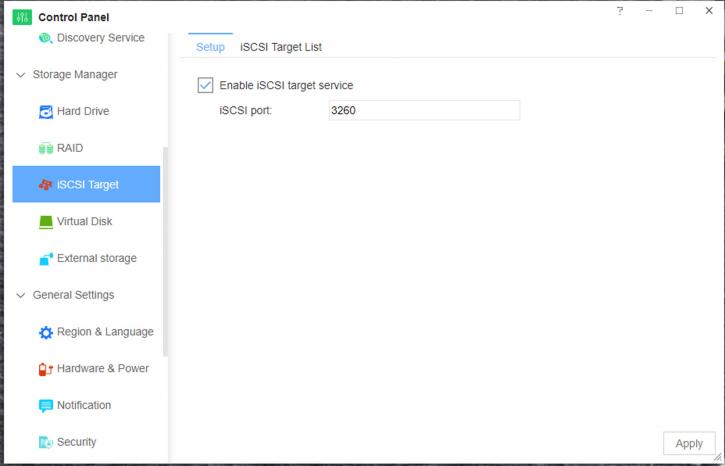
You also have the option of creating virtual disks on installed drives. Note that this must be done in conjuction with creating an iSCSI target, the method by which you do so being located just above the option of creating virtual disks (somewhat logically, given that one must come after the other). Finally, as far as the storage manager goes (at least), all external drives connected via the rear two USB ports will show up in external storage (after a short delay). Consider this to be an add on to the TNAS, and not part of the unit itself.
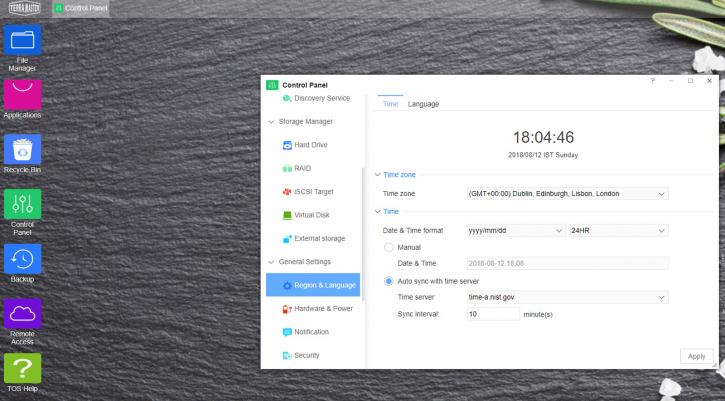
How about some general settings? Well, time region and zone can be automatically or manually configured (but should have been automatically taken care of during installation of the TOS). If not, simply alter it here. You can also manually set an NTP server to sync to, e.g. prod-ntp.domain.name.. Further on, we can configure fan speed and HDD 'sleep' settings (i.e. after a certain period, the installed drives will spin down, to save on wear & tear). Even at max speed, the fan was barely audible. The power options are also very useful, allowing TNAS to automatically boot up after a loss of power. You can also set automatic boot and power off times here.
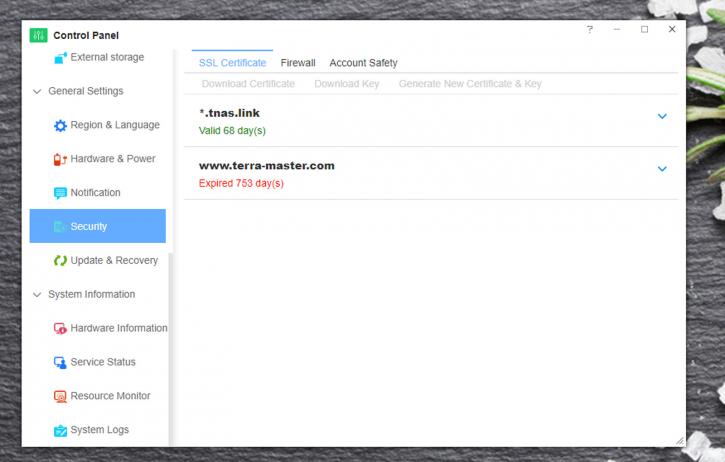
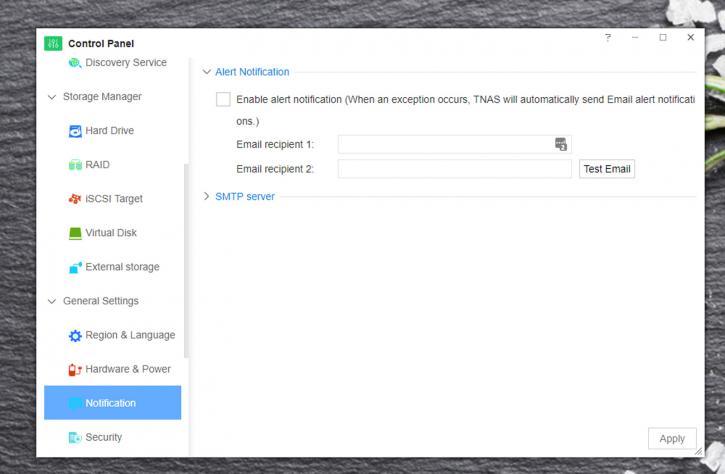
Notifications and alerts can be set next, with the setting of two different domains allowed (and the ability to test it works). SMTP servers can also be set, though for my purposes the default worked just fine (as expected). SSL certificates are able to be downloaded, with a remote access link (if enabled) being accessible for a max of 70 days before expiring. Given that I did not have the device for long, I was unable to see if the TOS would prompt for renewal of the remote access certificate, or not. Firewall rules can be created here as well, allowing for TCP/UDP/ICMP protocols and the naming of rules, with a simple reject/accept tick box. Any option for additional security is a good thing in 2018.
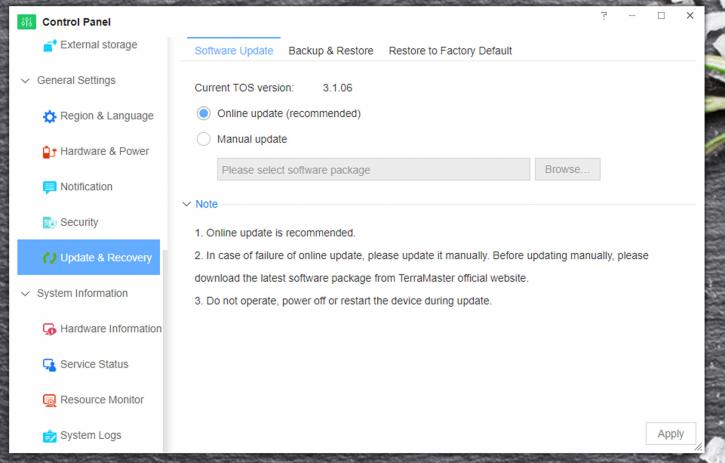
Remote access can be kept safer by using the last option in 'security,' namely automatically blocking IPs that try to gain access remotely but fail login too many times. You can even set a time limit to then unblock that IP from accessing the TNAS remotely (in case of user error, for example). This might be a fairly notable saving grace for the more... um, 'forgetful' amongst us, who still don't use secure password storing software. Finally (and really finally, this time), there are options for the backup and recovery of your current TNAS configuration, as well as software updates for TOS. This is, by default, set to automatic. You can also factory restore your TNAS to default settings, though this will also reset the static IP it has (the TOS advises you to use the Terra Master dekstop app to retrieve the new IP).
Whew. That was a lot of preamble. Shall we see how the unit performs?