Product Gallery
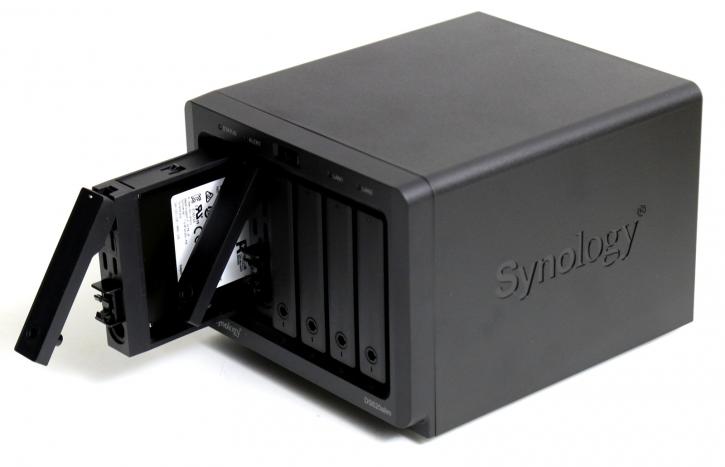
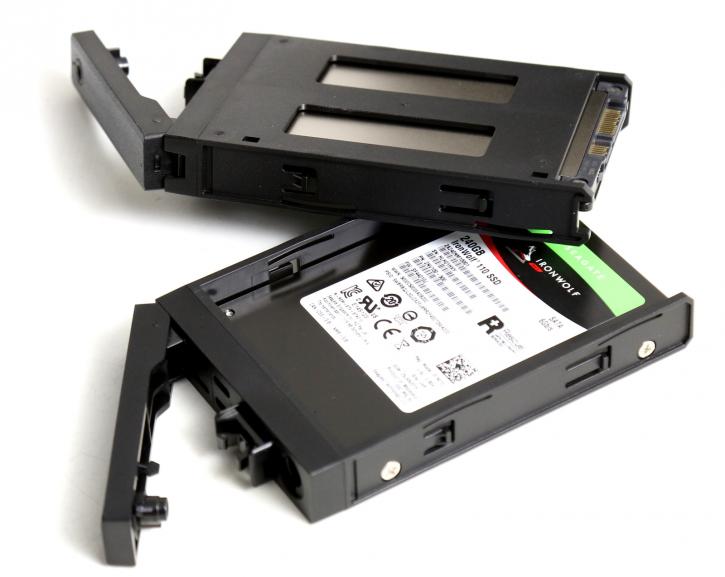
To install the storage units you need to remove the front side panel. You then push the lever towards you and the tray can now be removed for installation of an 2.5" HDD or SSD. These trays are hot-swappable. So if you set up a RAID array, and one drive fails you can hot-swap the drive and exchange it.
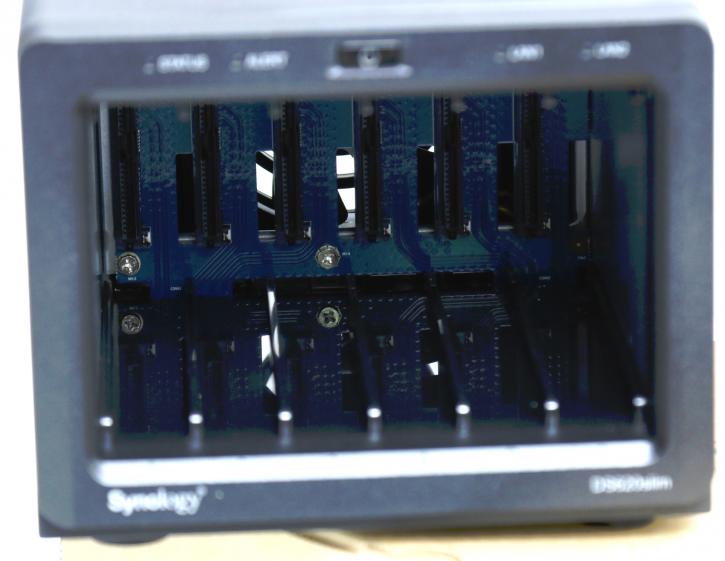
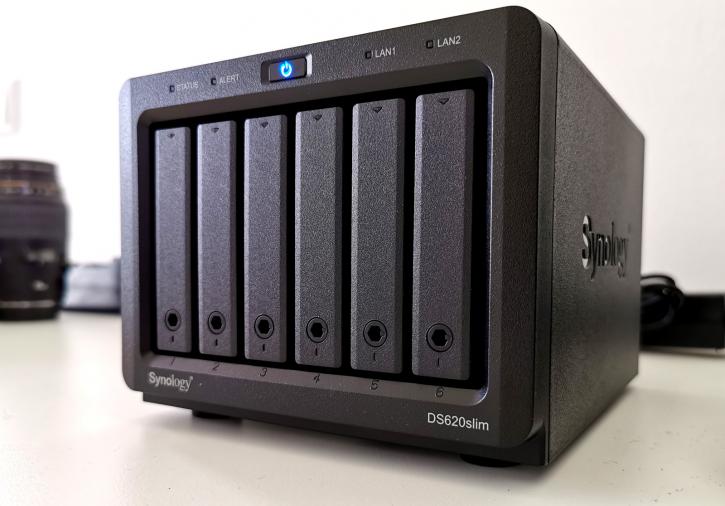
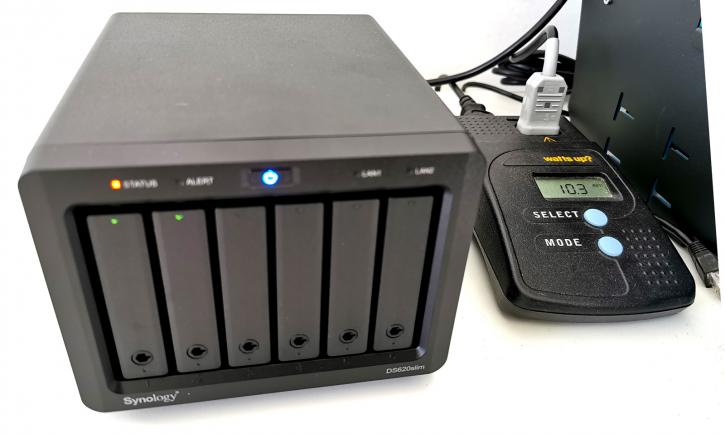
At the rear of the NAS we see the SATA3 connectors, there are six of them. If you are going to install storage units please check the QVL list of supported units. Most of them will all work fine up-to 8 TB per unit.
The NAS rests on rubber feet which will help against resonating noises. The NAS itself is reasonably silent. For our testing, we are mounting a two Seagate IronWolf NAS SSDs in a RAID1 setup in an effort to pass SATA3 speeds on that 1 Gbps connection.
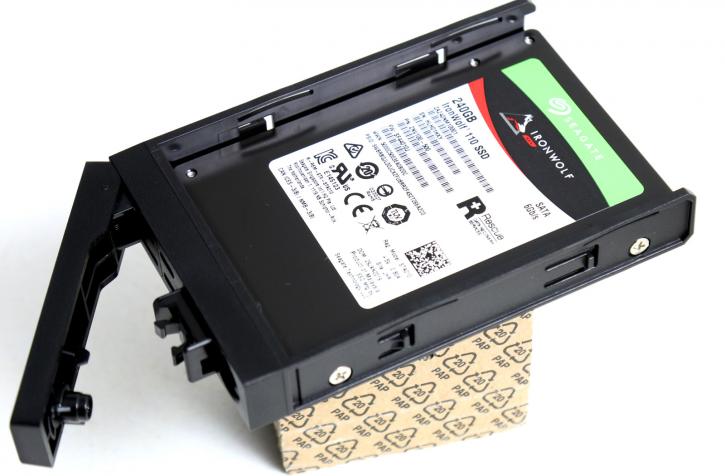
The NAS supports hot-swappable hard disks and comes with proper disk tray locks. The SSDs are secured with four screws and sit properly tight inside that tray.
Synology has an advanced and easy to use tray system, actually very easy to use. By pushing the tray and handle inwards the HDD is mounted and locked securely.