Product Gallery
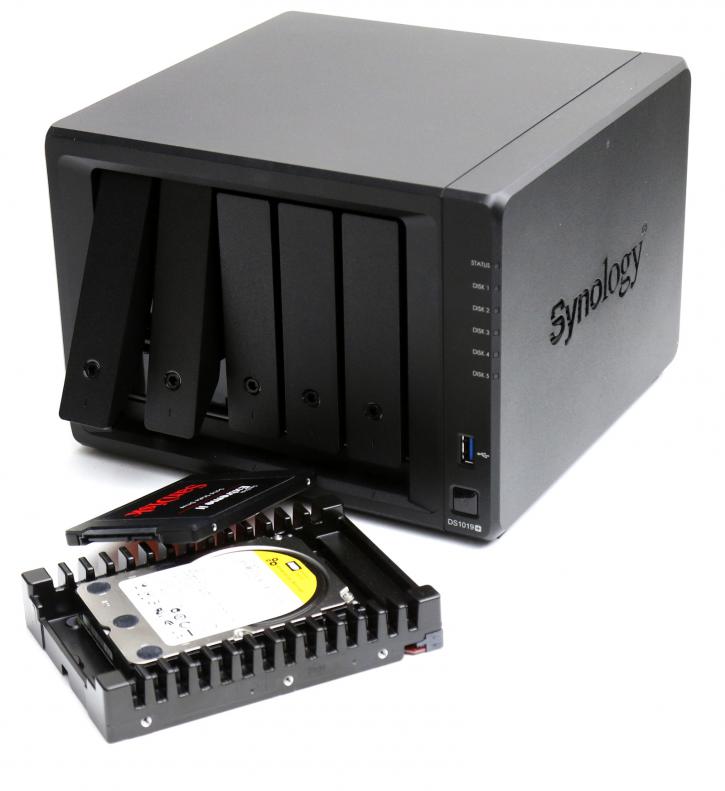
To install the storage units you need to remove the front side panel. You then push the lever towards you and the tray can now be removed for installation of an HDD or SSD. These trays are hot-swappable. So if you set up a RAID array, and one drive fails you can hot-swap the drive and exchange it.
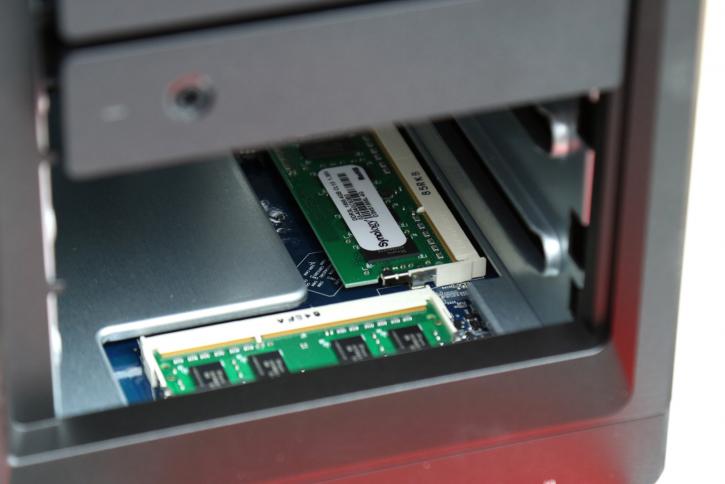
If we remove the drive caddies, located at the right side you can see the actual motherboard slash PCB. The photo shows two DDR3L modules installed, bringing 8 GB (4 GB x 2) in total towards the NAS. This is also the maximum capacity. Two DIMMS with this SoC does mean dual-channel memory, which again is preferred for database-intensive applications.
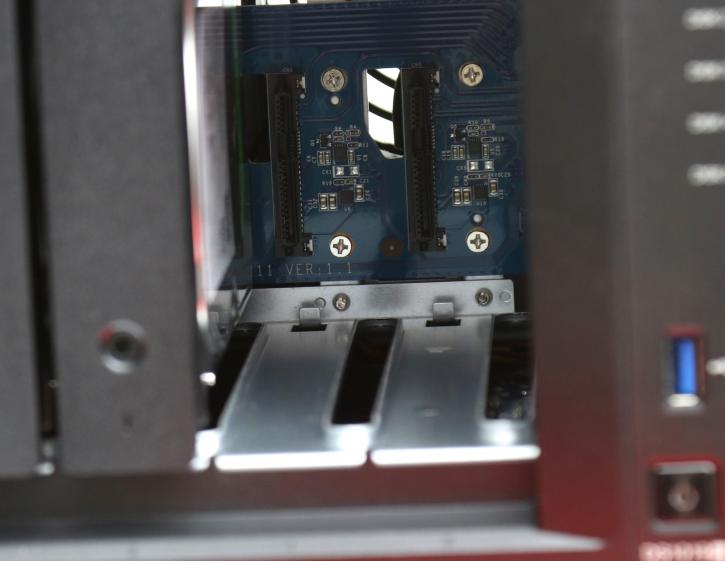
in the rear of the NAS we see the SATA3 connectors, there are five of them. If you are going to install HDDs, please check the QVL list of supported units. Most of them will all work fine up-to 14 TB.
The NAS rests on rubber feet which will help against resonating noises. The NAS itself is reasonably silent. For our testing, we are mounting a three HDDs for a RAID5 setup in an effort to pass SATA3 speeds on that 1 Gbps connection.
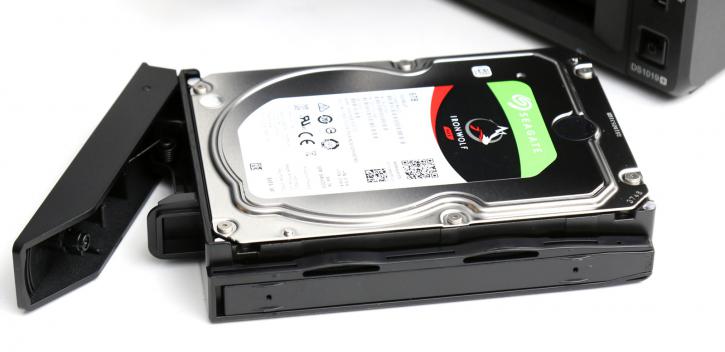
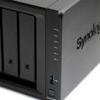
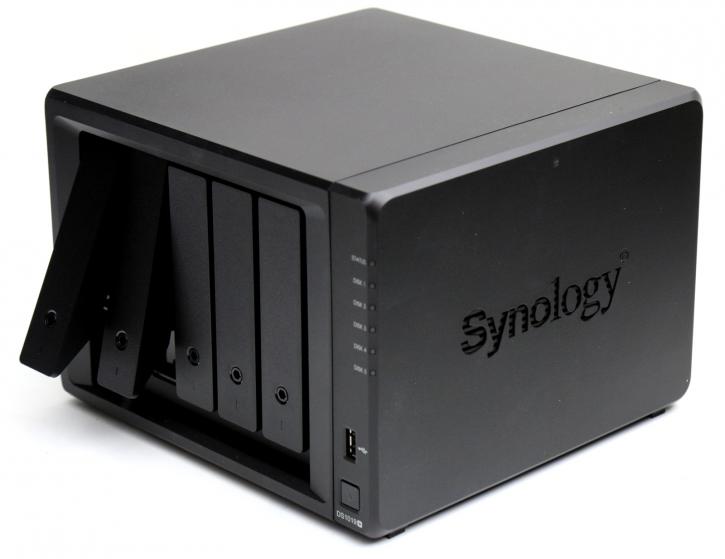
So, as stated we received a five HDD tray version of this NAS unit. The NAS supports hot-swappable hard disks and comes with proper disk tray locks. These have been upgraded btw, no need for screws, just pup out the side retention clip, seat the HDD, put it back in and your tool-free installation is done.

Synology has an advanced and easy to use tray system, actually very easy to use. You can mount your HDD, secure it and slide it into the tray. By pushing the handle inwards the HDD is mounted and locked securely.

