Assembly and installation of the Acrylic HTPC (3)
We are already half way there, we mount the back-plate together and install another fan. You can spot the rear 80-mm fan and the seven slots.
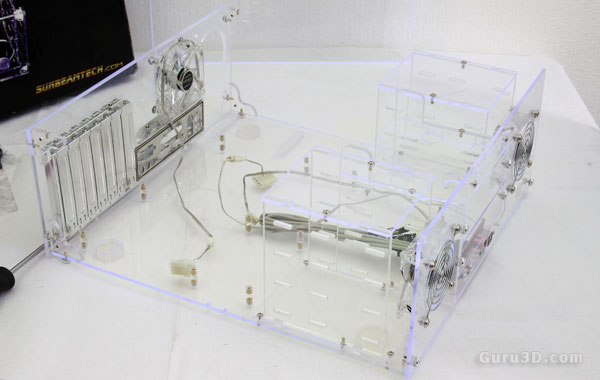
By now we can slowly see the shape of a desktop chassis / HTPC.

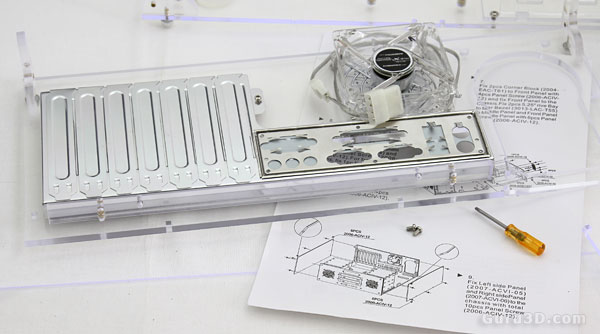
Here we prep yet another fan, there are four in total. They all are 80mm in size, transparent and have UV LEDs in them. So inserting UV lights yourself is not a requirement. Above I am installing the the middle fan (core), which is secured to the top panel.
The fans are audible though not noisy. Some of you might end up with a fan controller. Later on we'll do some dBa measurements as well. All fans use a three-pin connector, coming with 4-pin adaptors. The advantage here is that you can connect them on your motherboard to monitor their speed as well.
