Product Gallery
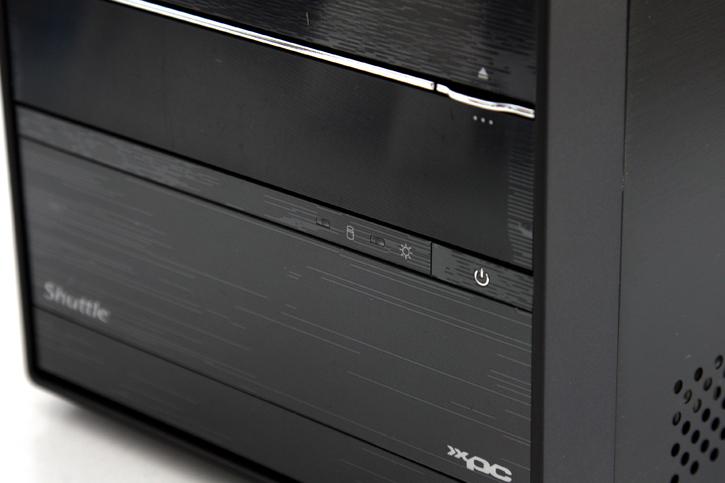
At the fronts side you can access one of the two optical units that can be installed. You can also install two HDDs, weirdly enough a bracket for a 2.5" device such as an SSD is not included, yet that is optional with a converter. We highly recommend you to go for a M.2. SSD that can be seated onto the motherboard. You can mount DDR4-2133 memory (PC4-17066) at 1.2V, the board supports 2+2 Dual Channel mode meaning if you'd use 16GB per DIMM a maximum total size of 64 GB is an option. Dual-channel memory mode is supported. Above to the right is the power button,and power / Storage activity LED.
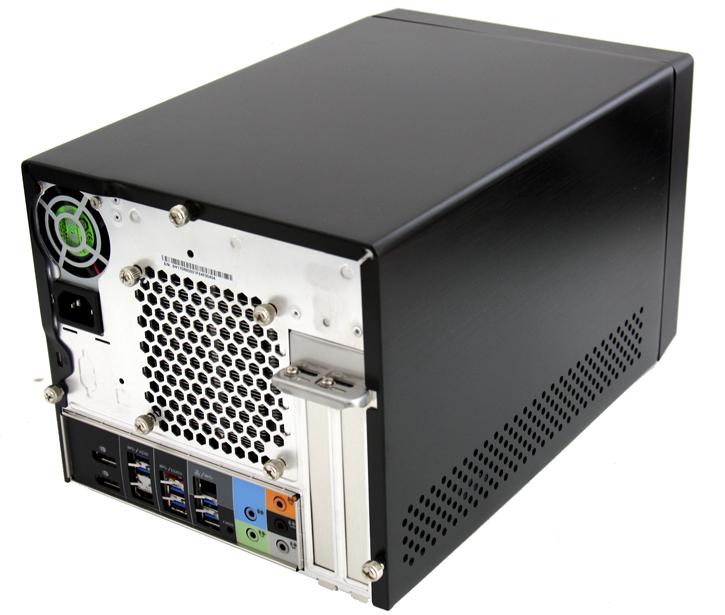
When we flip the unit around we see from left to right a power connector, HDMI v1.4 is present as well as 2x DisplayPort v1.2 - 6x USB 3.0 - GigaBit LAN (RJ45), the slowly getting phased out External Serial ATA (eSATA 6 Gb/s), we see a 7.1-ch Audio line-out (2x rear/front, bass/center, surround/back) Audio Line-in and a Clear CMOS button. The unit is lacking WLAN yet this again is an optional you can purchase.
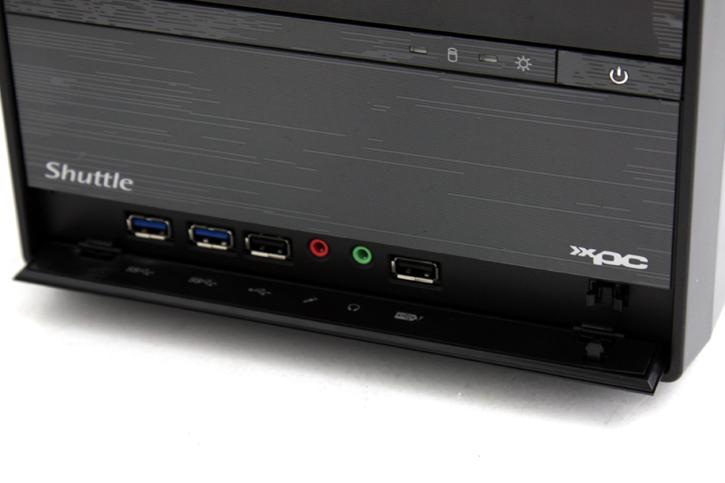
Back to the front-side at the bottom we see a latch, behind it is the front panel IO which holds Microphone input, Headphone output (line-out), 2x USB 3.0 and 2x USB 2.0 (1x fast charge port with up to 2A of powah! that would be the one all the way to the right).
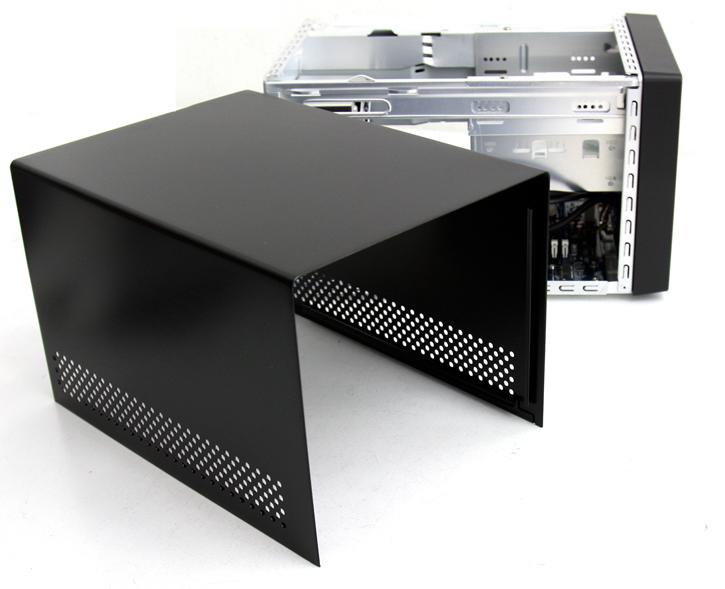
Right let's open it up, at the bottom you'll need to remove three thumbscrews at the backside. Once you removed the two screws you can lift off the cover.
