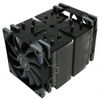
Product Installation
Product installation
The installation process has been described in the included manual, but you can find it on the Scythe website as well. We’ll show it to you on the example of the AM4 platform.

First, you need to remove the original installation elements from the motherboard. Then place the nuts/spacers to the backplate, on the top side there should be a rubber end (overall it reminds a bit the mounting system of Be Quiet Silent Wings 3 fans).
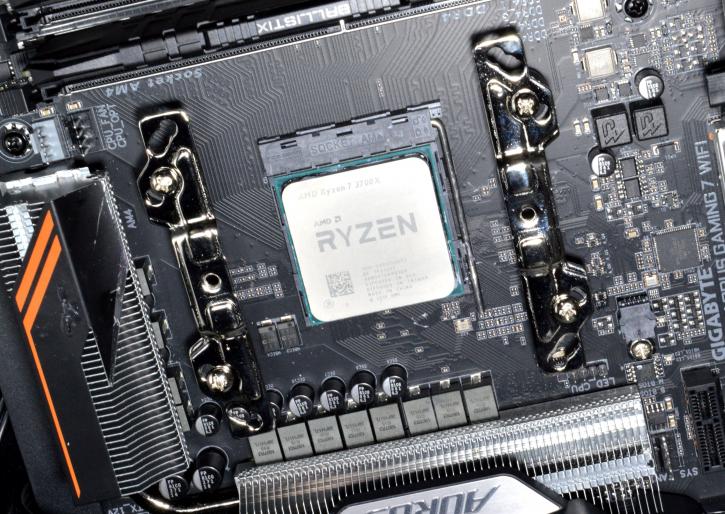
Most modern cases have a big cut-out for the CPU cooler, so there should be no need to pull the motherboard out to install the backplate. Next, find the mounting plates, and the screws. Very carefully put the mounting bars on, securing them with the screws. Refer to the instructions on which holes to use when securing the mounting bars.
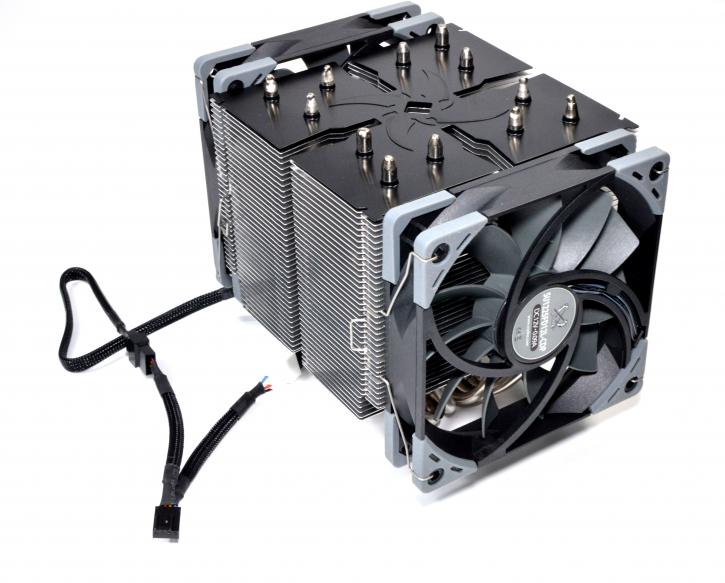
You need to apply a bit of thermal paste, then remove the plastic film from the base of the radiator. Last but not least, the base needs to be secured by screws. Position the heatsink on the CPU and begin tightening down the spring screws, alternating between them to apply even pressure. The fans are mounted using the provided fan clips. You should use the provided Y-splitter to have both fans connected to one motherboard fan header.
