Product Installation
Product Installation
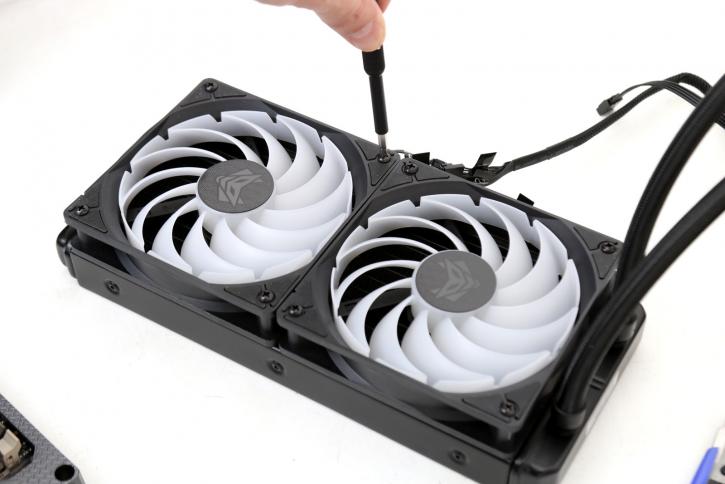
Initially, we'll attach the fans to the radiator and subsequently to the case, which will take a while. The hoses are 40 cm in length, which is sufficient for the majority of applications. The backplate is attached to the frame with the help of the provided screws and rubber rings, which we will do in the next phase. The latter also helps to prevent slippage while the installation is being done.
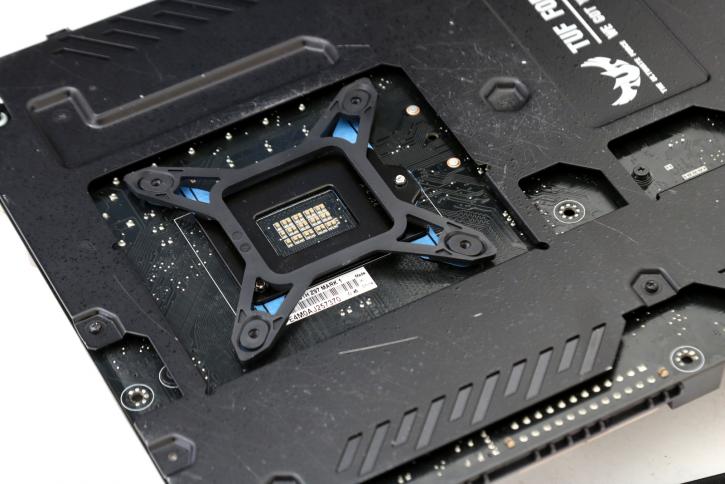
In the final stage, we place the cooler block on top and tighten the screws to secure it. Sapphire provides you the flexibility to choose which side of the cooler block you want the connections to be located on.
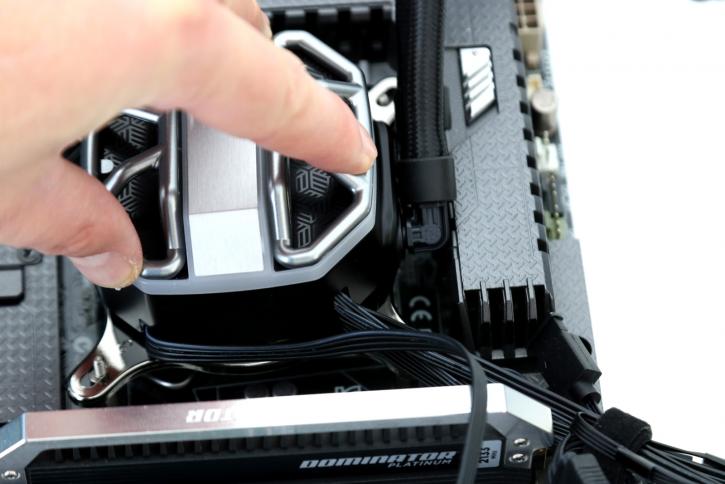
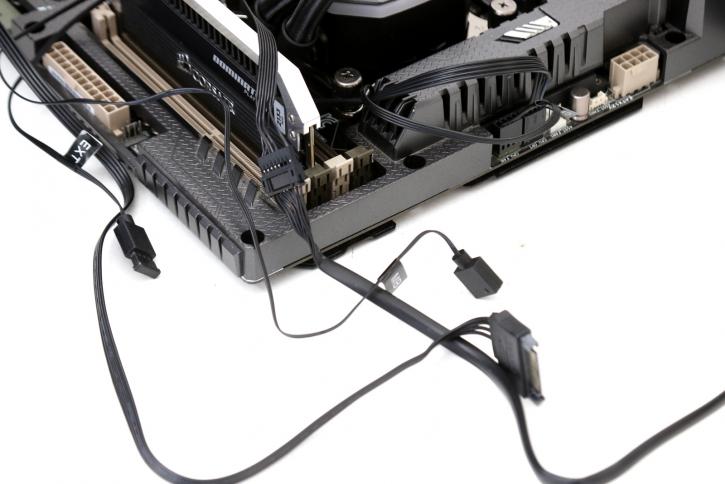
If you prefer to have the ports on the left side of the pump rather than the right, you can unscrew the pump cover and screw it back on. However as you can see, on our old Z97 board the tubing hits the shielding ... we had to rotate the unit. We haven't seen that in a long time, e.g. the cooling block is substantially larger than usual.
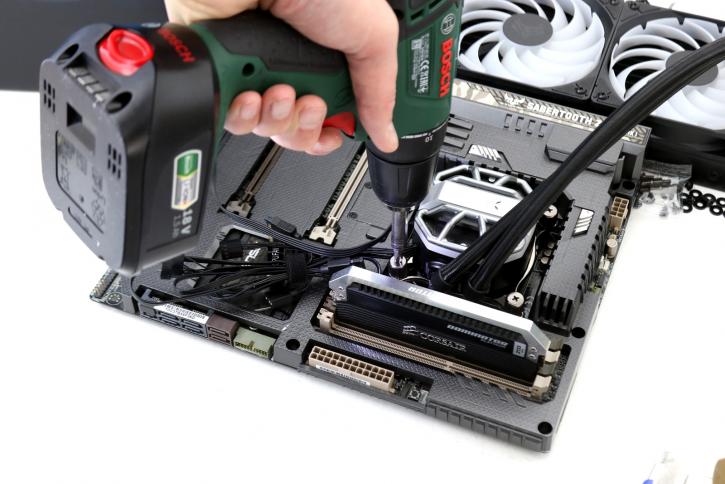
Once rotated it fits as designed though. You need to connect the pump wire towards a secondary or dedicated pump FAN header and the fans towards a FAN header.