Product Showcase
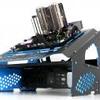
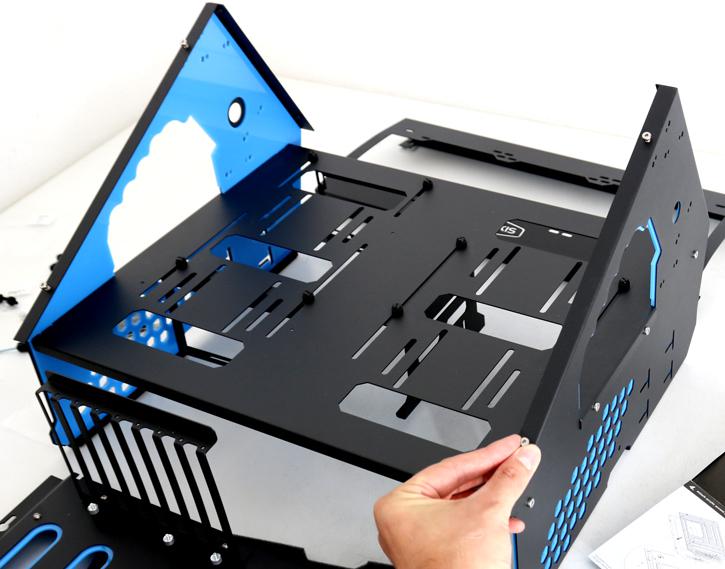
We now take the motherboard tray, put it on its backside and insert the blue acrylic accent piece. With many screws, washers and nuts it is secured. Once done you can flip it.
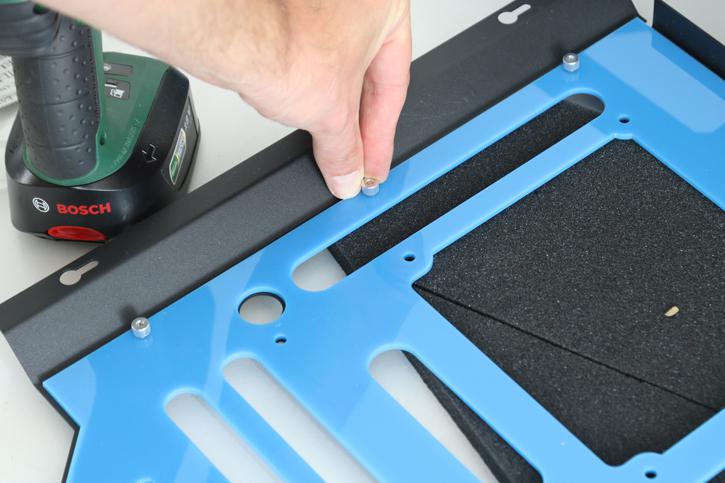
Now it is time to insert all motherboard standoff screws and the PCI Slot mount. The standoff screws can be irritating to install. My advice; take a wrench and hold the standoff screw, and then with a battery powered screwdriver secure it. Now, the manual states that a nut needs to be installed at the top of the standoff screw. I installed them bravely, however you can take them off again. On the standoff screws you mount the motherboard, and the nuts can secure that on the top PCB side.
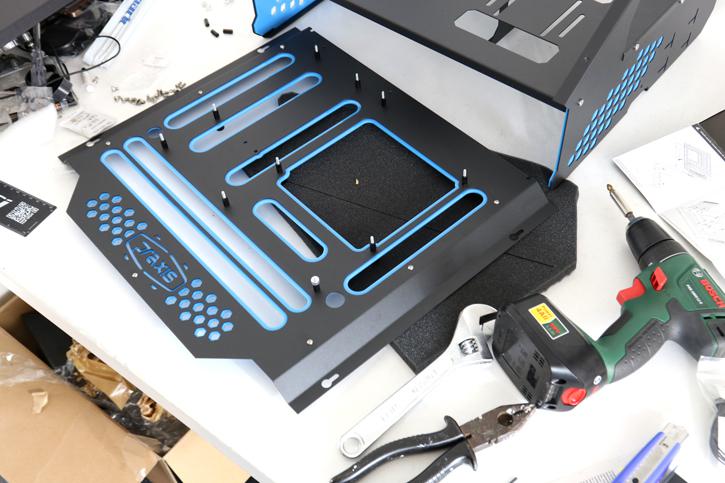
Now, before you mount everything securely, it is a good time to see if your motherboard fits and if the PCI-slots line up (you can adjust the bracket). Here I simply use a mock-up mobo that I have sitting around.
It is now time to mount the motherboard tray, we install four low head screws, but do not secure them tightly, leave a little space as the tray will 'hang' on there.
