
A closer look at Installing (X399)

So AMD has been sending the press and media kits with the new X399 MEG Creation from MSI, and Zenith motherboard from ASUS. Both are gorgeous and offers a proper feature-set. Our first review, the 2990WX will be paired with the MSI board, we'll perform the 16-core part test on the ASUS board.
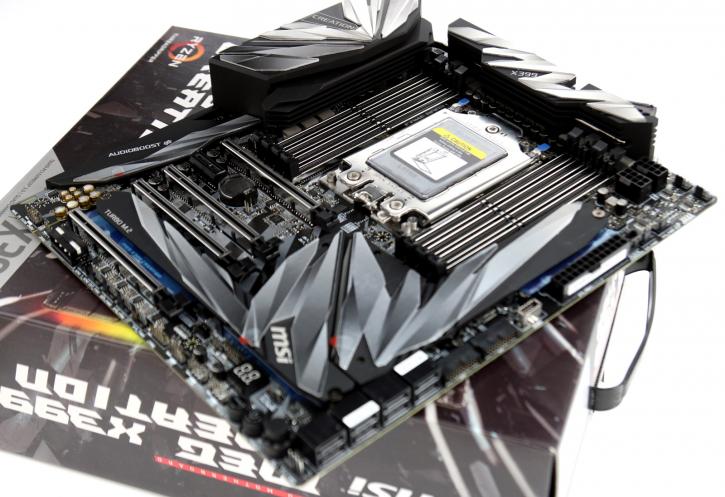
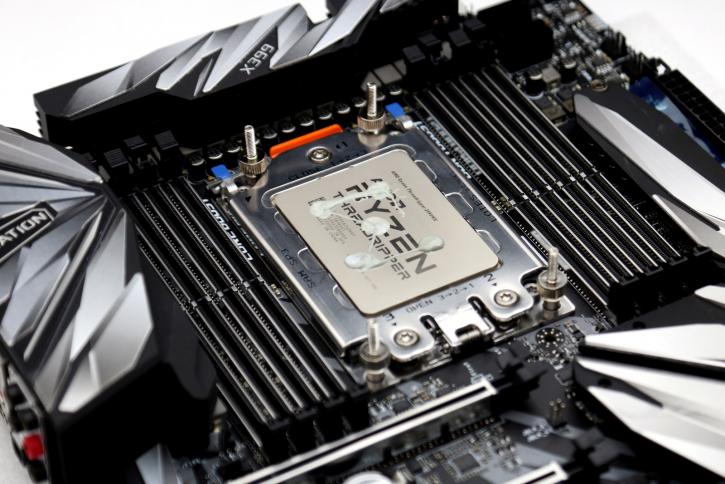
All the details, features and performance are similar towards last years release, but we'll have a review on this motherboard as well of course. The processor alone offer 64 lanes of PCIe Express Gen 3.0, there are simply no limits with this platform. I mean check that out, pretty sexy huh?
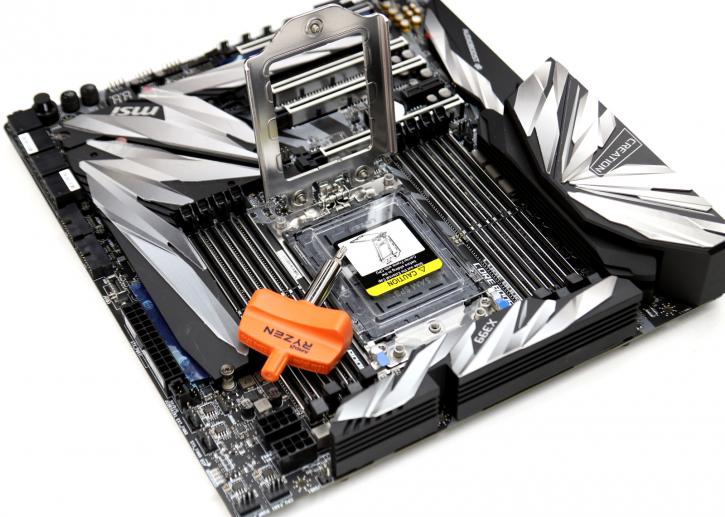
Included with the AMD kit (and retail kits) is a Torx tool/wrench. It is very easy to use and prevents you from over applying force while securing the Threadripper processor.
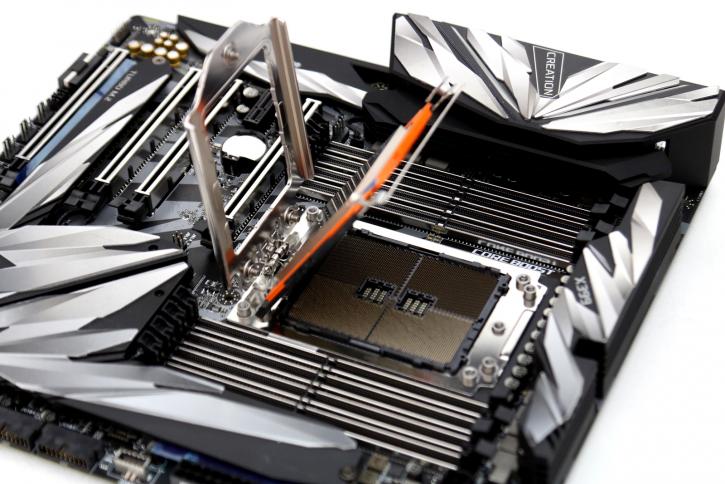
Basically, open up the slot and remove a plastic placeholder, then slide in the CPU, then push down the cover and it'll stick in the position you need it to be.
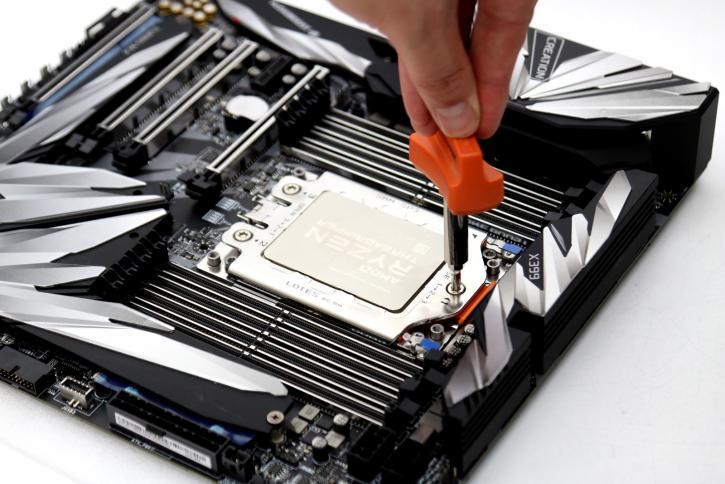
On that socket, you'll notice 1-2 and 3 at the screws. You start at 1, tie it a bit. Then 2 and 3. Then secure it in that 1-2-3 setup. The Torx wrench will apply just the right amount of pressure. Once seated you obviously want to apply some cooling. Since we'll start off with the 32-core version, we're going for liquid cooling.
Apply some thermal grease, I opt a bit in the middle and a drop at roughly the die locations. That methodology never failed me. Don't be shy with thermal paste, it's a big surface area to cover.
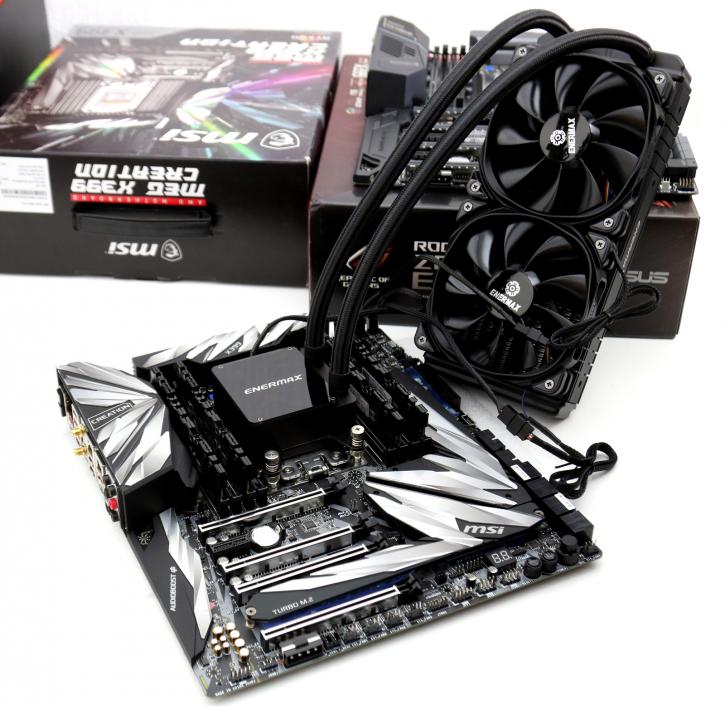
And there you have it, a 64-thread setup waiting to crunch some numbers. Fairly crazy stuff really.
