6 - Photos - amBX (3)
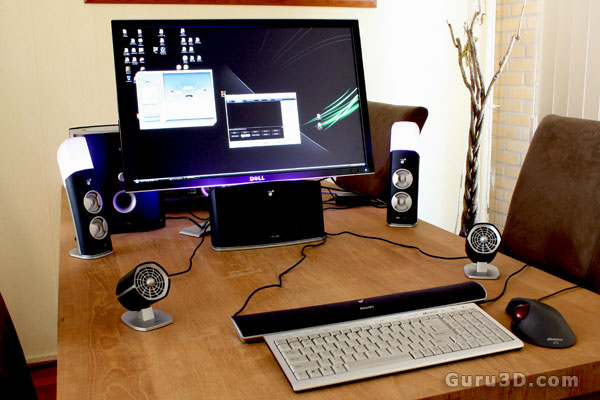
Once you set up everything, this is the rough idea, obviously the central hub needs to be behind the monitor pointed at the back wall. But for the photo-shoot I left it there for the time being.
So we have the HUB, behind the screen the sub-woofer, then left and right the speakers + LEDs, then left and right the two ventilators. Just above the keyboard the rumble pad for vibration. You can also use it as a wrist-rest or just leave it close to the keyboard. It'll vibrate pretty heavily so you can feel the resonation though the table.
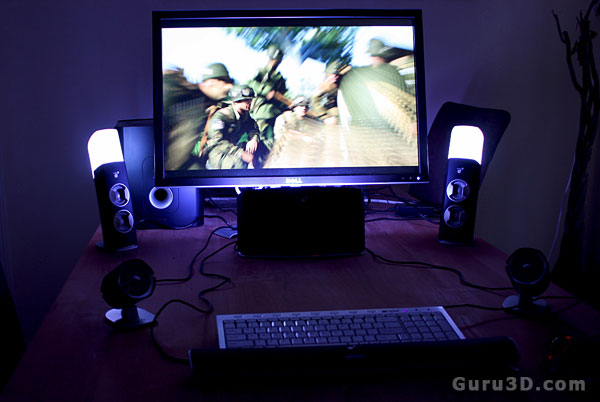
To be able to show you some 'decent' photography we had to shoot the photos in a twilight situation and force maximum ISO in our camera. Colored light is hard to shoot for sure. But you get the idea this way. The LED colors will change tone to the primary colors displayed on the monitor.
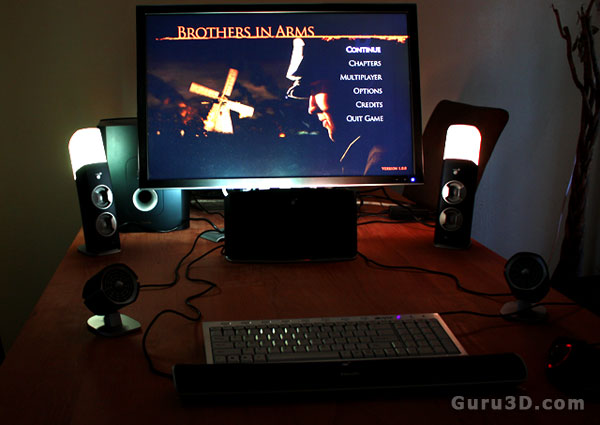
Notice that on the right side of the screen the character's face is located and the right lit speaker matches the tone. To the left we see a windmill lit brightly on the screen. As such, the left speaker is more bright and colored to that tone as well. Stereo lighting indeed.
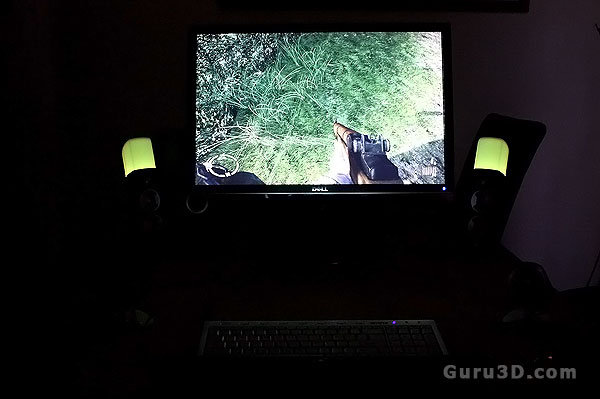
I had to drop the EF values of our camera to show you this one, but if on screen you point to the green grass, the lights will color green as well. Obviously in the real-time experience the lights are much brighter.
So we have an ambient lighting system active that corresponds to the color scheme of the game scene you are in. When we run or fly or do anything that involves moving fast, we have wind blowing in our face and when we fire off a round, or are surrounded by explosions, the rumble pad starts to vibrate.
Yes, gaming just got a whole lot more intense. But let me try and show you some stuff, check out the videos on the next page.
