
Product gallery
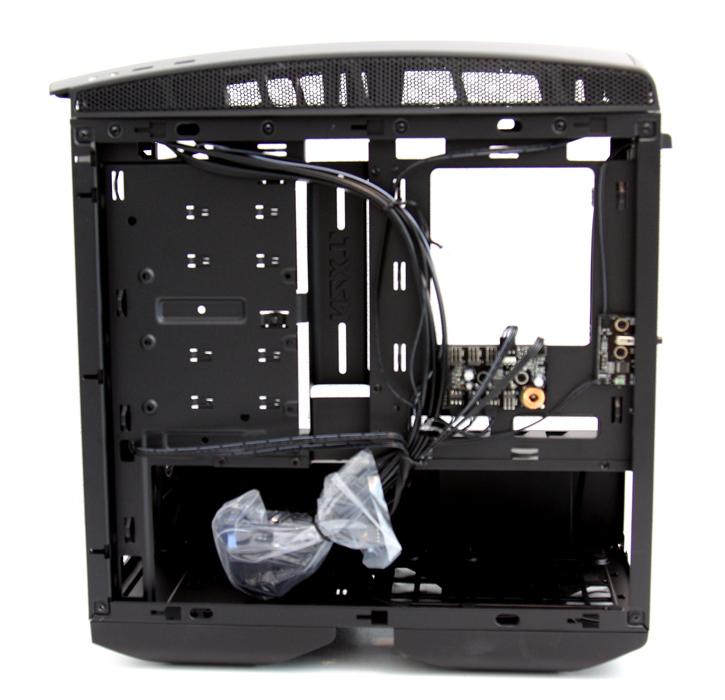
Right, as promised a photo of the chassis rear side with the panel removed and that exposes a thing or two alright. Cable management, while not a problem, seems to be just OK. There are many grommet holes and gaps to work with though. To the left you can see additional storage options.
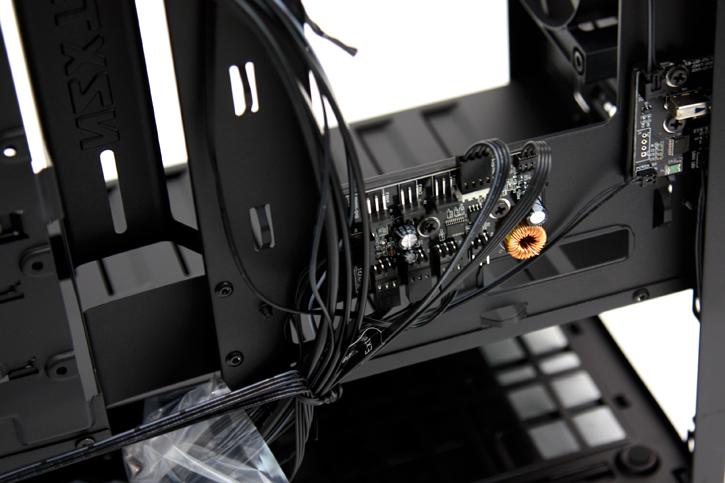
There are two PCBs located at the backside, the smaller righthand one is for the LED lighting system. It powers the PSU logo and rear IO LED. At the backside there is a small button allowing you to dim the LED system. The lower left PCB is a fan HUB, basically connect your fans here, lead it to a Molex connector for power and lead one PWM FAN cable to the motherboard allowing you to regulate fan RPM at motherboard level. It works really well.
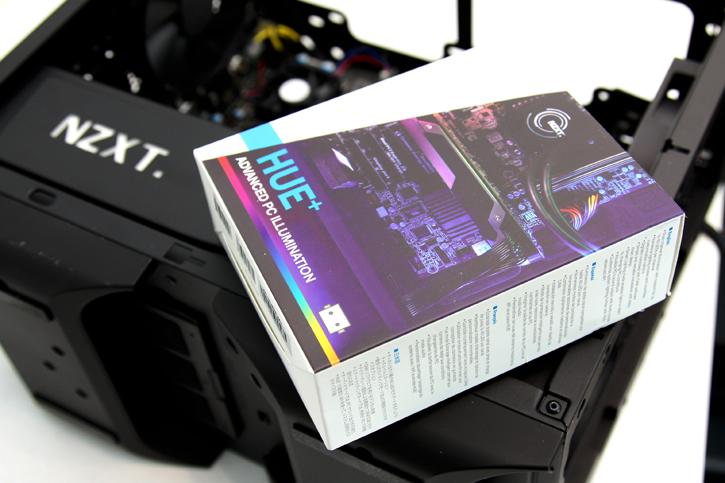
Lacking inside the Manta however is any kind of LED, no fan lit LEDs or even an extra one to illuminate the motherboard. It is a bit of a missed opportunity especially since they did light up the NZXT logo in the PSU compartment. We'll be adding a RGB LED light strip from NZXT called Hue+.
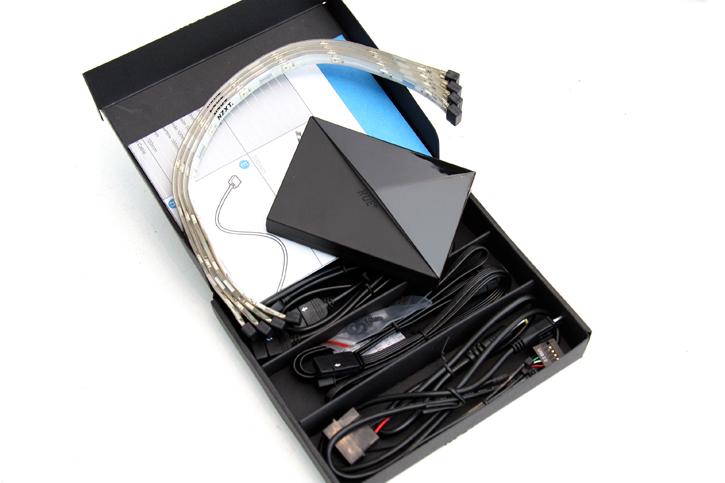
It comes with a RGB software controllable LED system. A controller is connected to power and USB, and from the controller (which you can hide at the backside) you connect segmented RGB strips. A pretty cool kit really (not cheap at 65 EURO though).
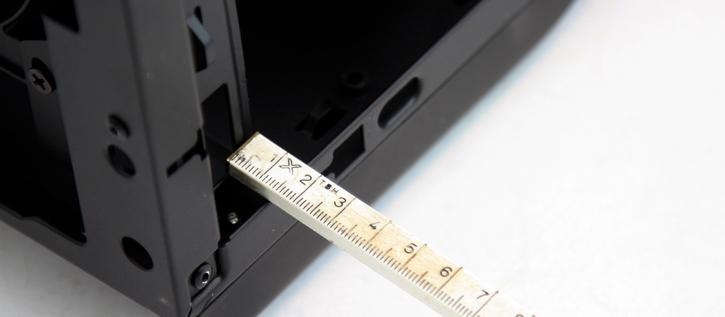
You have roughly 1.5~2.0 cm of space in-between the panel and motherboard tray. The panel itself has an indentation as well so that's okay for cable routing really. We did not have any big issues routing the cables aside from the fact that PSU cables leading out of the power supply easily reach the lower front fan, you need to be careful there as a wire could clog it up.
