
Product gallery
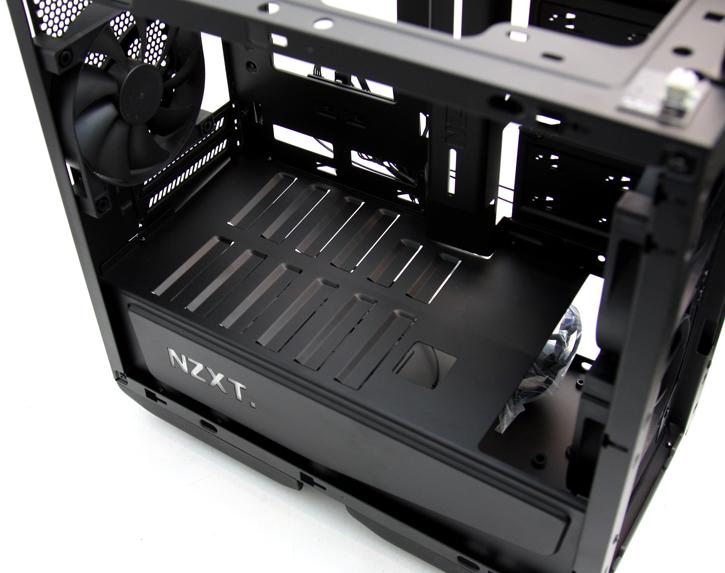
At the bottom side we see the PSU mount, you simply slide it in there and secure a white mounting plate.
Just flip over the chassis and insert the unit. The interior allows for the installation of the largest power supplies on the market.

Secure it with screws, and then with four thumb-screws and it is locked and loaded to to go. A very nice way to hide the PSU, bringing more aesthetics to the overall looks and design.
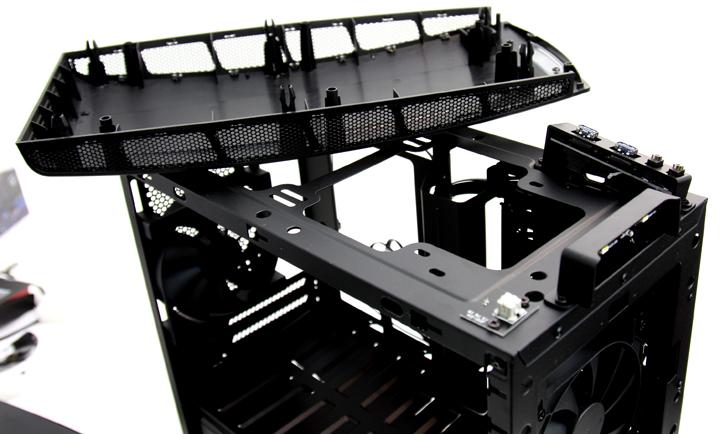
The top side can be removed, here you can add (on top and thus under that cover) a 280mm radiator. Everything is nicely themed with with black accents. This makes the chassis a great looking build.
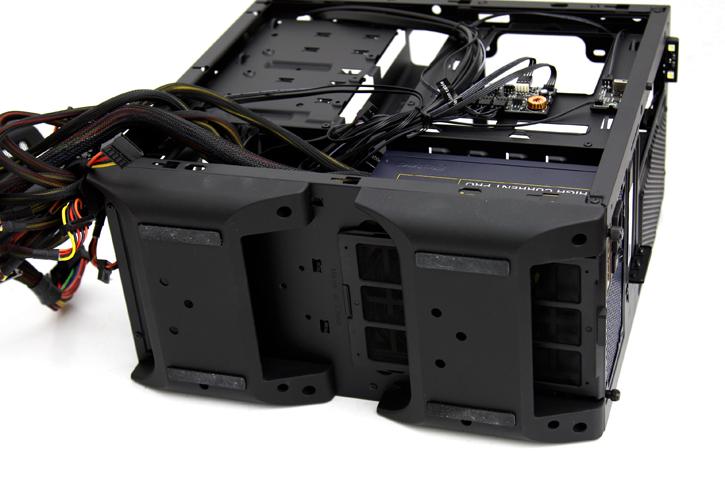
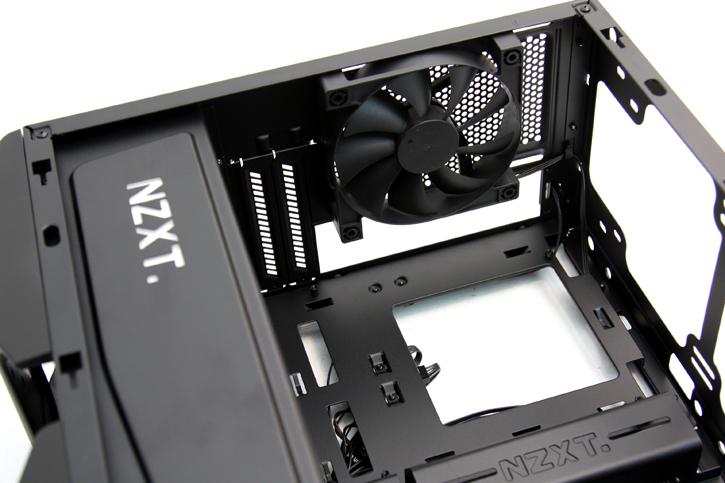
Multiple fans have been installed, all lead to a PWM based fan hub on the rear side that connects to a motherboard FAN header. So you can control the fans with the motherboard PWM settings. That HUB is very handy, we'll show it on the next pages.
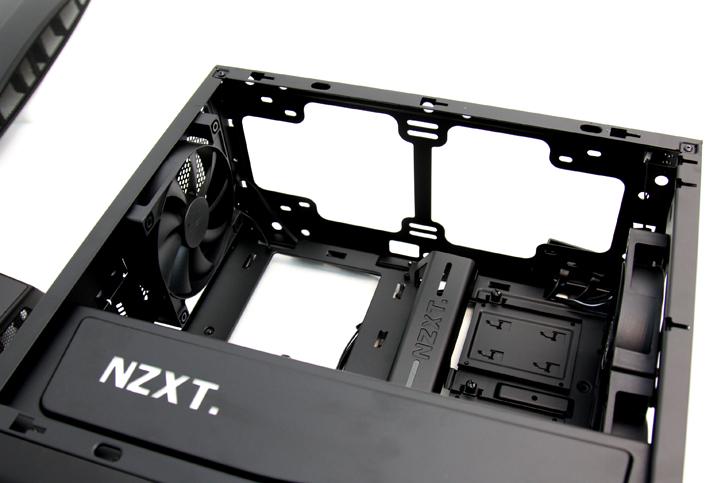
Have a peek at the CPU back-plate cutout. The space in-between the motherboard tray and backside panel is roughly 2 CM deep, so you have enough space to work with for your cabling behind the motherboard tray. The CPU back-plate cutout is obviously there for CPU coolers, if you need to swap one this helps you from having to take the motherboard out of the chassis.
