
Product gallery
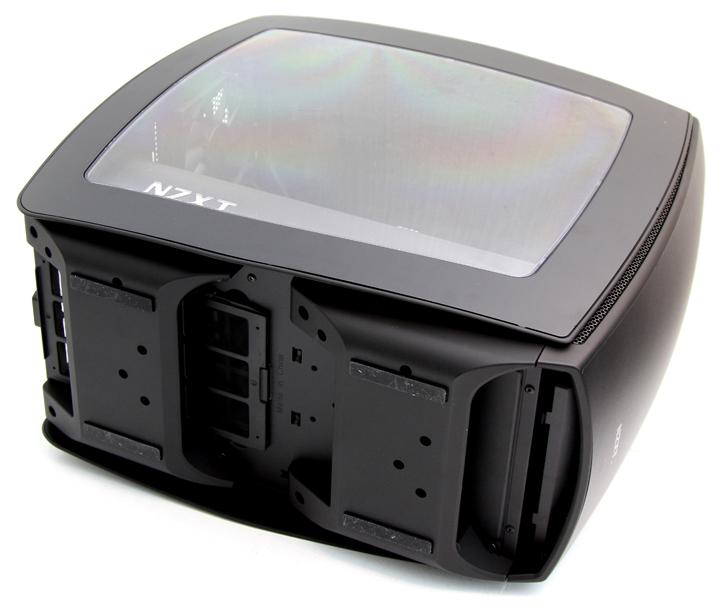
When we flip the chassis on its side we see that the bottom has proper rubber grips which keep the case from sliding around and of course help to prevent resonating noises and thus dampen noise levels. The PSU fan area has a separate and removable dust filter.
Bear in mind that the dust filters are easy to clean. Now, see the photo above with everything in place? There's two things I want to show you:
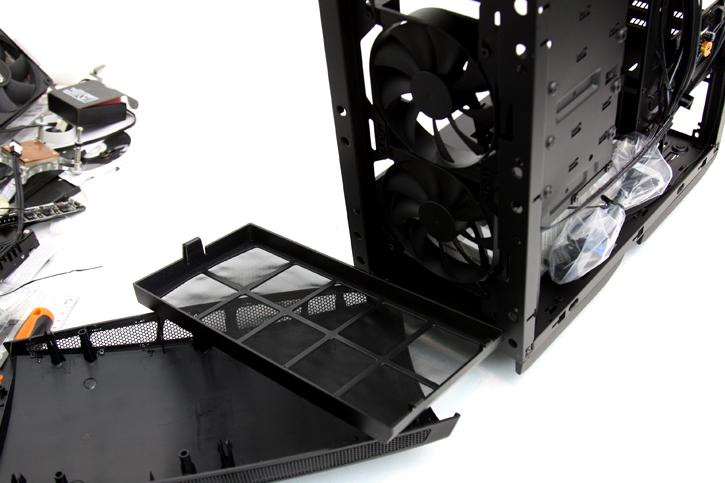
Panels, top side and front bezel you can ALL remove. Above, the front bezel is removed (just pull it out) as well as the top and side panels. Here you'll see a dust filter, a rather thick one. The front air intake area will allow up to a 280mm radiator for water-cooling. Interestingly enough, you could fit one at the top side as well. I say interesting, as remember, we are talking about a Mini ITX, i.e. small from factor chassis here.
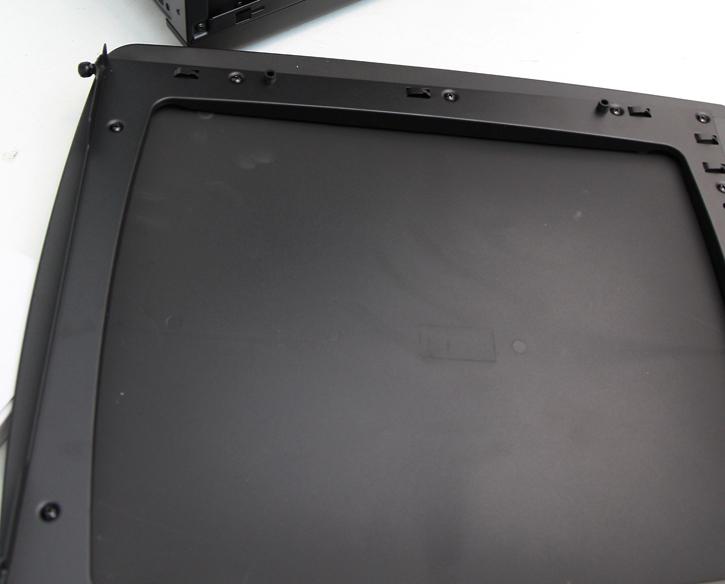
The photo above shows the right side, side panel. Notice the indentation, there's another 1.5cm of space there, very handy to use with cable routing in mind.
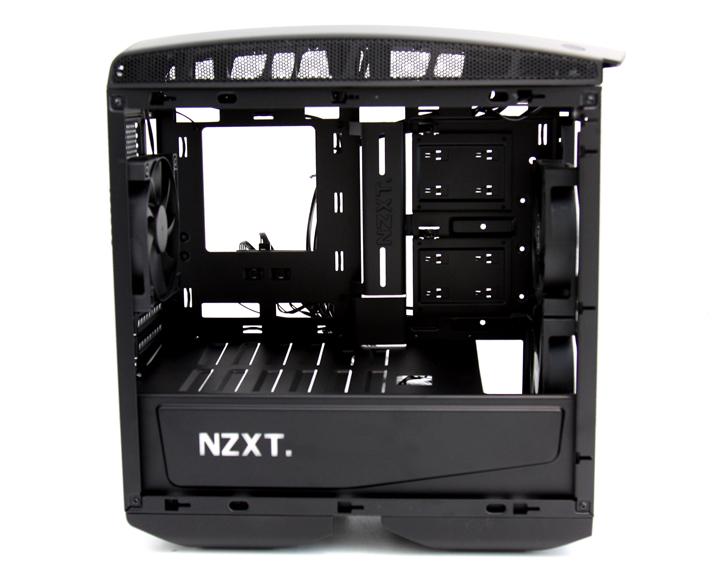
So here we open up the chassis and get a better idea of what it is all about. The panels and front bezel/filter have been removed. For a Mini ITX small form factor chassis we are not disappointed with the space and clearances available. The clean looks, a nice amount of grommet holes for cable routing and a HUGE mainboard tray cutout catch the eyes. Lovely to see is that the PSU is shielded with its own compartment and thus you can hide the PSU. The downside, a HUGE NZXT logo lights up as it is LED activated (I am not a fan of big visible logos for any chassis), the LED can be disabled but really that logo is sized too big in proportion to this chassis. The chassis has 2 expansion slots.
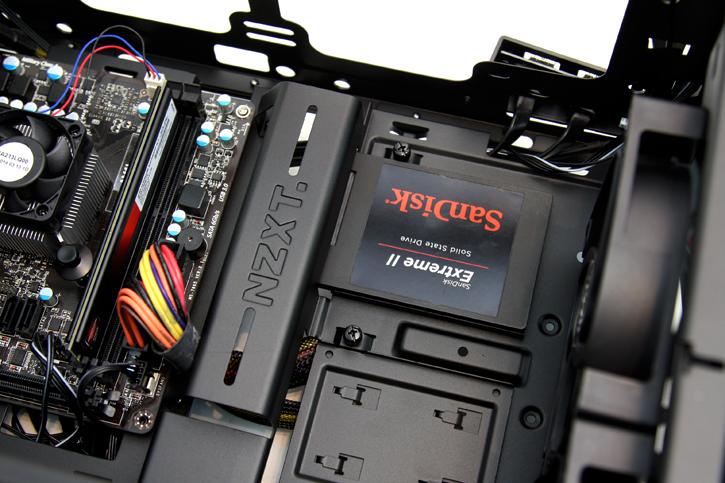
But let's talk storage in the form of HDDs and SSDs, the Noctis HDD cage and decent storage capacity for hard drives. The chassis can carry two internal 2.5" units. You can see two within eye-sight, e.g. your SSD 2.5" devices. There is a flaw here though, cabling for the SSD units lead to the left, meaning your SSD will be mounted upside down. Not a problem for the hardware, but any logo/text on your SSD will also be upside down and thus visible at all times. SSDs can be installed easily with screws and one thumb screw (chassis tray mount). Once seated, you simply slide it and lock it down. Obviously you'll need to route cabling like SATA and power connectors to and through the backside.
