Product Showcase
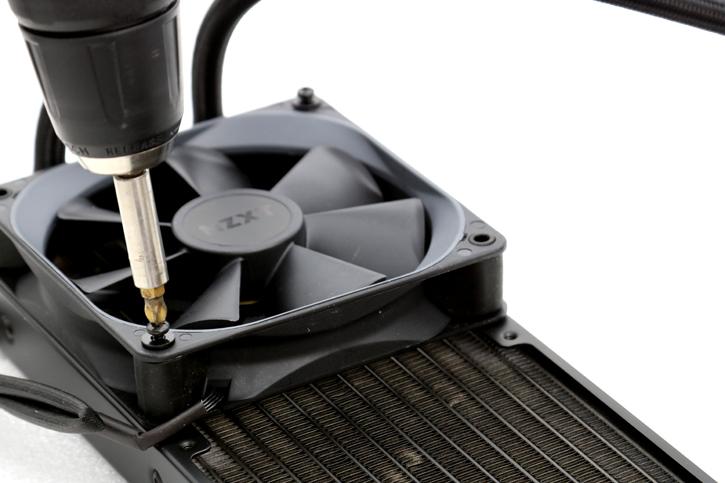
So here is the phase where we slowly start assembling a test setup. First, we mount the fans towards the radiator, four screws and washers (top side) each.
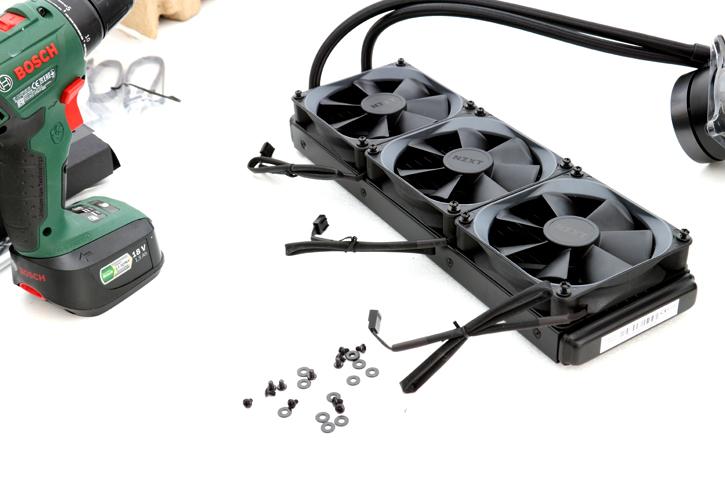
Once done you need to decide where you'll be positioning your radiator and how the tubing and wiring will be managed. The three fans have connectors you can merge together with a y-splitter cable merging them together into one fan connector. BTW notice that the screw holes have rubberized inserts, do NOT screw the screws all the way to the bottom as you could hit the radiator. The top end is fine, let that rubber do its work.

You connect the three pin fan connector to the CPU FAN header on the motherboard, and you can connect the three fans to the CPU cooling block with the help of a y-splitter merging them to one single connector. The cooling block has a USB controller tied to the CAM software for silent and performance modes. Depending on your choice you'll get a cooling performance that best suits your needs.
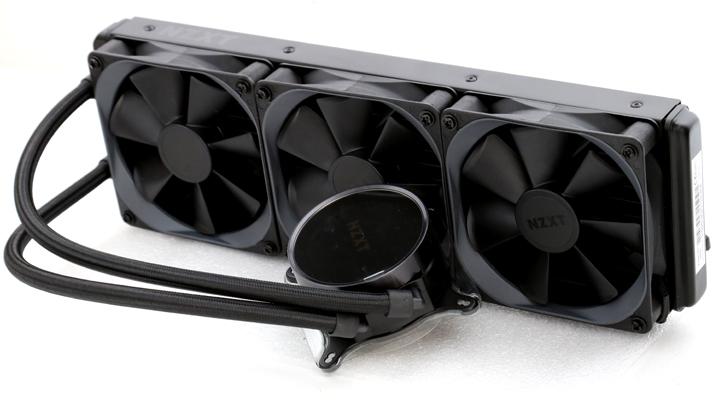
It already looks pretty powered off, but you haven't seen the LED functionality on this puppy, it is frickin awesome. Also, subtle detail, the logos in black on the fans look great.
