Product Installation
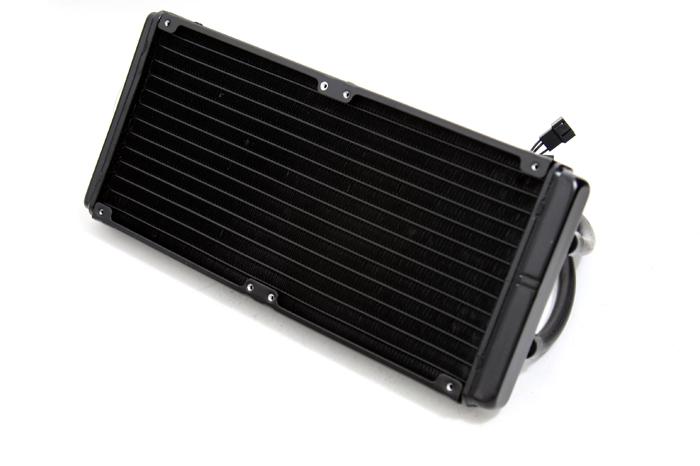
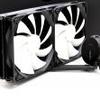
So here is the phase where we slowly start assembling a test setup. First we mount the two fans towards the radiator, four screws each.
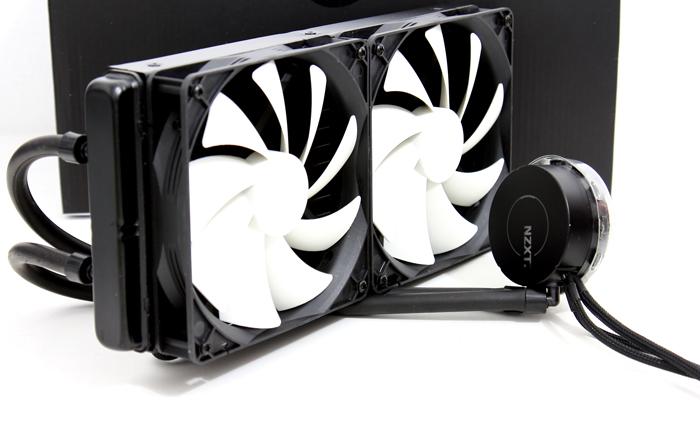
Typically you push the screws though your chassis, then the fans and then secure it all on the radiator. We test externally hence we mount the fans directly to the radiator. In the early stages you need to decide where you'll be positioning your radiator and how the tubing and wiring will be managed. The two fans have connectors you can merge them together with a splitter cable that is included and leads towards the cooling block.
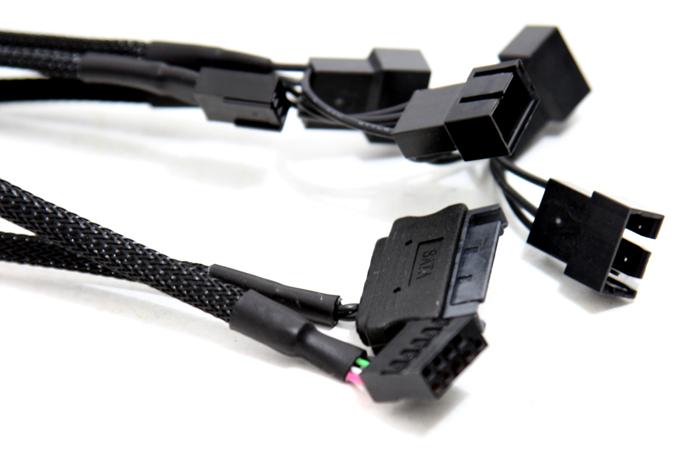
You connect the three pin fan connector to the CPU FAN header on the motherboard, and the SATA connector obviously to a SATA connector feed on your PSU. This feeds the entire unit.
So please understand that the motherboard is not controlling the PWM fans, but the cooling block has a controller tied to the software for feedback on the performance modes. Depending on your choice you'll get a cooling performance preference that best suits your needs (louder and high performance or silent with less performance).
