Page 5
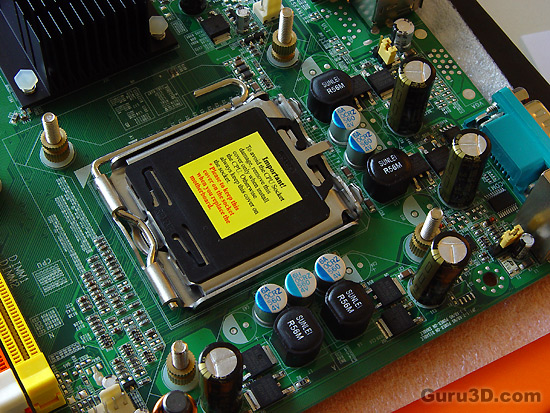
Once the backplate has been seated, align screws at the front of the mainboard and secure them with supplied thumbscrews; again do not forget to use some washers here as well.
Next step ... thermal paste, lube your processor! BlackNoise included some thermal paste to use on this cooler but I suggest using some better quality thermal paste.
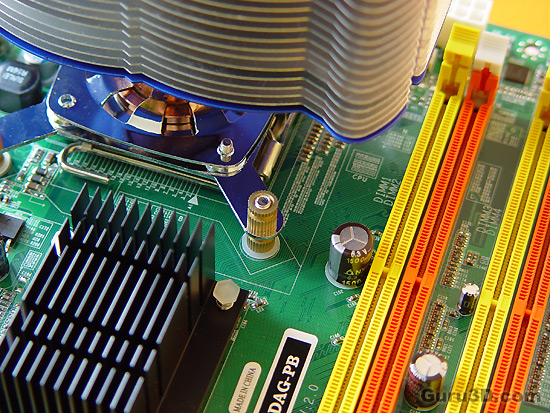
We have now installed the mounting bracket onto the cooler, make sure it's firmly secured.
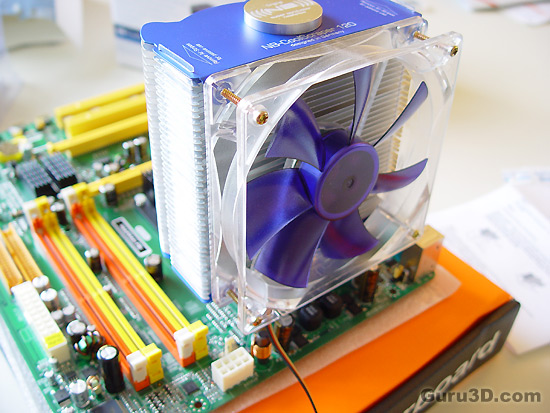
Put the cooler over the four screws, and bolt it down with the included washer nuts. Connect the fan to your CPU power mainboard lead and you're good to go.
