Product Installation
The installation process has been described in the included manual, but you can also find it on the Noctua website. There is also a set of YouTube videos presenting the procedure for LGA 115x, LGA 20xx, AM4, and AM3/AM2 platforms.
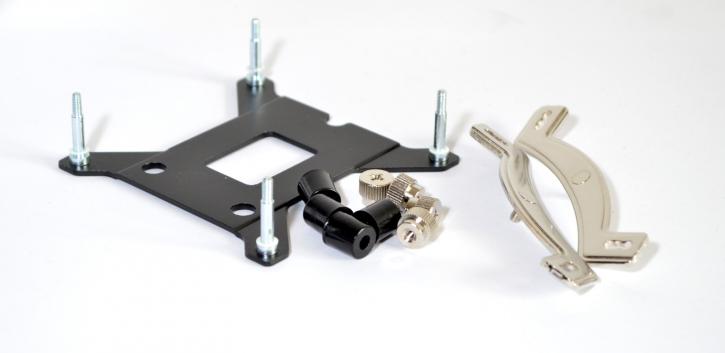
Mounting the cooler is a very easy thing to do. The Secufirm2 mounting kit is sturdy, handy, and really easy to use. However, you might still need to take the motherboard out of the chassis if your case doesn’t have back-plate cut-out (but it’s a rather standard feature these days). In our case, we started by preparing and inserting the Socket 115x back-plate.
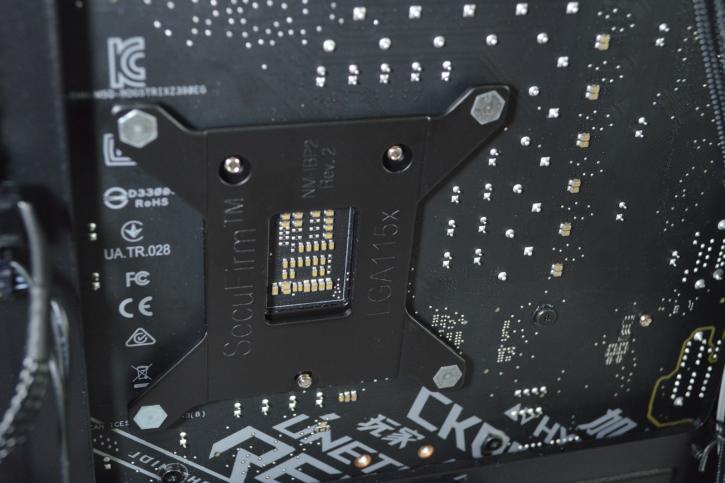
Just make sure that the four gaps/holes are aligned with the motherboard socket screws.
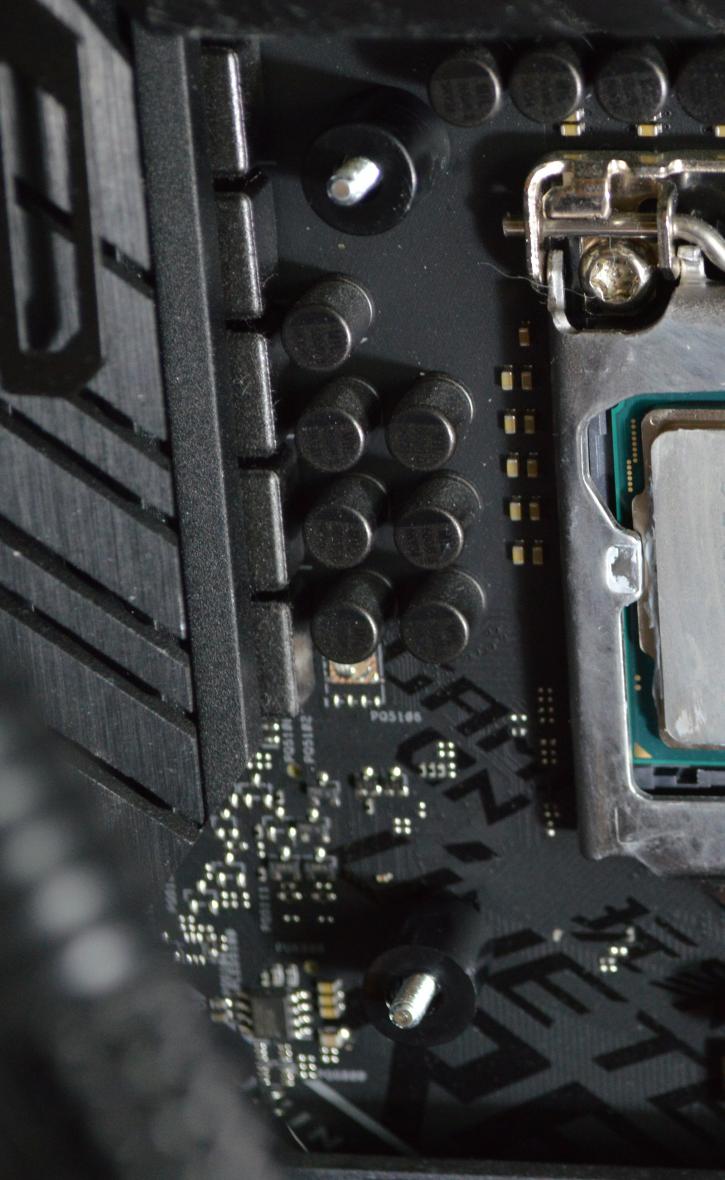
Apply a drop of thermal paste (included), and place the thick black risers/standoffs over the screws.

After that, you can install two retention clips on the plastic risers, and secure them with thumb screws. The cooler is now ready to be seated on the motherboard.
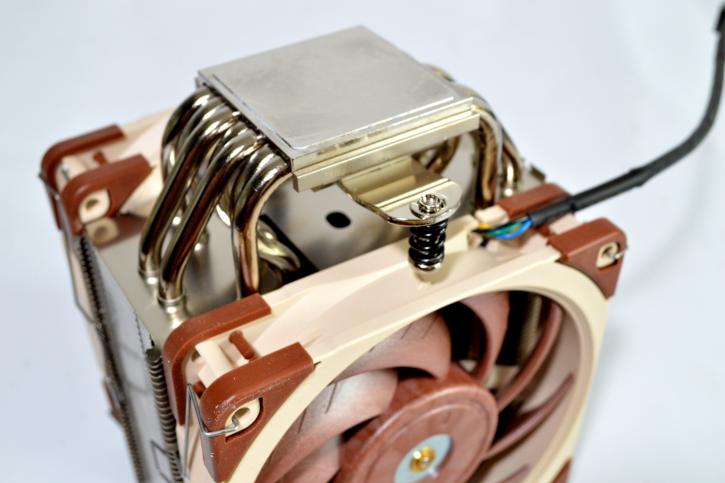
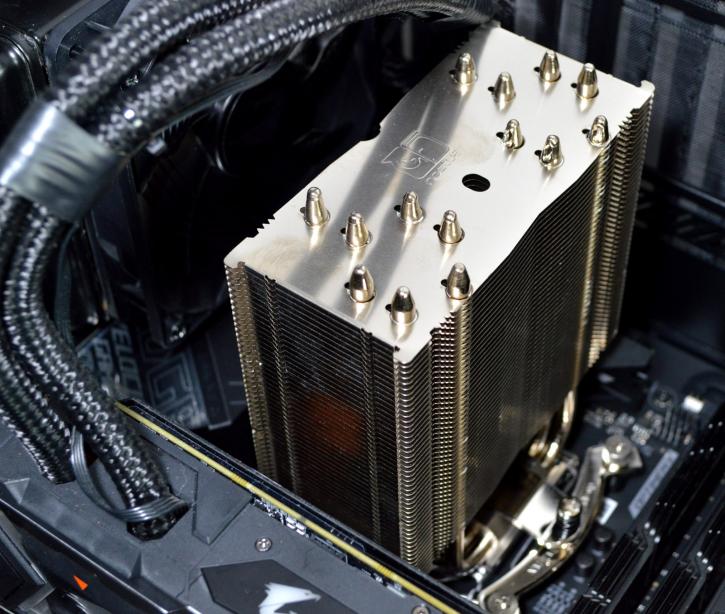
Once you place the cooler in position (remove the fans for installation), you need to align it with the two screw threads. You can use the supplied screwdriver to secure the screws. Just make sure to align the fan blades, and you can secure the cooler really quickly. You need to pop out the fan for this, but you can easily re-attach them when you’re done. Ok, now let’s take a look at the next page, shall we?