Product Installation Noctua NH-D14 Premium cooler
Installation
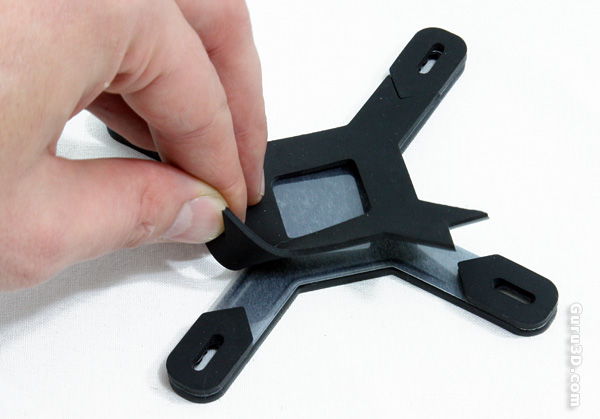
This is the new back plate. Noctuas enthusiast grade SecuFirm2 multi-socket mounting provides broad socket compatibility (LGA1366, LGA1156, LGA775, AM2, AM2+ and AM3).We remove the middle pad for socket 1156 and install it like so:
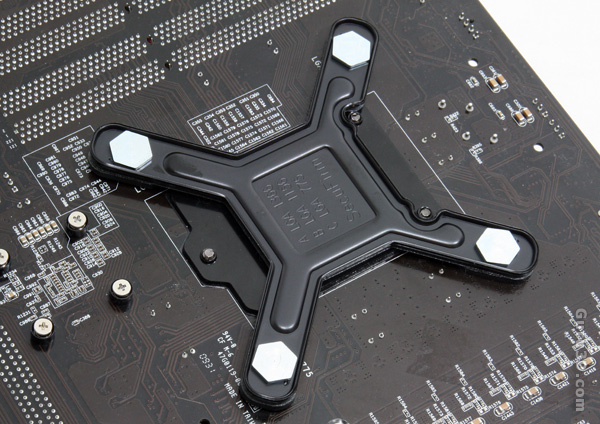
At the backside of the motherboard we put in place the backplane and push in four screws. We can now turn around the motherboard,
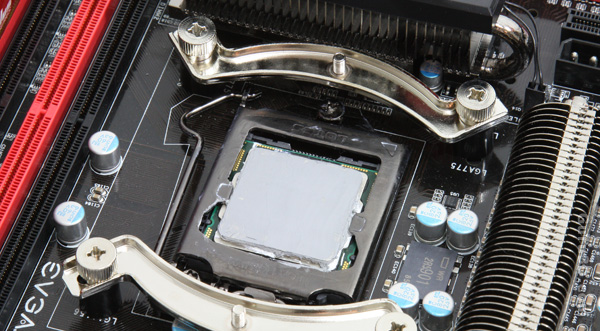
At the front side then we place the plastic washers and secure two brackets on which the cooler will be mounted. Please use the supplied NT-H1 thermal compound (TIM) and smear out a thin layer evenly over the processor. It really is great quality TIM and comes supplied for free with the cooler,
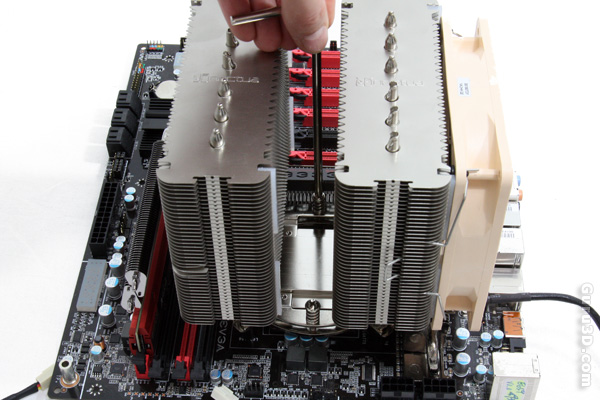
We now position the cooler and mount it securely with two spring based screws and a supplied screwdriver. If you have a PC with four DIMM modules -- you might have bad luck. Look to the left at the DIMM slots. AT some motherboards the cooler will pass the DIMM location. Your only alternative there is using low profile DIMMs -- or another cooler,
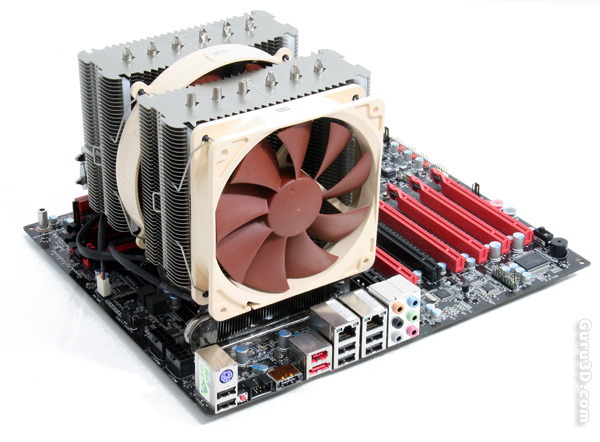
And there we have it ... that's just huge isn't it? Well, let's find out if bigger indeed is better.
