Product Showcase
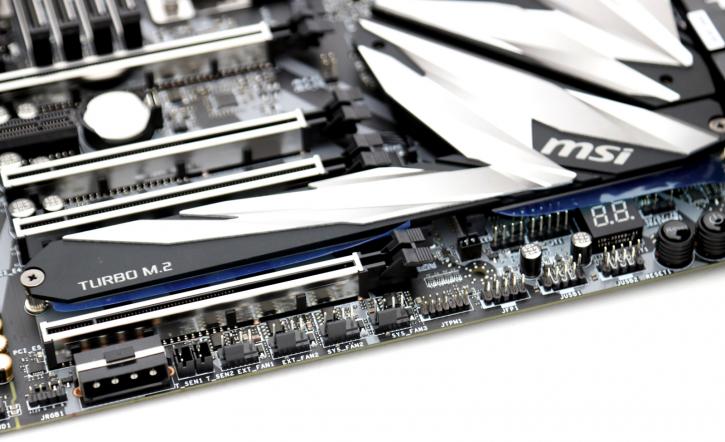
At the lower edge of the board we see the header, front panel connectors, and functional buttons etc. The Molex connector can be used to feed the PCIe slots with more power. If you'd drive four cards, that actually might help you stabilizing the PCIe slot power. Let's zoom in a bit.
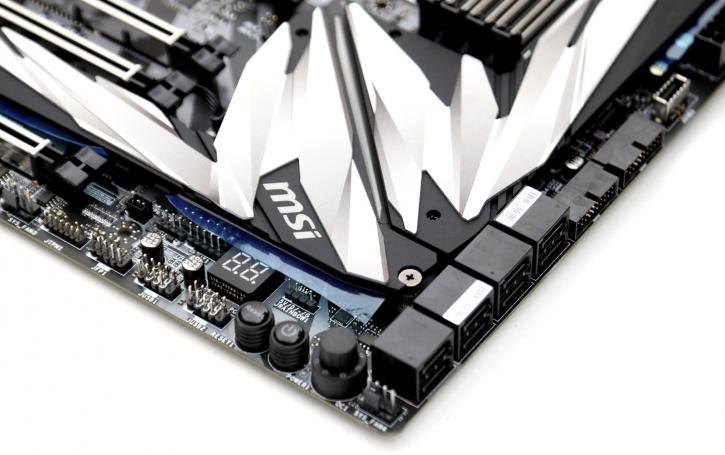
There are some buttons available to be able to power on and reset directly from the motherboard alongside an LED strip headers (extra cables are included). The motherboard boasts an LED system in combination with their software, RGB strips are now supported as well. The Diagnostic POST LED has been embedded at the lower side. It is always a very nice feature to read out if you get stuck in a boot sequence to diagnose what part is responsible for the issue. There is also the rotary OC knob, if you have been following our reviews, you'll hopefully agree with me, leave it at default and never touch it as it always results in several layers of nasty. OC/Tweak yourself via the BIOS, please.
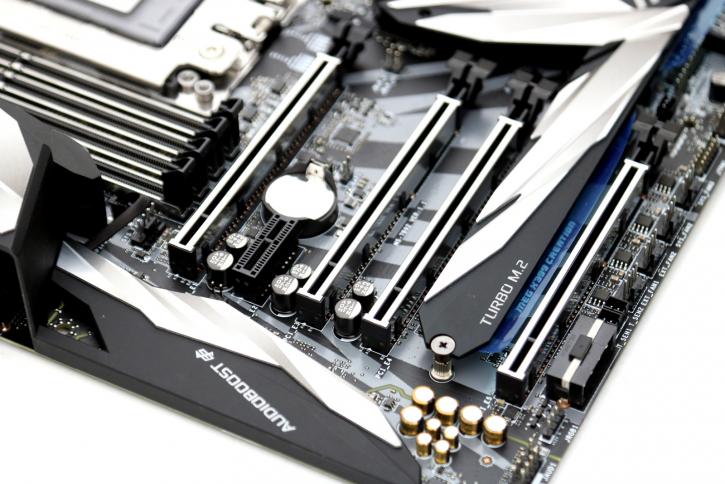
So here we can spot the PCI-Express slots a bit better. These are configured as:
- 4 x PCIe 3.0 x16
- 2 x PCIe 3.0 x1
If you'd use four graphics cards they would be configured at 16:8:16:8 (or a combination of that) as the chipset uses a x4 link from the processor. But it's just a truckload of PCIe Gen 3.0 bandwidth that you get available really.
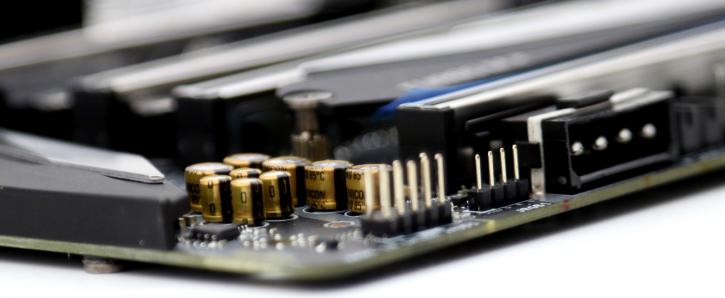
Just right there in the corner, Nichicon capacitors, these are capacitors specifically for audio applications. These are designed to bring a more premium sound quality.
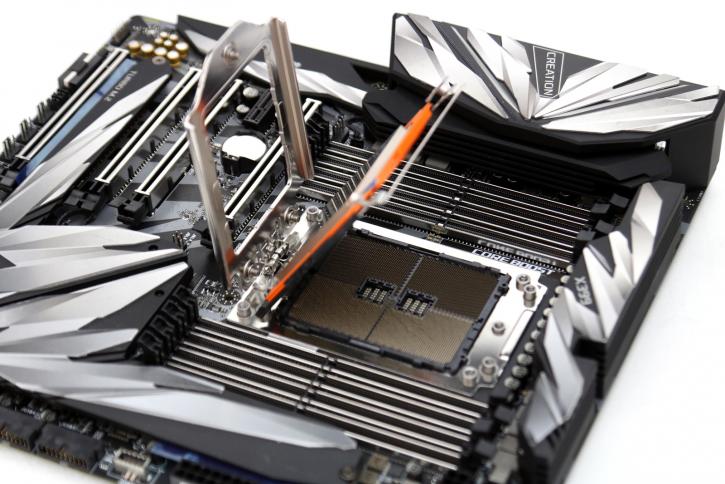
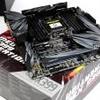
The belly of the beast ... is hungry and needs some food :)
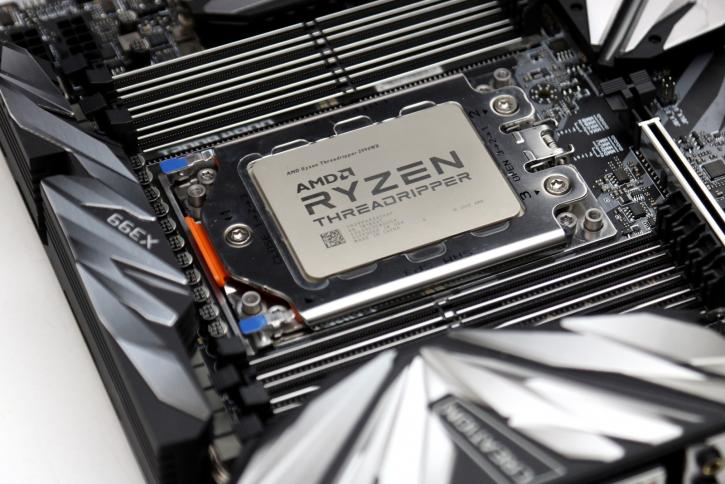
Admittedly, I still hit Cinebench 15 at random at once in a while just for kicks, 64 threads is just amazing.
