Meet MSI AfterBurner
Meet MSI AfterBurner
Alrighty, this article is intended as introduction to the new software. We'll have a look at some screenshots, showing off some of the features and of course we'll dive into a little overclocking as well.
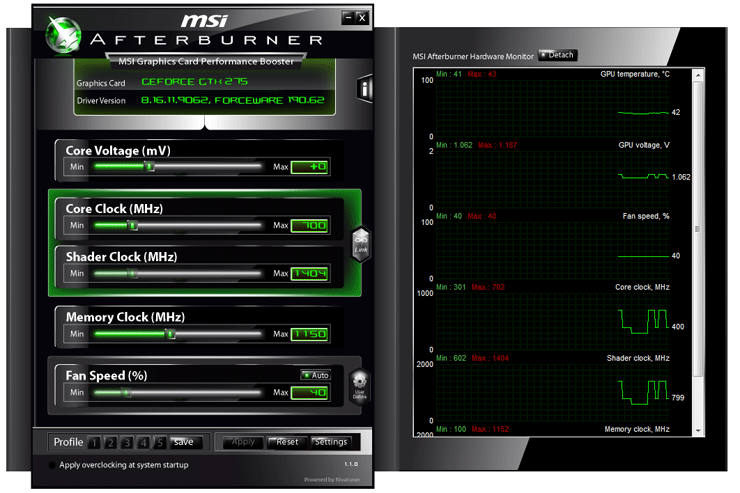
So how do you like the layout ? Pretty nice right. You'll have all primary overclocking options available in just large field. If you look to the left you can see that the sliders have been setup in such a manner that everything has been prioritized.
- Voltage selection
- Core Clock Frequency
- Shader Clock frequency
- memory Clock frequency
- Fan Speed auto/fixed/programmed
You'll notice that the Core and Shader frequency are linked to each other. It's always best to overclock that way. For the aficionado's and overclock entrepreneurs you can just clock that 'link' button to the left and unlock/separate these two clock frequencies.
At the bottom segment you can load / save up-to five overclocking profiles. Just clock the profile number and select save. To load up a profile just clock on the profile number. It's that simple.
To the right we see a nice hardware monitor displaying all primary features such as temperatures, clock frequencies, but also when used .. the GPU voltages. These graphs are configurable. We'll show you that in a minute.
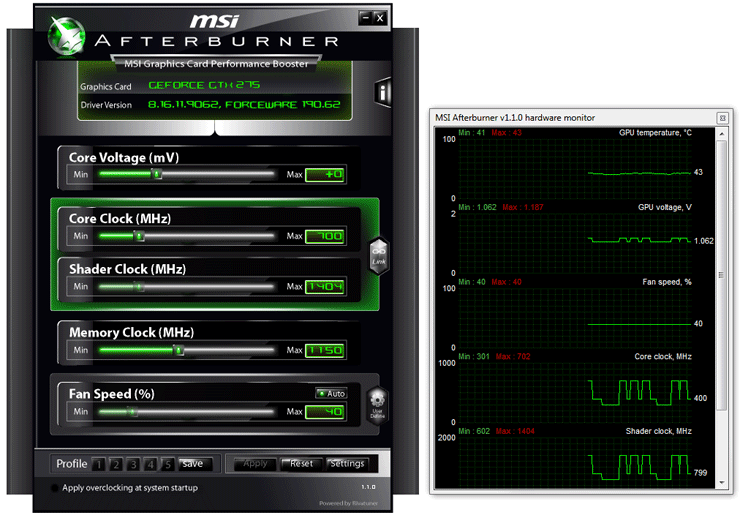
If you click on the 'detach' button, notice that the hardware monitor becomes a free floating window (in the Windows desktop)..
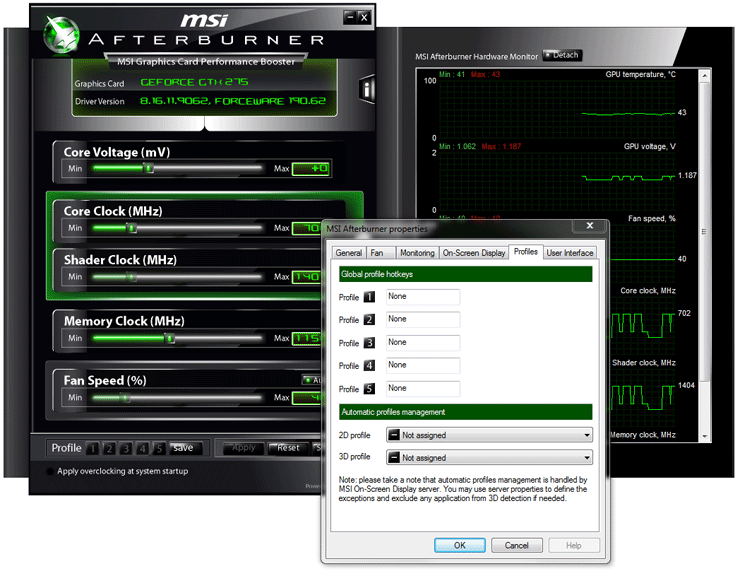
If you click on settings -- you'll notice several implemented extra features. Like the overclock profiles .. if you want a certain profile activated by a hotkey combo ... you can select it here. How cool is that ?
