Product Gallery | Installation
Once you are certain that all screws have been removed, you can get jiggy with the cooler. Gently twist the cooler away from the PCB. The thermal paste on the GPU will have a glue like effect, be careful here and inevitably the cooler will pop off. Again, please take your time ...
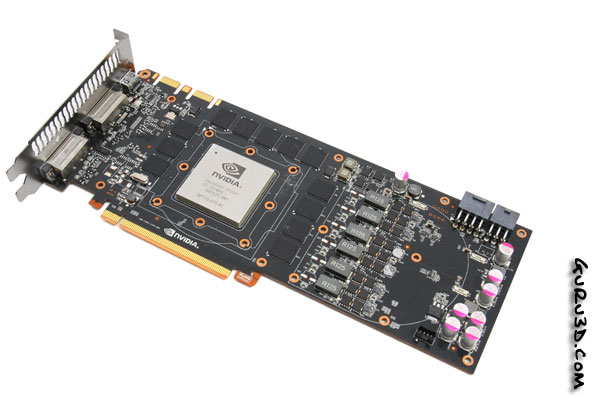
Once the cooler is gone... remove any residual TIM and thermal pads from the components like the GPU, VRMs and memory.
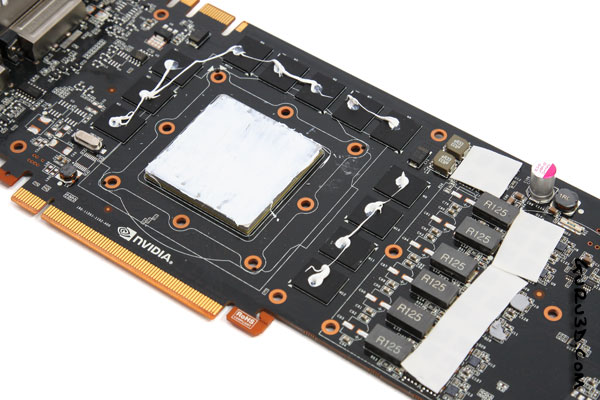
Now we apply new thermal paste (TIM) on the GPU and memory ICs, smear it out until you have a very thin layer of TIM on these components. We're halfway done here as you can see. To the left side of the cooler we apply some thermal pads for VRMs, once we seat the cooling block they will mount properly and get cooling from the liquid cooling block which is going to help us reach a very nice overclock.
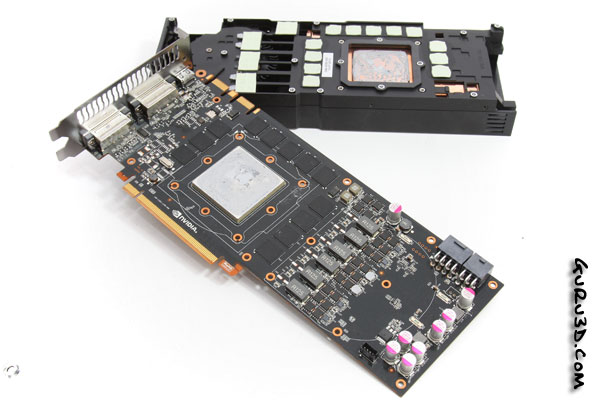
That really is all when it comes to preparation. We can now mount the block.
The best way to do so is to put the cooling block on its back, place the PCB on top of it and using the assigned mounting holes we secure and tighten the cooler to the PCB.
Also, the cooling block has a near mirror finish, place it on some foam or a towel or something so it does not get scratched up, okay?
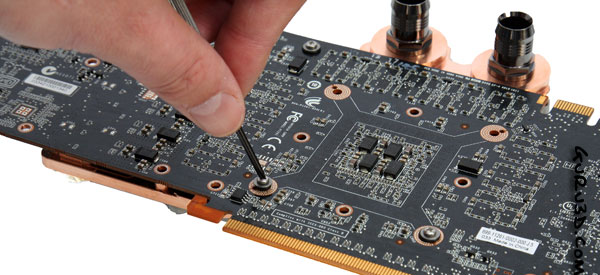
You screw down a screw + washer + rubber O-ring at the selected locations and you are done. Do not apply too much force securing them, that's simply not needed. Tight-tight, 8 screws in total.
