Page 2
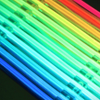
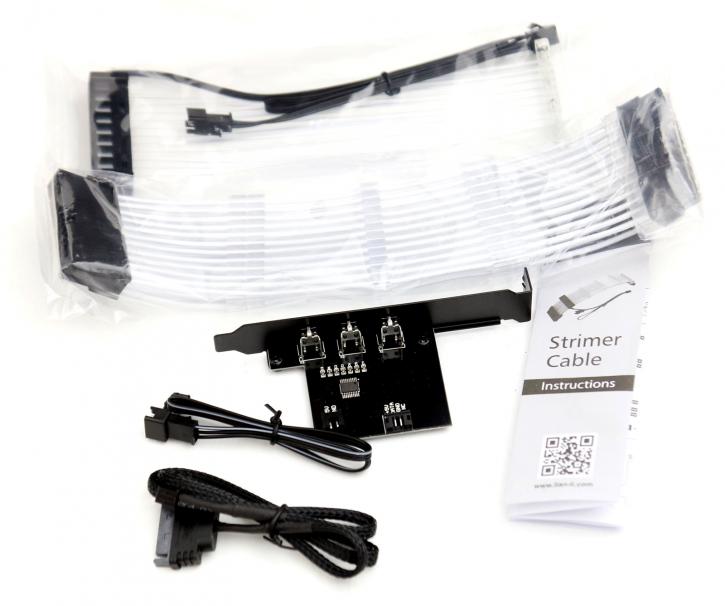
The top layer neatly clips to the bottom via cable combs allowing them to be attached easily after installing the 24 pin cable. Lighting effects can be controlled via a bundled PCIe bracket that connects to the Strimer. Included in the package there's a bit more than just a string of RGB though, have a peek.
Lian Li has included several preset modes and these are accessible with a press of a button on the PCIe bracket. Alternatively, the Strimer can be synced with other lighting components by attaching it directly to a (compatible) motherboard.
- Length: 200 mm
- Colour: White (Sleeves), Black (connector)
- Power Cable Connections:
- 1x 24-Pin ATX Connector
- Controller Connectors:
- 1x SATA Power Supply
- 1x 3-Pin RGB (digital)
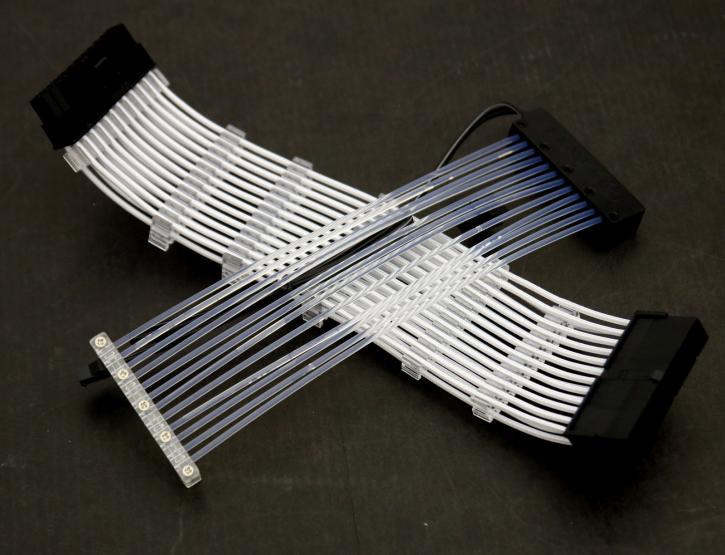
Really... it's two layers
When looking at the official pictures of the Strimer one thing can be missed, this is an ATX cable extender, with an overlay. The 20-centimeter extension cable is white (which is good as it reflects colors), and then the second (RGB) layer needs to be fixed on the ATX strand. This makes the Strimer a bit thicker and sure, more difficult to work with compared to traditional ATX mobo power cables.
You can use the Strimer in two different setups RGB wise: You can connect the cable directly to the motherboard using a 3-pin RGB header; here RGB lighting is then controlled by the software on the board and all is synced up. Alternatively, the lighting can be controlled via a supplied separate control board (which is included). This board is powered by a SATA plug and needs to be installed to the I / O panel for PCIe cards in the housing.
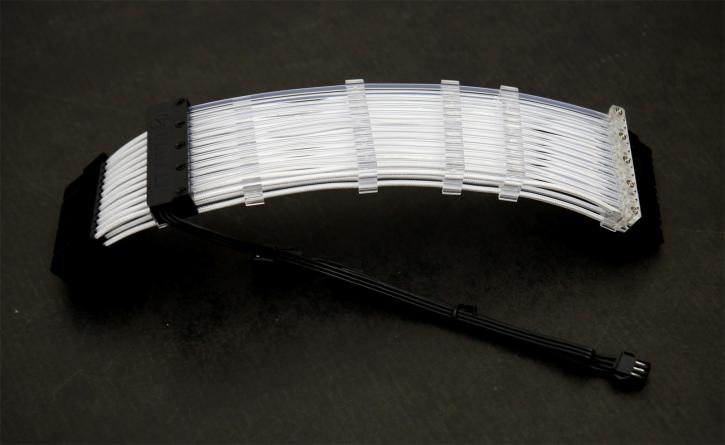
Here you can see the two layers combined, the RGB string needs to be pushed into the transparent plastic combs. Bend it and they'll pop out though. So it'll take some time to get it right.
