Web Based Management
Web Based Graphical User Interface
After installing your HDD(s), giving the unit power, connecting it to the Ethernet and powering it up, after a minute or so the LCD will display an IP. The device is ready for setup.
You'll have notice that the NAS unit is a fully fetched web interface (see above). You can located it by accessing http://192.168.xxx.xxx (the IP you assigned to the device) or locate it with the driver software software. In a DHCP environment (everything behind a router) the box will get an IP assigned. You can read it out at the LCD. Use that ...
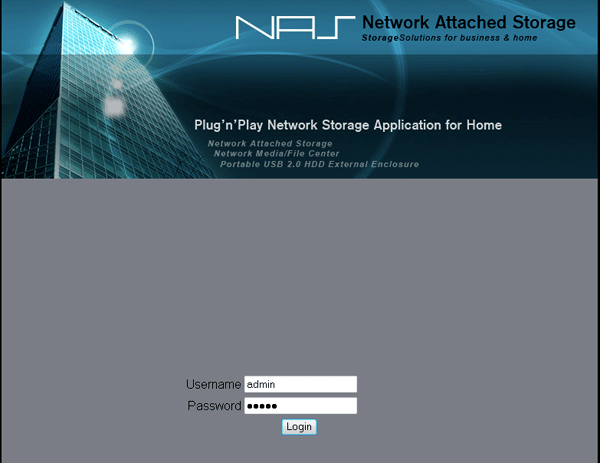
Part of that luxury also means a completely configurable device interface. Connect to http://192.168.xxx.xxxand we can login to the admin interface.
Insert the default login and password (admin:admin) and login to the software and it's versatile options.
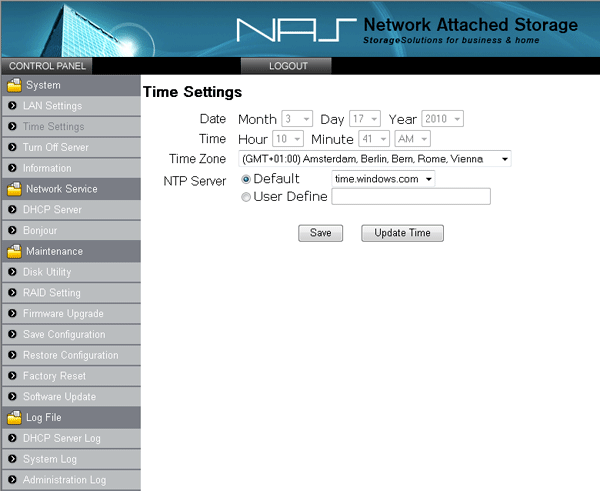
Here is an overview of some of the functions within the NAS unit. First we make sure we have set the right time and timezone. The unit can connect to a NTP server and update time all by itself.
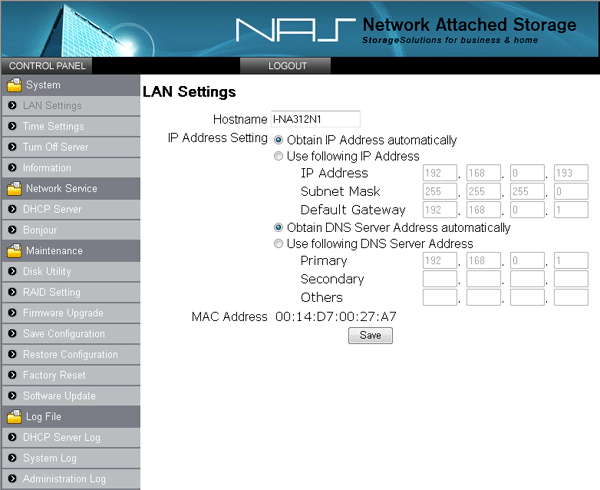
You can follow a simple wizard to setup your device and configure it in your network or set it up manually. The NAS unit will detect and setup DHCP leases if it can.
