Ikonik Ra X10 LIQUID
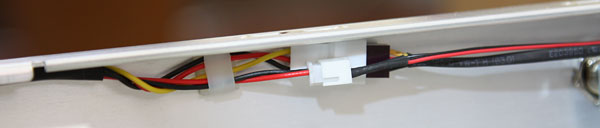
And again .. wiring done right, just look at that.
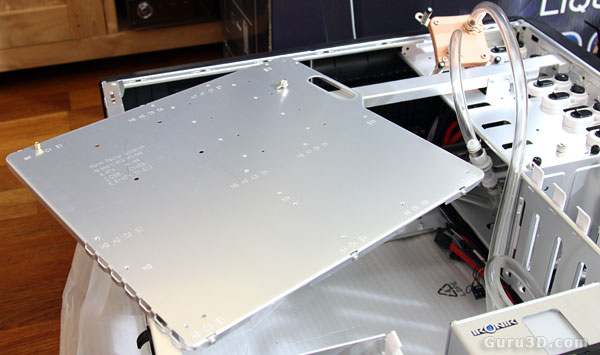
Nice detail, the entire motherboard tray is removable. It's easily removable by unscrewing just one thumbnail screw. Getting it back into place is slightly difficult though.
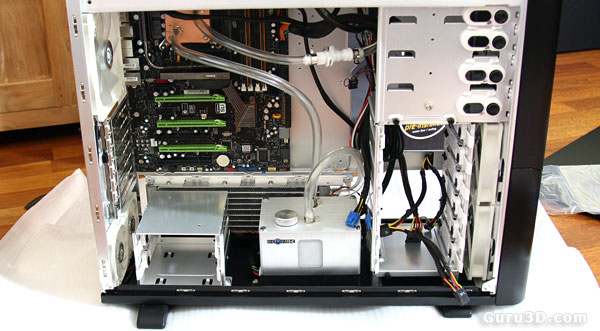
The first thing you probably want to do is install the power supply. We want to do this as we'll be connecting and powering up the water-cooling pump prior to equipping the rest of the PC components with current. We learned the hard way and installed it after the motherboard. And that's a bit of a messy job really.
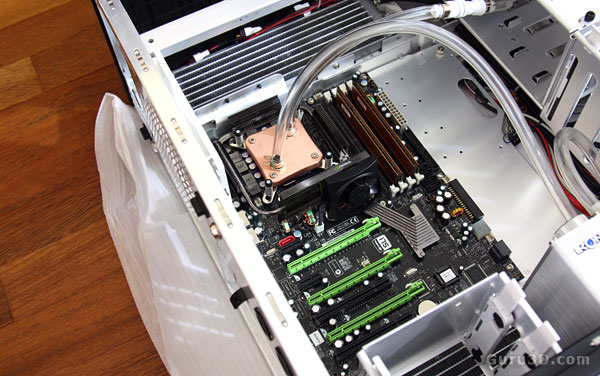
Before installing the motherboard, we need to fit a backplane on the backside of the mainboard. Just align the holes, push it on there and we can now seat the mainboard. Here I am at the stage where the mainboard has been secured into the chassis. Again, look at the space we are working with. Great stuff.
Don't forget to clean the top-side of the CPU and then apply a little thermal paste (get your own, don't use the included stuff) for optimal conductivity. Don't over-do it, a little drop smeared out is more than sufficient. Again, just look at the amount of space that we have to work with.
Once we have the CPU all lubed up, we position the water-block on top of it. Now we simply use the extended screws with springs and mount the block secure. When you feel there's enough tension on the springs you can stop.
That's it installation wise... as simple as that. It won't take you more then half an hour to do this. Now we need to fill her up.
