6 - Layout
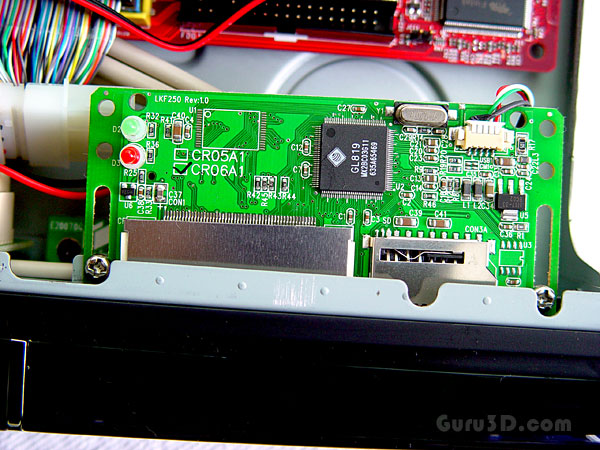
Here we can see the card reader, a bit of a sloppy installation though. The PCB in not inserted & secured straight. We quickly fix that with the help of the two screws you see.
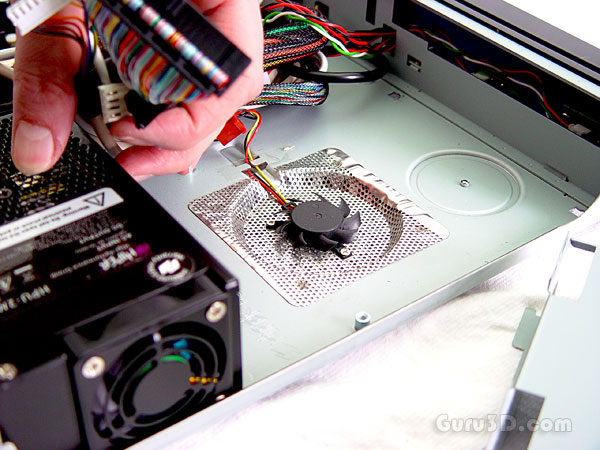
To the upper right side of the chassis we just removed the HDD cage. Underneath it is the tiniest cutest little fan you'll ever see, It's roughly 5cm, frameless and is there to get some airflow to cool the hard drive.
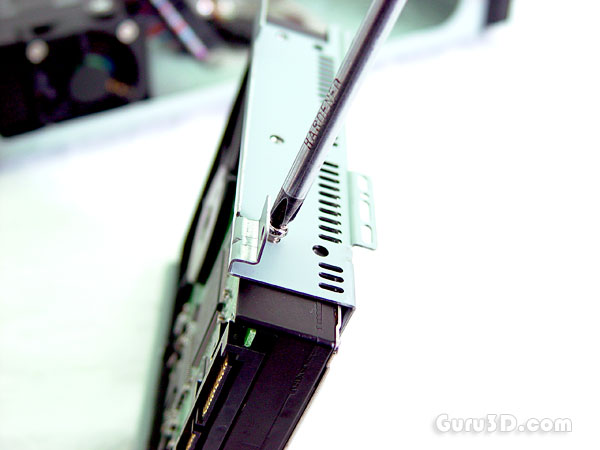
Here we see that drive cage, installation is a snap. mind you that only one HD will fit in here. Obviously you could also opt for a nice small 2.5" laptop HD as they are more silent.
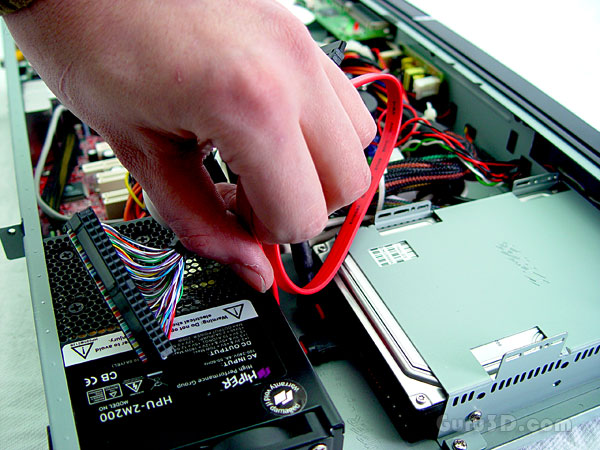
We now place the cage back and connect the wiring which obviously is an easy thing to do.
