3
As well as the watercooling, cable management was a key thing I wanted to improve through the mods. Part of this involved drilling holes through the motherboard tray in strategic locations, for ATX & SATA connectors etc. All the holes in the mod were drilled using a hole saw... first time I had used one, and Id highly recommend it for very clean holes.
I also cut the sides of the IO panel holder to allow the cables access straight to the right hand side of the case so no cables could be seen. The pumps were also to be sat on this, so I reused, and cut up one of the old HDD rack stands so it slotted on top of the I/O tray. As you will see later, this allowed the pumps to sit very neatly in the front of the case
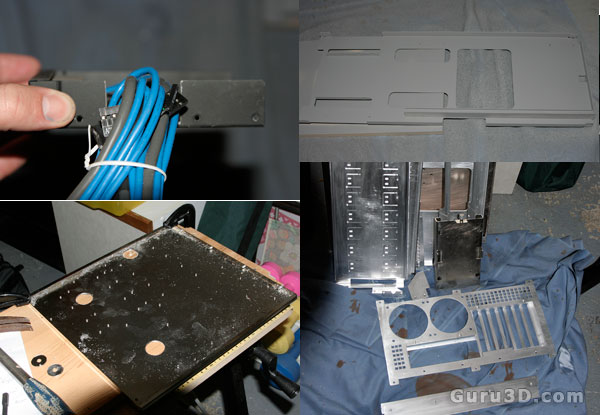
Purely for aesthetics, I decided to paint this inside of the case black, to match the outside. Once the case was in pieces, I keyed all the inside sections with wet & dry sandpaper so the primer would take hold.
Then I primed it with grey primer. This section is the floor that sits between the two compartments in the TJ07. I cut away a small section to allow the cables to come up behind the motherboard tray from the PSU, again helping the overall cable management.
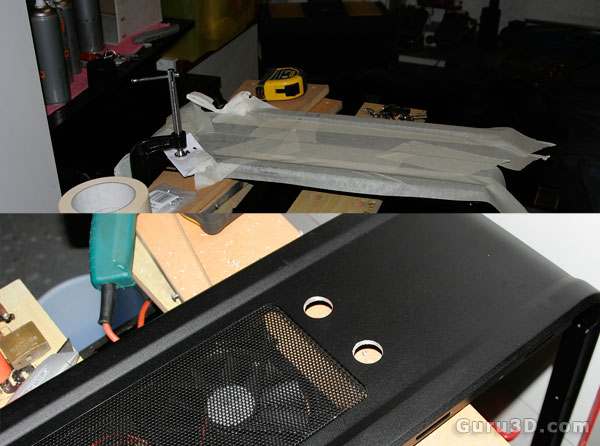
This was definitely the most nerve racking mod of the entire project, and I debated along time whether to do it. I decided to drill two holes in the roof of the TJ07 to fit fill ports in order for the reservoirs to be filled with ease. Anyone who knows the TJ07 will recognise that the roof is part of the single piece structure... one mistake and no more case!
Luckily, as you can see, the holes turned out to be very clean, and exactly in line!
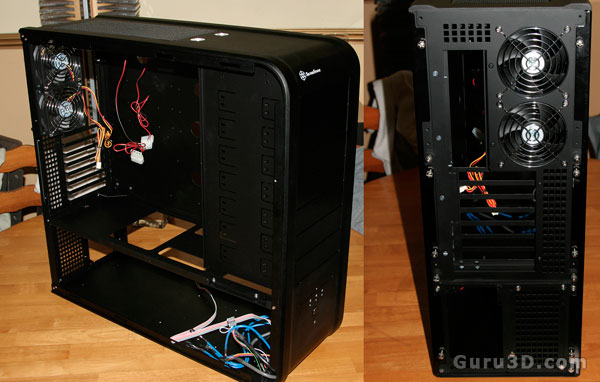
Then it was time to put the case back together. Overall I was really pleased with the effect gained from painting it black. The overall finish was far better than I expected from just using car spray paint!
Then, once the arrived I added the fill ports into the holes. Personally, I think they look great!
After this it was time to install the watercooling and PC components. The hardware jumps around a little over the next couple of pictures in case you were wondering! (I did say I upgraded a lot!)
