Page 8 (Pics and Install)
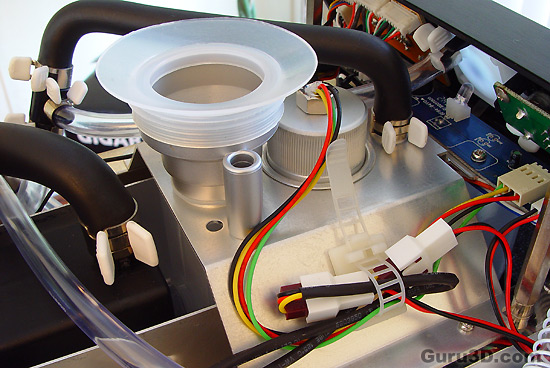
Again, look at the clamps, tubing, wiring.. all has been finished off with the greatest deal of precision. This is really impressive and professional.
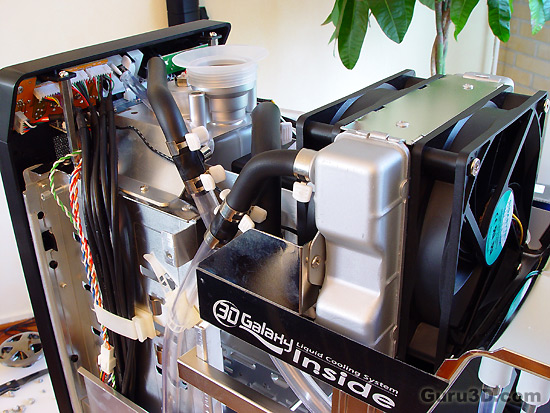
See, for example look at the wiring to the left and the tubing on the other side, very nice to see.
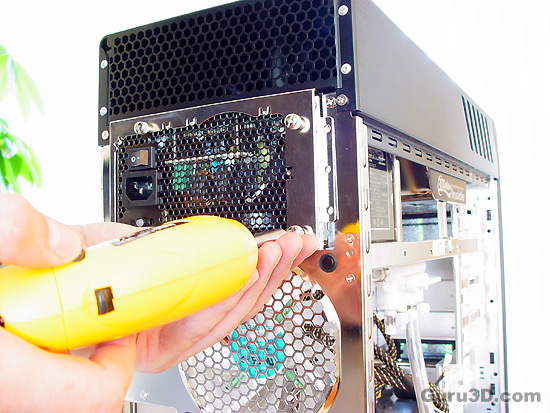
Right then, we're starting off with the installation. The first thing you probably want to do is install the power supply. We want to do this as we'll be connecting and powering up the water-cooling pump prior to equipping the rest of the PC components with current.
See if there would be any leakage, this way we prevent the system from shorting out.
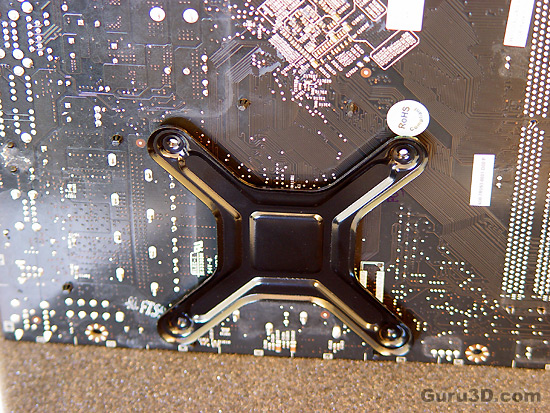
Second thing we need to do; we need to fit backplate on the backside of the mainboard. Just align the holes, push it on there and we can now seat the mainboard. Here I am at the stage where the mainboard has been secured into the chassis. Again, look at the space we are working with. Great stuff.
Don't forget to clean the top-side of the CPU and then apply a little of the supplied thermal paste for optimal conductivity. Don't over-do it, a little drop smeared out is more than sufficient.
