Product Showcase
To the lower left we see the PSU mounting area, you can use ATX PSUs up to 175 mm deep when using the bottom fan location. We'll show you that later on during installation though. At the front-side the PSU sits inside a compartment and thus is covered up.
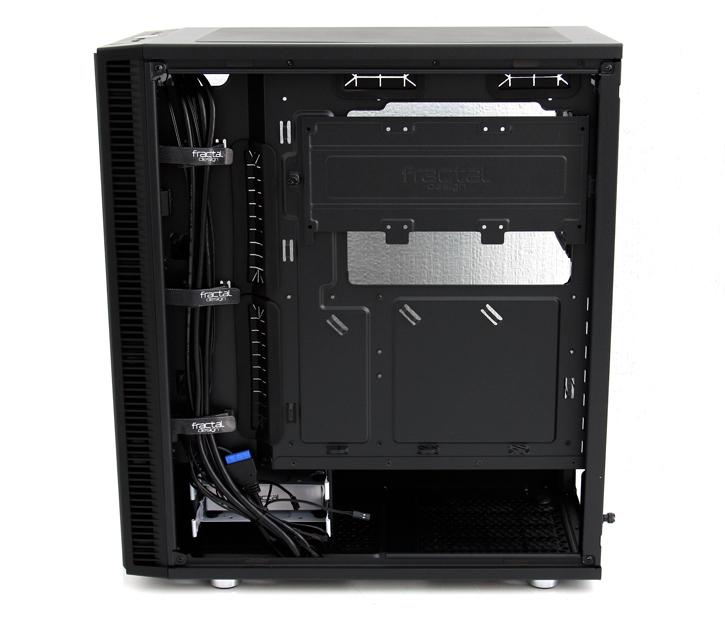
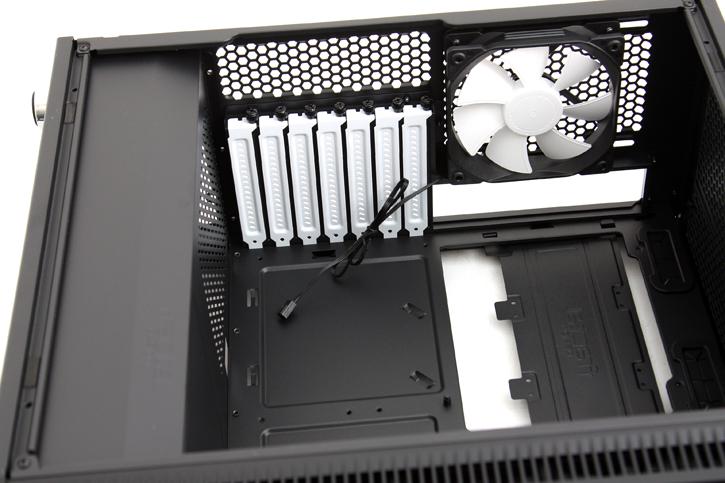
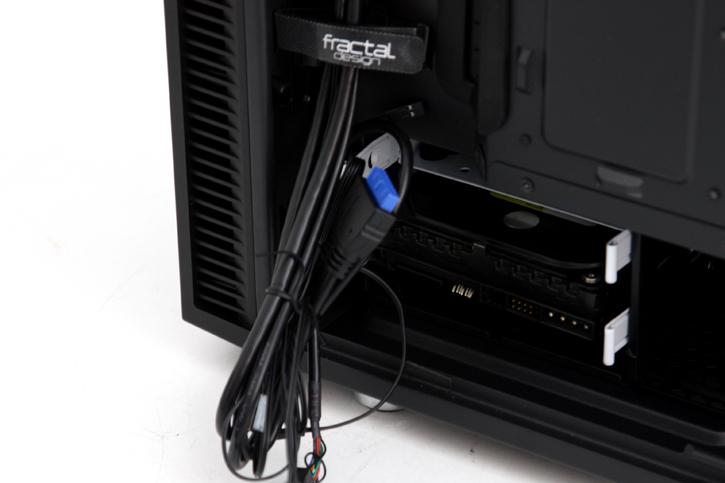
As stated before, the chassis comes with a good seven expansion slots. CPU coolers may be up to 168 mm tall and graphics cards up to 31.5cm in length. Here's the backside. If you look upwards you can see a black metal plate on the backside of the motherboard tray (over the big gap) that can hold three SSDs. To your lower left there is a two bay compartment for HDDs.
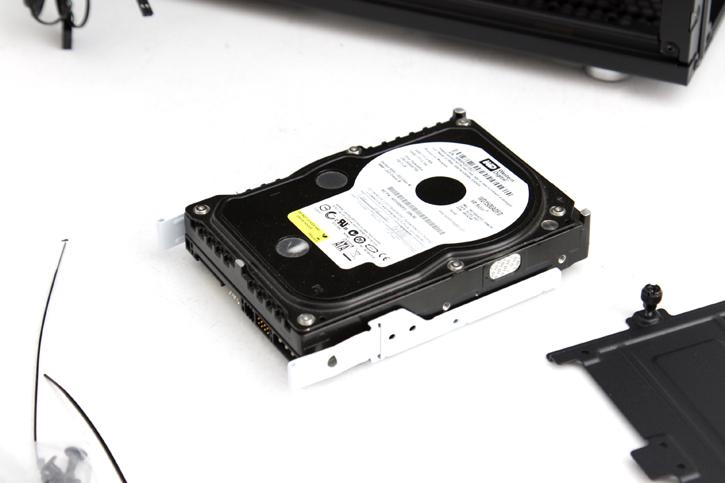
You remove the tray, then seat the HDD on there and secure it with four supplied screws. You'll spot thick rubber grommets on all holes on these trays to prevent resonating noises from the HDD. It btw is also possible to mount an SSD in these trays.
Hard to spot but here the HDD is inserted into the lower slot; just slide it in until it clicks secure. BTW - please don't mind the old damaged HDD, it's just a mock-up unit :) As you can see the cabling is all black as well as most of the visible connectors.

So this bracket can hold 2.5" SSDs, three of them. You'll need to secure each SSD with four mounting screws. It's a very arbitrary simple solution really, but then again, ... there's nothing wrong with simplicity as long as it's functional and effective. And it certainly works just fine.
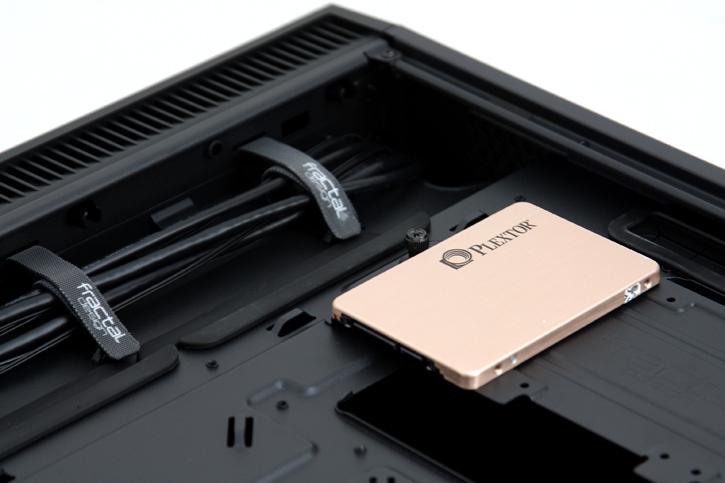
Once you screw the SSDs secure, just insert the tray and secure that one with one thumbscrew. You can house three SSDs this way located at the backside of the motherboard tray, these thus remain hidden from eye-sight.
