
Product Showcase
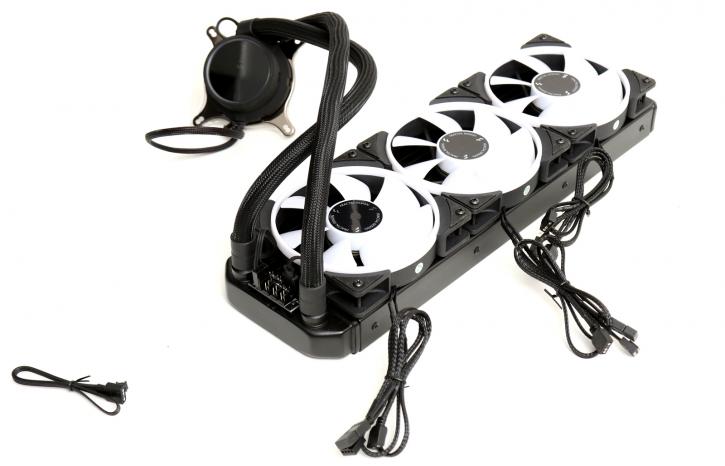
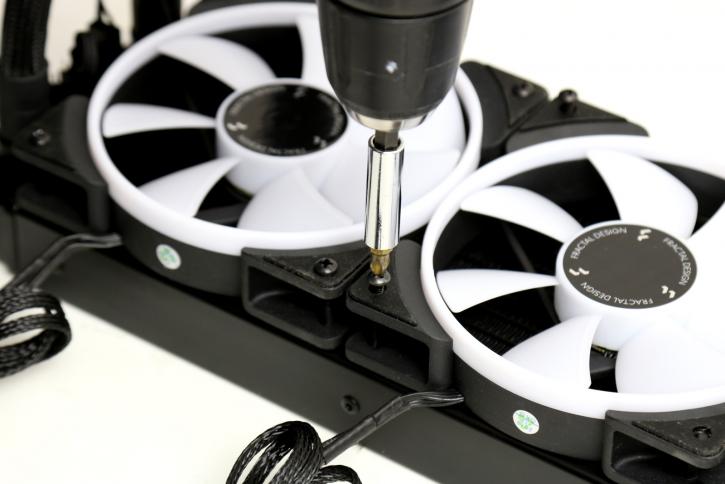
So here is the phase where we slowly start assembling a test setup. First, we mount the fans to the radiator, four screws each, it really is as easy as that.
The fans have connectors you can merge together at the fan HUB to the right. One cable leads to the CPU FAN header on your motherboard. For this kit please understand that the motherboard should control (partially) the PWM fans. You can also use an automated modus.
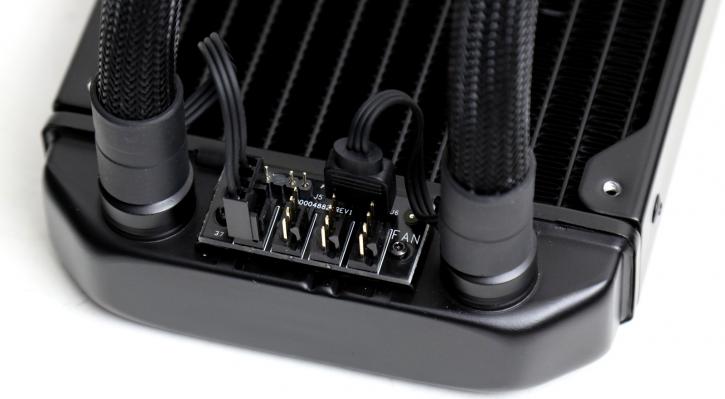
Here you can see the fan hub and RGB passthrough, you'll need to wire the fans precisely though as the fan that is farthest away has to reach the fan hub.
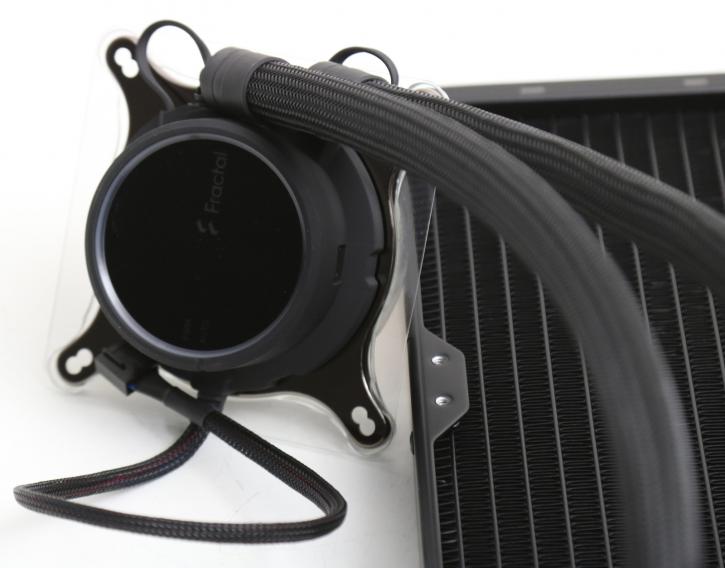
As such, fan cabling could have been a bit longer as far as I am concerned. You need to decide where you'll be positioning your radiator and how the tubing and wiring will be managed. Overall less cable clutter at pump location, more at the radiator side of things.
