8 - Photos - Installing EVGA GeForce GTX 280 HC16 (2)
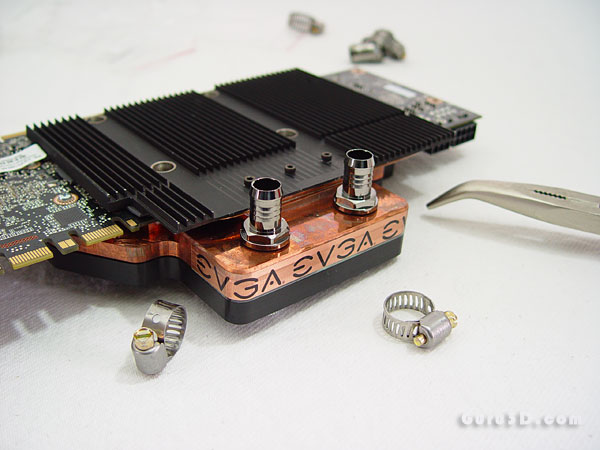
There's only a little work to do to prep the cards to be added to your water-cooling. Real simple, real easy. After prepping the frontside we mount the in- and outflow fittings and secure them tightly. We use the 3/8" tubing today so we mount two 3/8" fittings and pretty much have prepped the card. You are now ready to connect tubing.
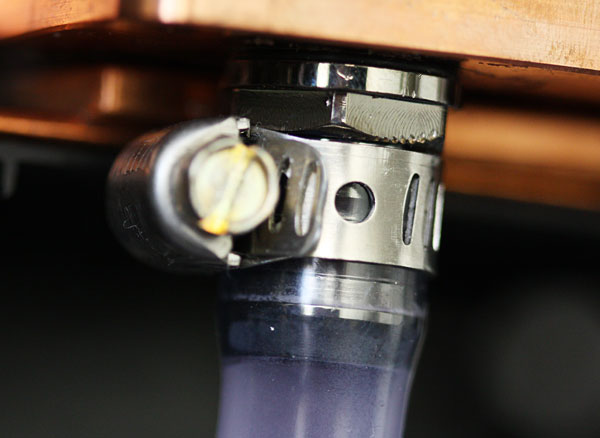
Now connect the two tubes (in- and outflow), then clamp down the fastenings. There is no chance in hell this will leak this way. This type of clamp is pure brute force. Not the most aesthetically pleasing, yet likely the best kind you can use.
After you've connected tubing and clamped it down it's time to power up the PC and get that coolant flowing. We're done here. The entire process with mediocre PC building experience is really 10 minutes top.

We use a 1800 Liters per hour pump with 3/8", in our case we are pretty secure to get the water-flow filled throughout the circuit in seconds after starting up the PC. Our radiator is a Black ICE Dual with two 1300 RPM 120mm fans. Expensive, yet silent and high-performing. The best combo really.
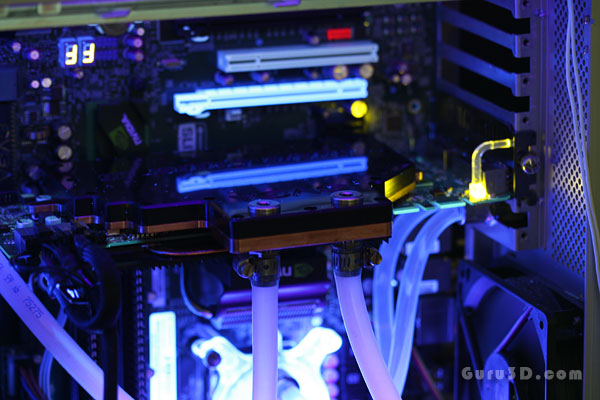
I always state, if you go for water-cooling .. get cold-cathode UV blacklights and UV reflective coolant. It is just downright beautiful to look at.
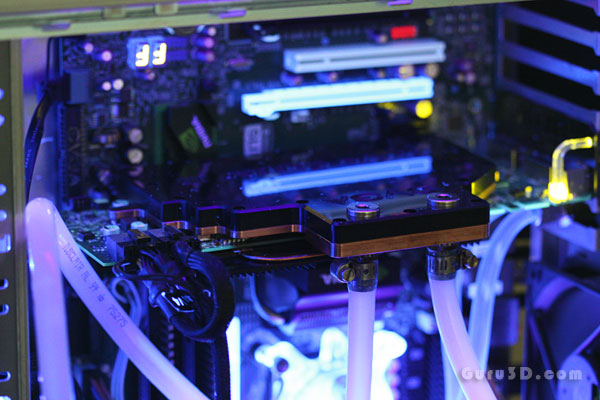
To me this can be described in one word; sexy. Okay, enough pretty pictures, let's startup the benchmark sessions.
