Product Showcase
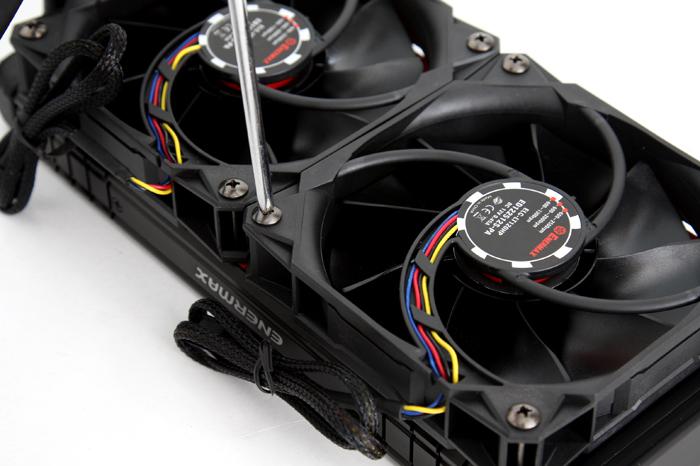
So here is the phase where we slowly start assembling a test setup. First we mount the two fans to the radiator, four screws each. A very simple process.
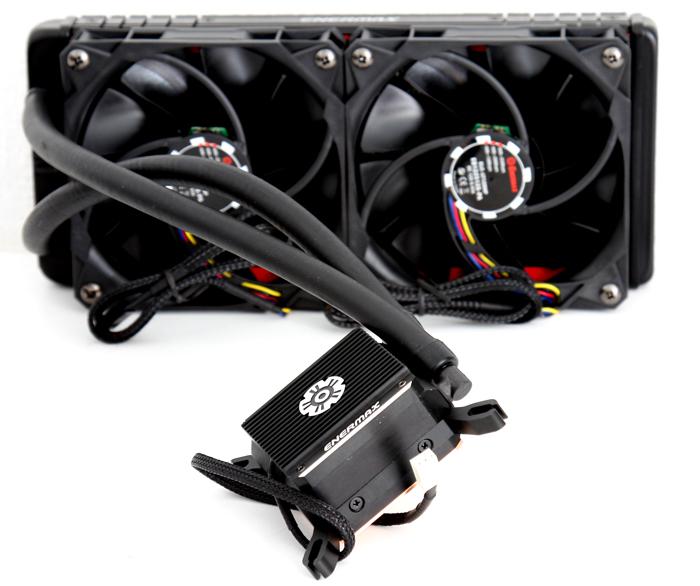
Once done, you need to decide where you'll be positioning your radiator and how the tubing and wiring will be managed. The two fans have connectors you can merge together with a y-splitter cable that is included and leads towards the CPU FAN header on your motherboard (or whatever source you like to control the fans from). For this kit please understand that the motherboard controls the PWM fans as well as the option to use a max RPM setting on each individual fan.
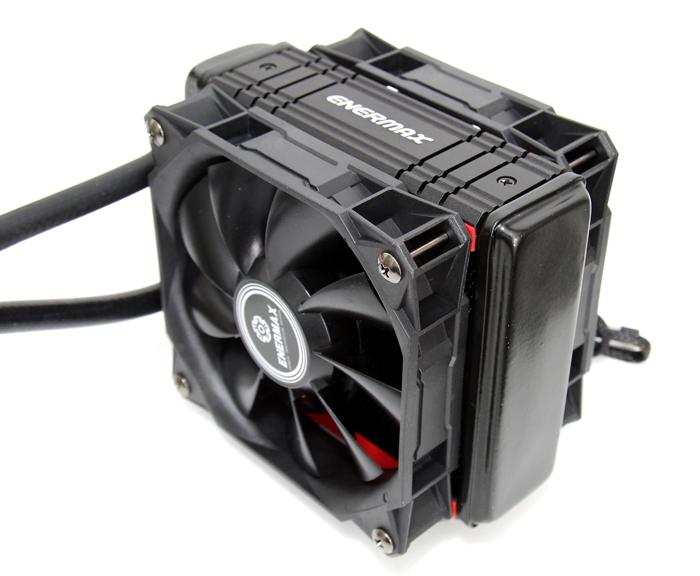
Here you can see the 120X assembled, you'll receive two fans here as well, also with the RPM switches. You should configure the fans in a push pull configuration. So at the bottom you will suck in cold air while on the other end you exhaust it outside the chassis. Depending on the heat inside your chassis, you could also opt to do that vice versa, but then make very sure your chassis has good heat exhaust ventilation.


