Product Showcase
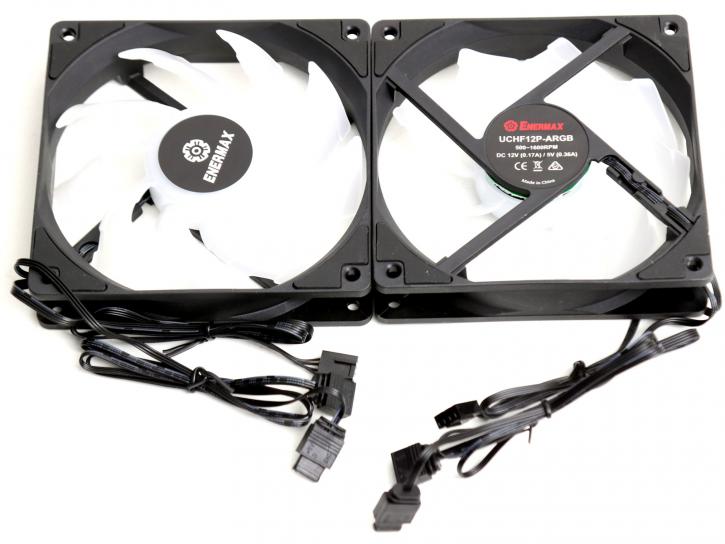
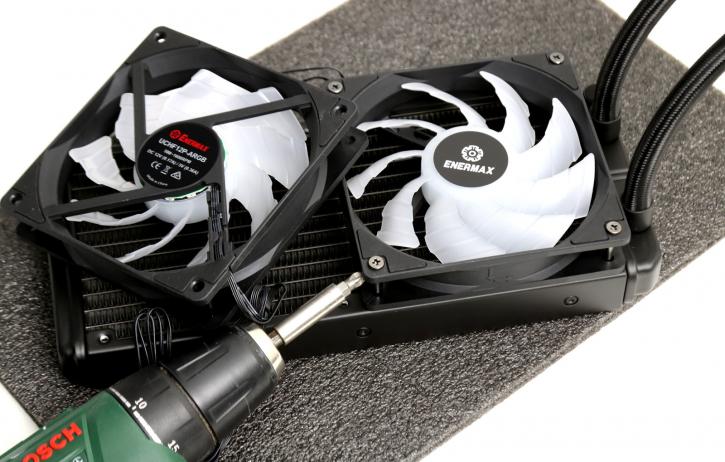
So here is the phase where we slowly start assembling a test setup. First, we mount the fans to the radiator, four screws each. The fans have power connectors you can merge together with an included y-splitter cable this leads towards the CPU FAN header on your motherboard (or whatever source you like to control the fans from). For this kit please understand that the motherboard controls the PWM fans. You can also directly lead both FAN cables to your motherboard fan headers of course. Next to that each fan has an aRGB cable and fan connector, these need to be bridged towards the fan controller.
Once done, this is what the unit looks like. You need to decide where you'll be positioning your radiator and how the tubing and wiring will be managed, and believe me when I say, it'll be a lot of wiring to deal with.
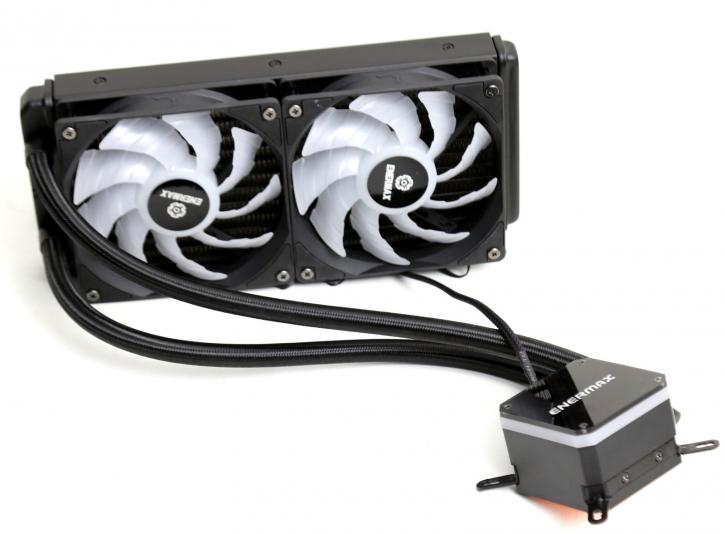

The unit has an addressable RGB water block as well as the addressable SquA fans. RGB connectivity is provided through a 3 pin ARGB (5V/Data/Ground) connector and is compatible with ASUS, ASRock, MSI, Razer Chroma, and Gigabyte boards. This round you'll need to hook it up to your motherboard aRGB 5V connector as a controller is not included.
