Practical part - installation
Practical part - installation
Let’s start with the assembly. It’s quite straightforward, and Elgato's instructions are detailed enough.
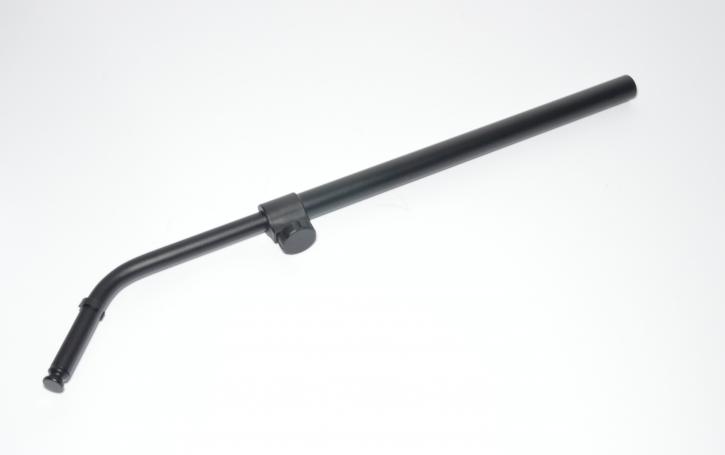
The first thing to do is to take the pole of the Key Light Air and insert it into the base.
You need to secure the pole using the provided screw.
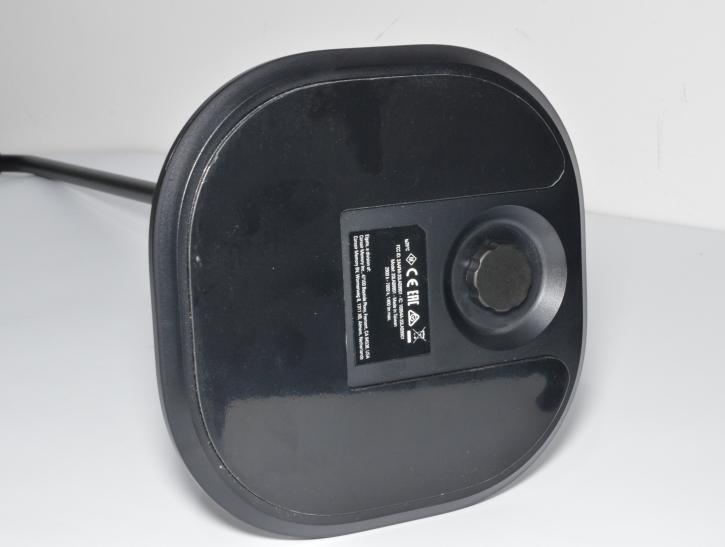
The next step is to take the ball mount head and screw it into the back of Key Light Air. After that, the ball mount socket needs to be connected to the pole, and then to the ball mount head that has just been screwed into the back of the light.
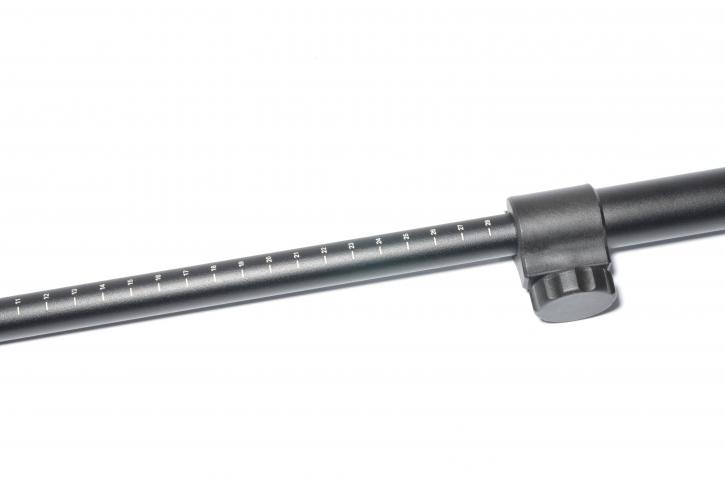
Height adjustments can be made to suit any kind of setup. The Key Light Air can extend up to 28 centimetres on top of the 60 cm length of the pole. When you’re happy with the height, you just need to tighten the provided screw located on the pole.
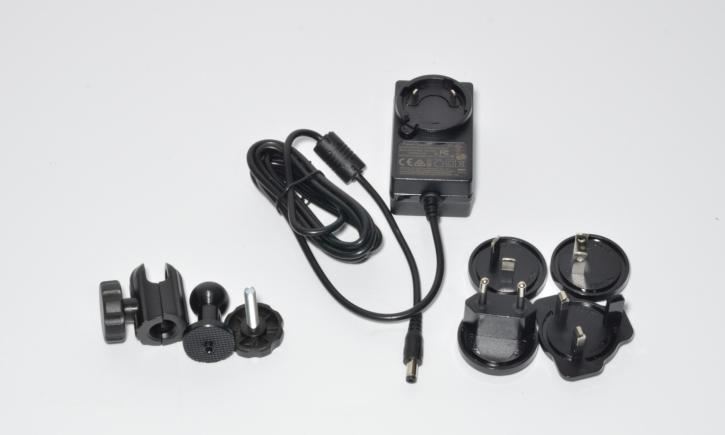
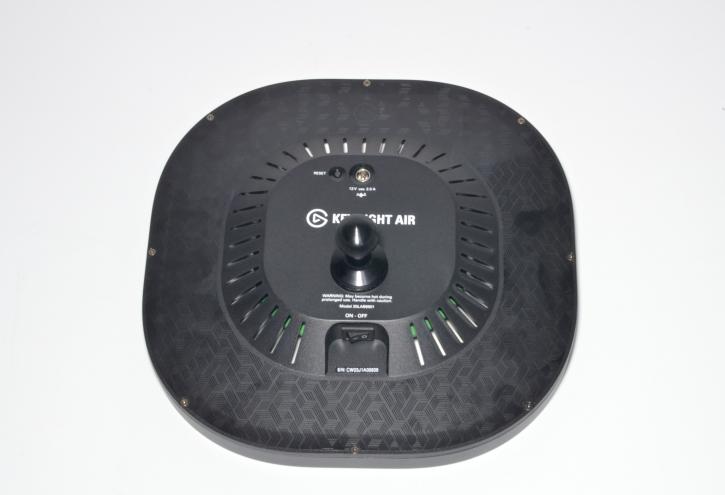
Elgato provides several power adapters, so you need to select the correct one for your type of wall outlet.

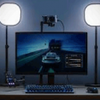
The next step is plugging the power cord into the back of the Key Light Air and running it down the spine of the pole, inside the special grove. This way the cable won’t be dangling next to the pole. Above you can see the final outcome after the assembly, which shouldn’t take much longer than 15-20 minutes even in the worst-case scenario (with a careful reading of the manual).
