Product Showcase CPU cooling
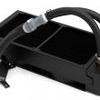
Let's call this the front-side. Here you can see the pump actually. The entire unit is protected against resonating noise with rubber inserts and what not.
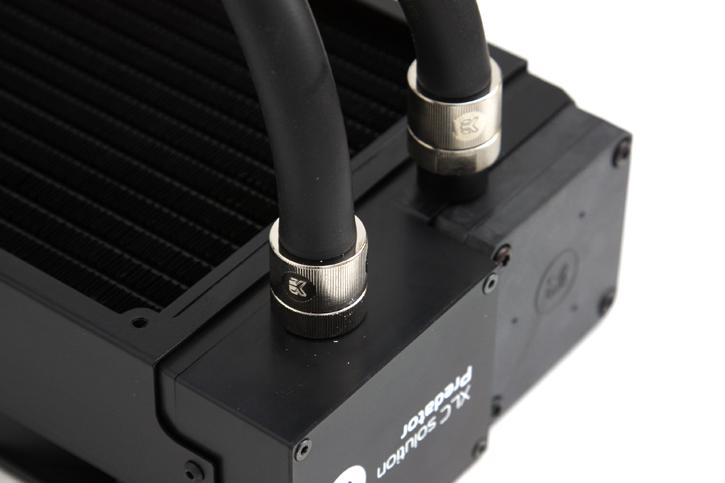
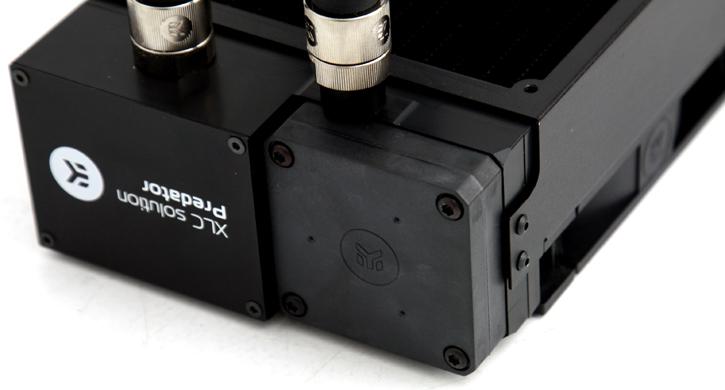
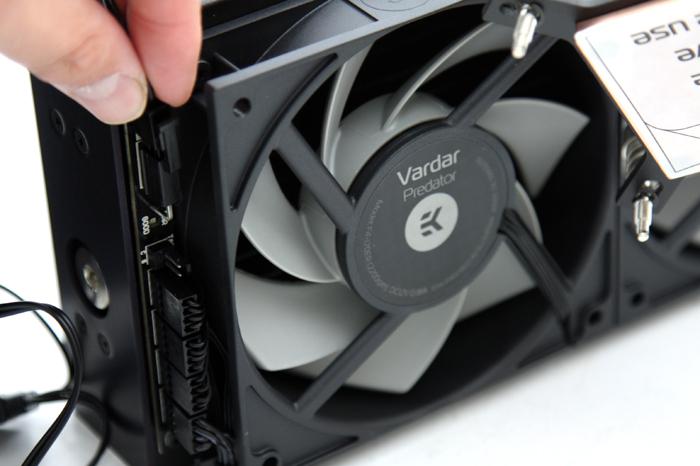
At the top side you can see the tubing in and outtake. The fitting can be rotated easily and do not and will not leak - it's nice quality you are looking at, I guarantee you will be amazed by it.
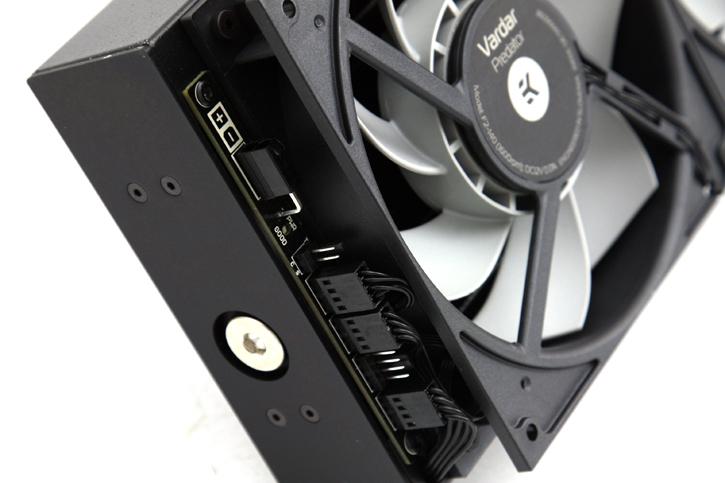
If you mount the chassis not in the top but in the front, you could still refill it as this "top" side offers access as well. You connect one CPU fan header on the motherboard, and lead it to the two-pin connector.
To the right you can see a horizontal connector. This is used for pump power and you connect that wire to a PSU SATA power connector. Once activated a LED light will light up. So there are just two wires that lead to the reservoir, easy for cable routing and hiding cables, and not a spaghetti flurry of cables leading out of the cooling block.
