Product Showcase CPU & GPU cooling (installation)
Product Showcase CPU & GPU cooling (installation)
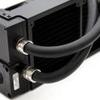
So here's the part of the review where we will add a graphics card into the cooling loop. The Predator 360 has quick disconnects so you can easily add more components towards the loop. And yes, the 360 is designed for that as for cooling a Core i7 4790K really the 240 model already is sufficient (as you have seen in the benchmarks). If you opt the 360 then you want to use that extra cooling capacity, thus add stuff into the cooling loop.
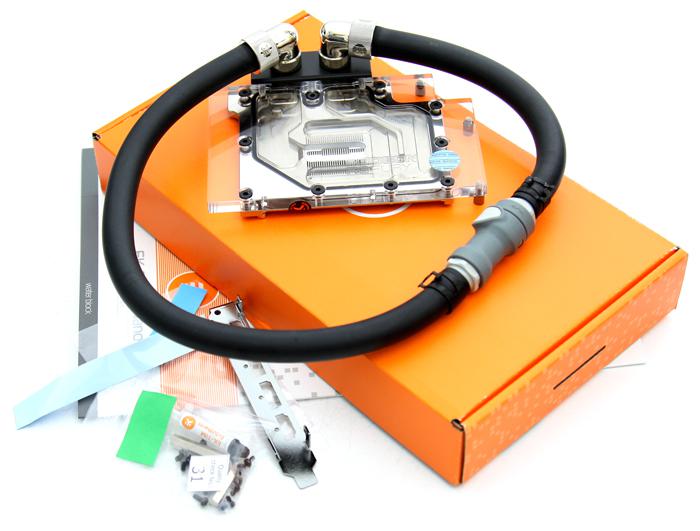
We requested a cooling block for the AMD Radeon R9 Nano. This lovely little card should be a fun one to see on liquid cooling. Next to that the massive 5.5x5.5cm sized GPU will ooze out a lot of heat. Above you can see the kit we received, for an extra 25 bucks it comes with tubing and quick disconnects and already is factory installed and filled with coolant, we can sincerely recommend you that. The kit now comes prefilled and included are screws and thermals paste and thermal pads. Also you will be going from a dual-slot towards a single slot card, so EK includes a PCIe Slot bracket as well.
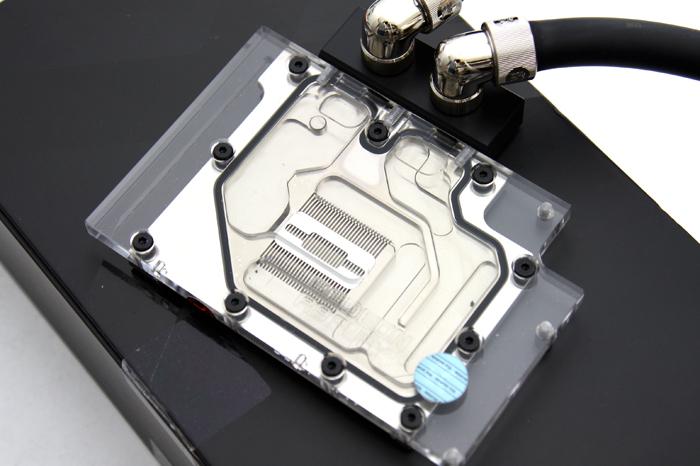
The EK-FC R9 Nano water-block directly cools the GPU, HBM as well as VRM area- water flows directly over these critical areas, thus allowing the graphics card and it's VRM to remain stable under high overclocks.

The base is made of electrolytic nickel-plated copper, while the top is made of either acrylic- or POM Acetal material. Screw-in brass standoffs are pre-installed and allow for safe, painless installation procedure. As you are about to find out, the EK-FC R9 Nano water block will transform the R9 Nano into a beautiful single-slot graphics card.
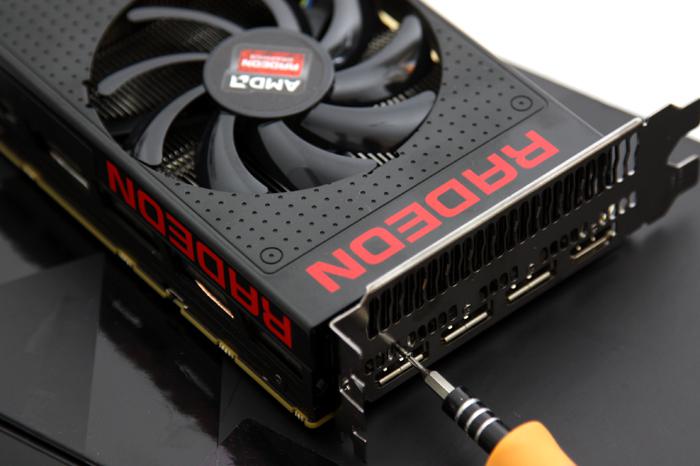
So let me talk you through the process. We take the 650 EURO petitie Radeon R9 Nano and need to remove screws, lots of them - starting with the IO bracket which already has six of them. You will need a specialized supah-dupah-mini Philips screw driver there. Easily found in any hardware store.
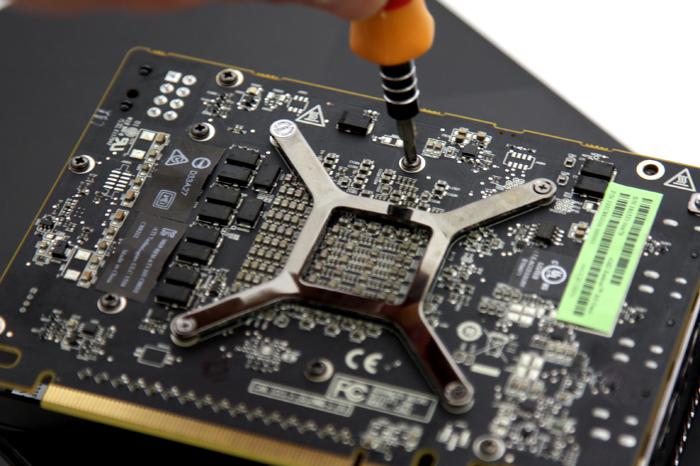
Then for the front and backside you'll a need mini Philips screw driver and remove almost 15 screws for everything in total .
You can now remove the cooler and fan cooling cable from the PCB. That fan header is a bit tricky to remove though.
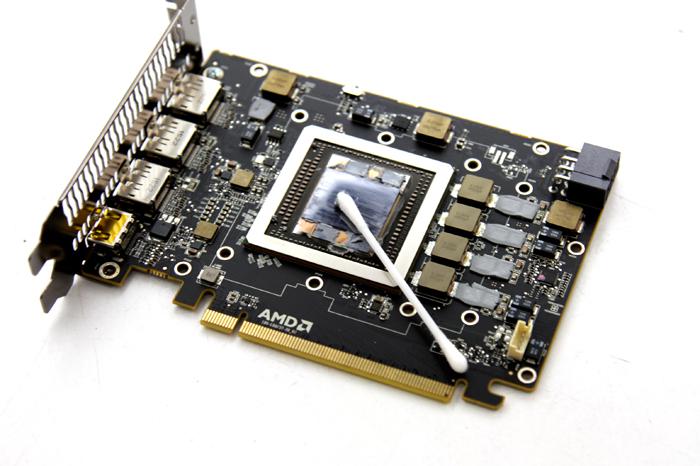
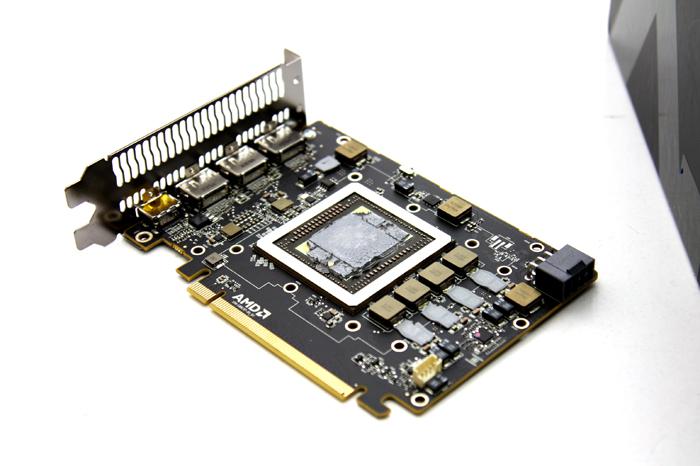
AMD applies quite a bit of thermal paste, simply remove it as we will be reapplying the included thermals paste that EK delivers with the kit. We can now see that HUGE AMD Radeon FIJI XT die with in the middle the GPU surrounded by the four HBM memory stacks.
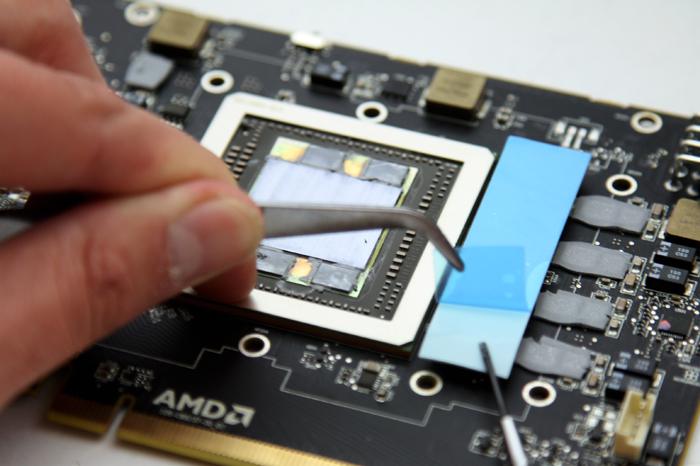
The exposed chokes/mosfets now get a thermal cushion applied as they will be in direct contact with the water-block as well and thus be cooled.
