Product Showcase P360 Cooling (Installation)
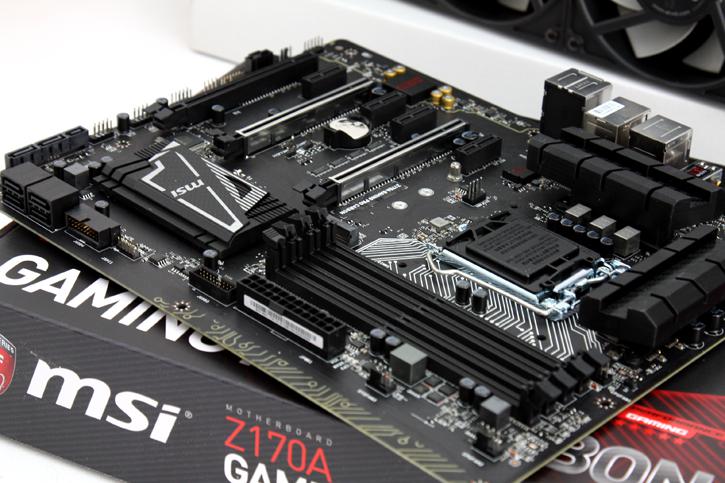
Liquid cooling is not just about performance and silence, it's about aesthetics predominantly as well. The most beautiful rigs all have some sort of liquid cooling. Bascially we wanted to use a dark motherboard so that the cooling kit and other gear jump out a bit, for this build we'll be using a relatively affordable MSI Z170A Gaming PRO CARBON, we reviewed it recently here. I've picked this motherboard for a secondary reason, it has an RGB LED lighting system build in, so once the system is powered up we can fire off some LED animations and colors all customized. Which will look great.
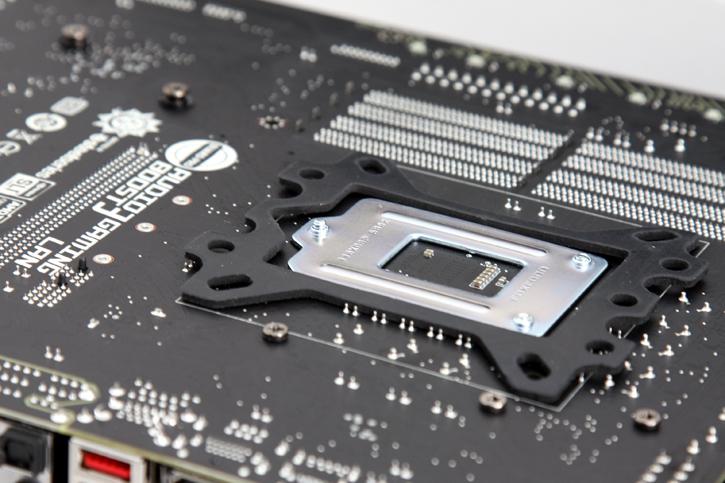
Prepping the motherboard for mounting the cooler is a relatively easy thing to do, though the motherboard back-plate will be most difficult thing to install. You seat a rubber protective cover first, now look at the following photo:
We now put in place the back-plate. We could argue that it's not a black colored back-plate, but since it sits behind the motherboard it's not like we're gonna see it anyway. Make sure you align the three visible socket screws with the back plate. See the standoff screw to the left? we'll be securing the back-plate in place from the opposing side with these screws, DO NOT forget to use a washer. Let's flip the motherboard around.
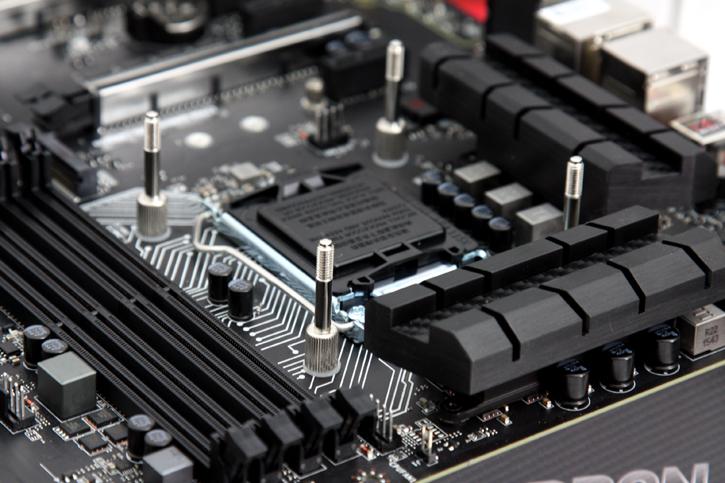
Take your time here and take it slow, this is the most tricky part of the installation. Once you seated the new back-plate on the backside, you line up and secure the four screws until you can't turn them any further. Do not forget to use the plastic washers here or you could potentially damage the motherboard PCB. Once seated, flip the motherboard around and check the backside again. Check if that rubber protective insert is seated well, as it prevents the metal backplate getting in contact with electric pins located at the backside (and this prevents shorting the motherboard out).
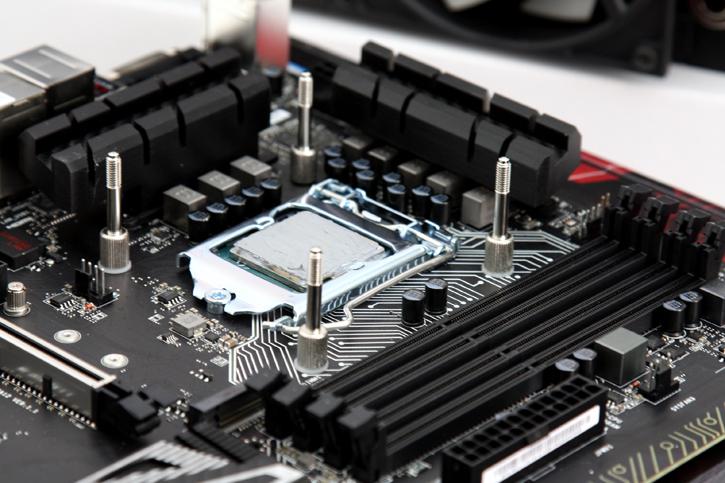
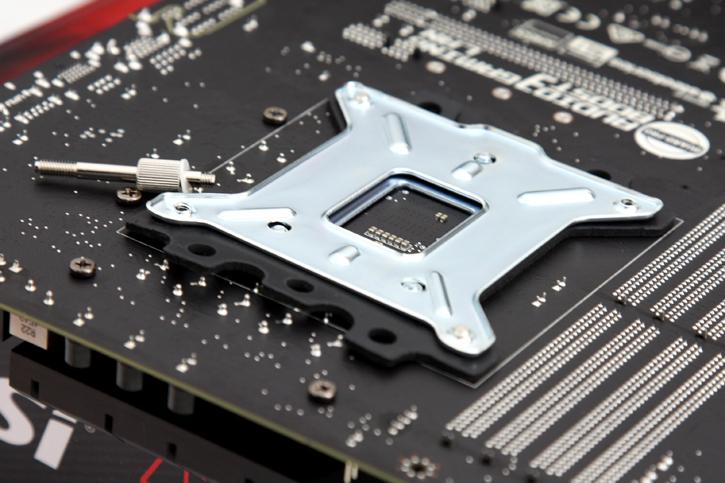
You can now put a drop of thermal past onto the CPU and spread it out evenly. BTW that looks like I dropped a kilo on there, it's really a thin film layer in reality. With this segment of the installation out of the way you can already visualise the cooling-block mounting, eh? Next page my man.
