Product Showcase P360 Cooling
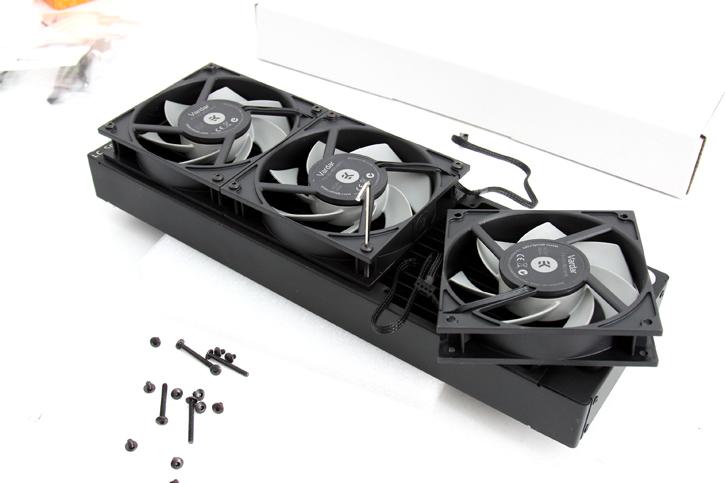
Right, it's time we get some work done. Basically we'll prep the three primary components for the custom loop first. We start off simple to get us going with the radiator and mount the three Vardar fans. These are the same as used on the Predator series and are very silent during operation. Also with this much radiator surface area, you won't need heaps of airflow. Align the 120 mm fans, secure them with the supplied screws. Position the fans in such a manner that the cabling is routed outwards (thus as close to the motherboard as possible) for Aesthetic reasons. You could also mount them at the bottom with the rad sitting on top of it, these are all choices based on personal preference. You could mount the entire unit directly to the top of the chassis and use just one set of screws. In our case we'll use a reversed design, and we'll mount the fans at the up side and will secure the radiator at the bottom side of the chassis (we are building a reversed setup hence our rad will be located at the bottom of the chassis).
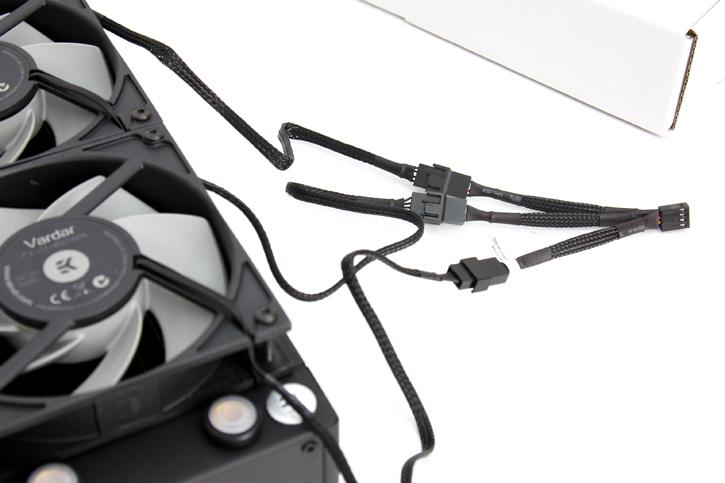
With all components still outside the chassis now would be a good time determining how you want to route cables, also connect the y-splitter cable which needs to connect to the motherboard or a fan controller so that you won't forget it (because it sucks to do cabling once components are mounted inside the chassis).
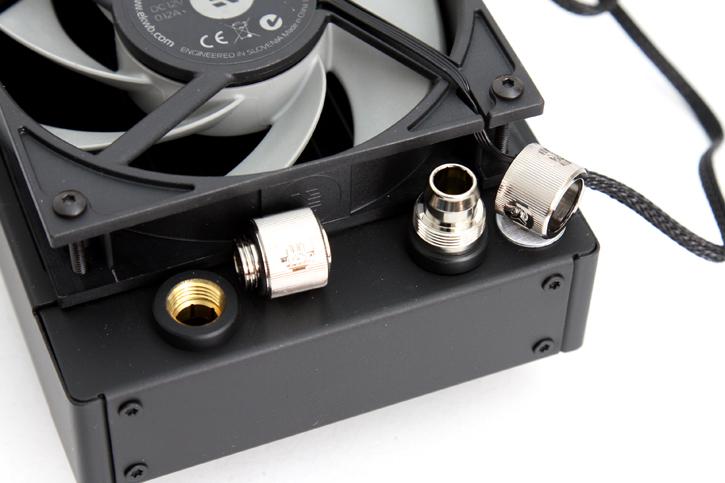
We have the fans in place, the cables sorted , two fittings will need to be installed as well. Take them and screw them in, there's a rubber fitting at the bottom of each fitting, once that is compressed, you are leak free. Basically turn them until you cannot turn them any further. It's done by hand easily and a very secure fitting (we had no leakage whatsoever).
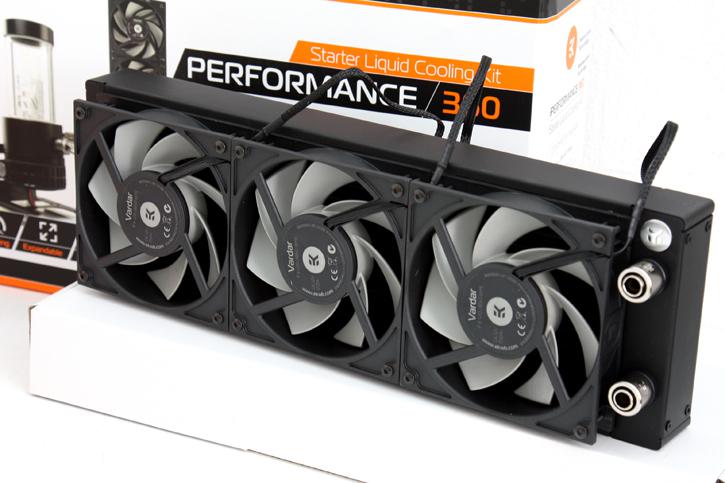
So here we have the radiator unit all prepped and ready, all that is left is the tubing, but we'll apply that in the final stage as we need to define and establish tubing length once we have everything seated in the right position. That is a rather serious looking radiator, don't you think?
